DVWA or Damn Vulnerable Web App is a PHP/MySQL web application. The main objective of this program is to help security professionals to test their skills as well as tools in a legal environment. In this article, we are going to teach you How to Install DVWA on AlmaLinux. If you want to Linux VPS server, you can visit the packages offered on the Eldernode website.
Table of Contents
How to Setup DVWA on AlmaLinux
Briefly about DVWA
As explained in the introduction section, DVWA is a vulnerable web application coded in PHP and using a MySQL database. It is interesting to know that you can find some of the most common web vulnerabilities with the help of this program. These vulnerabilities may vary in severity. On the other hand, the very simple graphical user interface makes it very easy for you to work with this program. In the next sections, we will teach you the prerequisites for installing DVWA and then how to install it on AlmaLinux.
Prerequisites for Installing DVWA on AlmaLinux
Before starting the DVWA installation tutorial, it is necessary to install the required prerequisites. Run the following command to refresh yum cache:
dnf makecacheThen you need to update the system using the following command:
dnf update -yReboot the system by running the following command to apply the changes:
rebootVerify the operating system and kernel versions by running the following commands:
cat /etc/almalinux-releaseuname -rUsing the following command, you can install Apache, MariaDB, PHP and other required modules at once:
dnf install git wget httpd php php-mysqlnd php-pdo php-cli php-gd mariadb-server -yOpen the configuration file using your favorite text editor:
vi /etc/php.iniNow it is necessary to find the following lines in the configuration file and set them as follows:
display_errors = Offallow_url_fopen = Onallow_url_include = OnIn this section, you can enable PHP, Apache and MariaDB by running the following command:
systemctl enable --now php-fpm httpd mariadbThe last step before installing DVWA on AlmaLinux is to configure MySQL. Run the following command:
mysql_secure_installationNote: Confirm all questions by typing “y” and pressing enter.
Now it’s time to login to the MariaDB database server using the following command:
mysql -u root -pYou can create database and user for DVWA using the following command:
create database dvwa;grant all on dvwa.* to dvwauser@localhost identified by 'Str0ngP@ssw0rd';You can flush privileges and exit by running the following commands:
flush privileges;exitInstalling DVWA on AlmaLinux
In the previous section, you installed all the prerequisites for installing DVWA. Now it’s time to move on to installing DVWA on AlmaLinux. To do this, follow the steps below in order. Run the following command to clone DVWA in the /var/www/html folder:
git clone https://github.com/digininja/DVWA.git /var/www/html/Go to the directory of the configuration file by running the following command:
cd /var/www/html/config/Then copy the DVWA configuration file using the following command:
cp config.inc.php.dist config.inc.phpNow run the configuration file using your desired text editor:
vi /var/www/html/config/config.inc.phpLook for the following lines in the configuration file and set them as follows, then save and exit. It should be noted that to enter the recaptcha in the following commands, you can visit the Google Recaptcha website and create them.
$DBMS = 'MySQL';$_DVWA[ 'db_server' ] = '127.0.0.1';$_DVWA[ 'db_database' ] = 'DVWA';$_DVWA[ 'db_user' ] = 'DVWAUSER';$_DVWA[ 'db_password' ] = 'Str0ngP@ssw0rd';$_DVWA[ 'db_port'] = '3306';$_DVWA[ 'recaptcha_public_key' ] = 'Your_Public_Key';$_DVWA[ 'recaptcha_private_key' ] = 'Your_Private_Key';In the next step, it is necessary to execute the following command to grant ownership of DVWA software files to the Apache user:
chown -R apache:apache /var/www/htmlThe important and fundamental point is that you must set the SELinux Boolean according to DVWA’s requirements using the following 3 commands:
setsebool -P httpd_unified 1setsebool -P httpd_can_network_connect 1setsebool -P httpd_can_network_connect_db 1Finally, to configure the firewall, you must allow the HTTP service by running the following commands:
firewall-cmd --permanent --add-service=httpfirewall-cmd --reloadAccess to DVWA on AlmaLinux
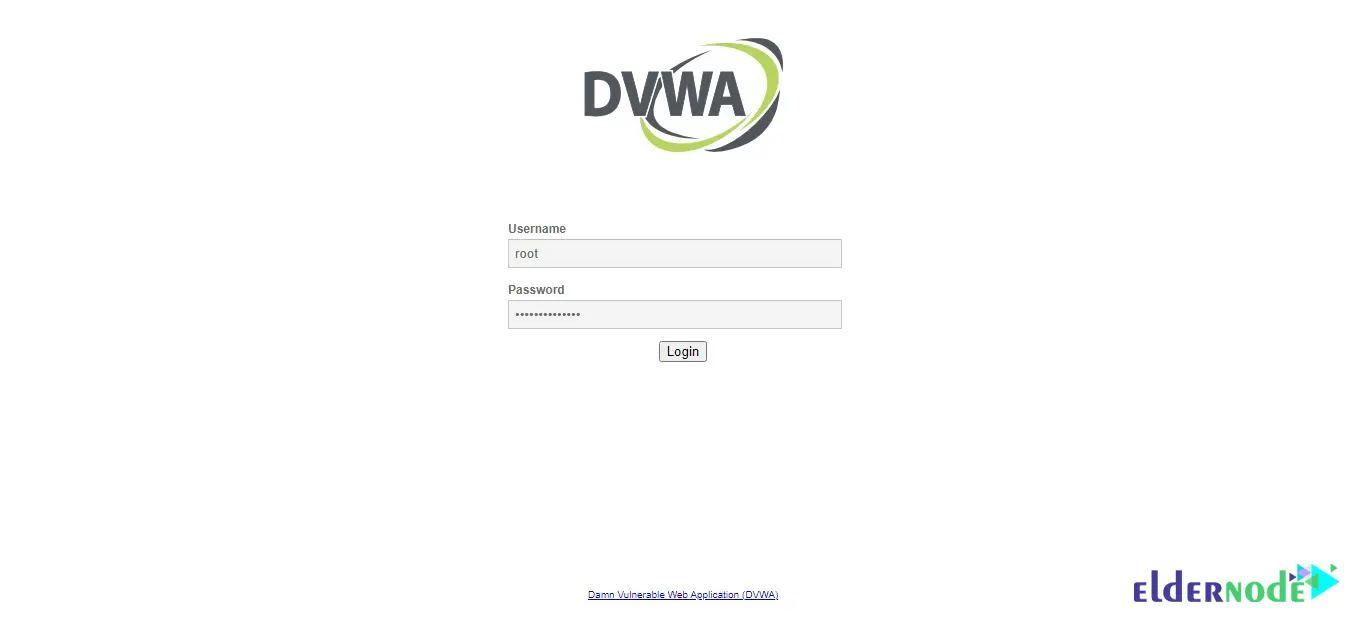
In the previous steps, you got acquainted with DVWA and successfully installed it on AlmaLinux. In this section, we will explain how to access DVWA. Therefore, it is necessary to open the browser and run the following address in it. Then, type the required information in the relevant fields to Login as MySQL root user:
http://dvwa-01.your_server_ip/
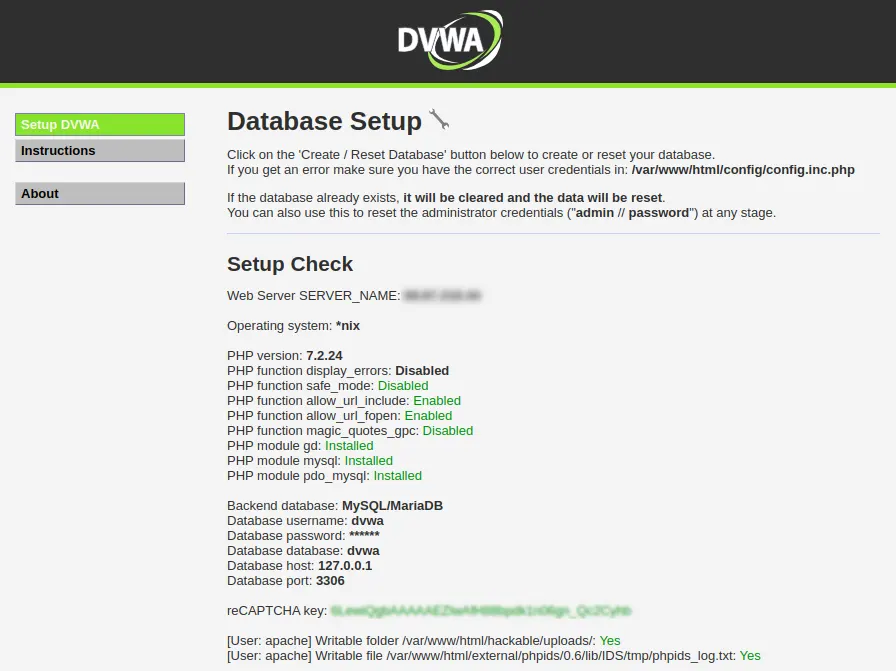
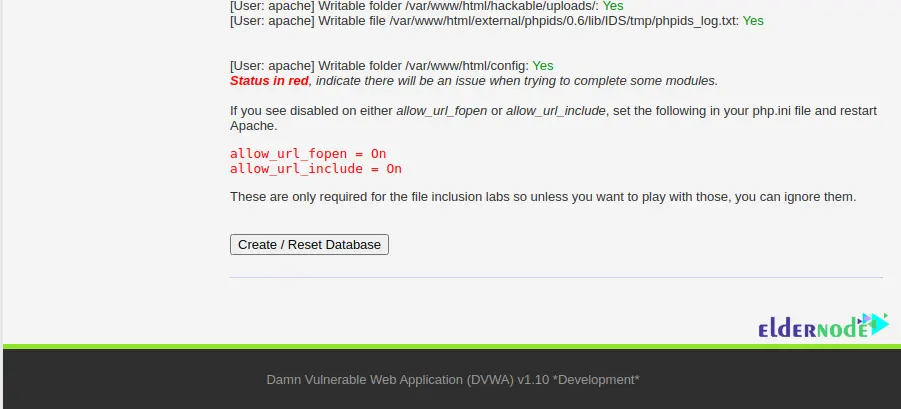
On the page you see, click on <Create / Reset Database> to create database objects:
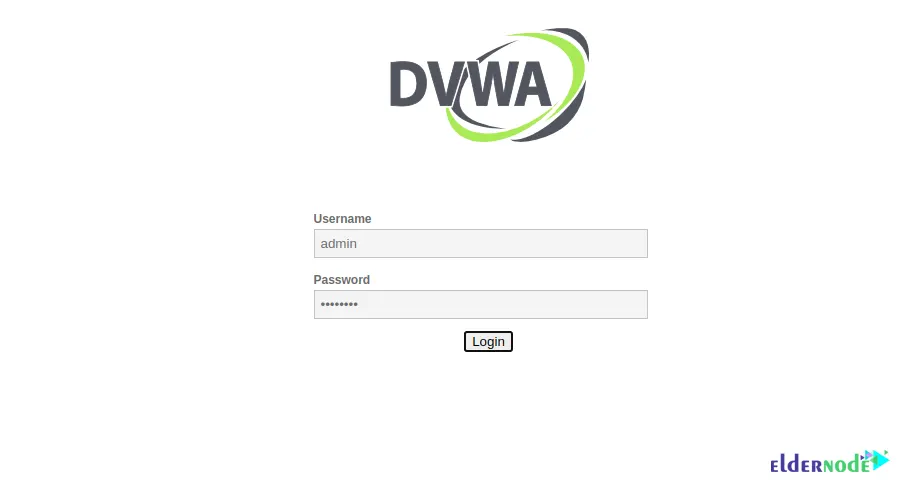
After entering the username and password, which are admin and password by default, click on Login:
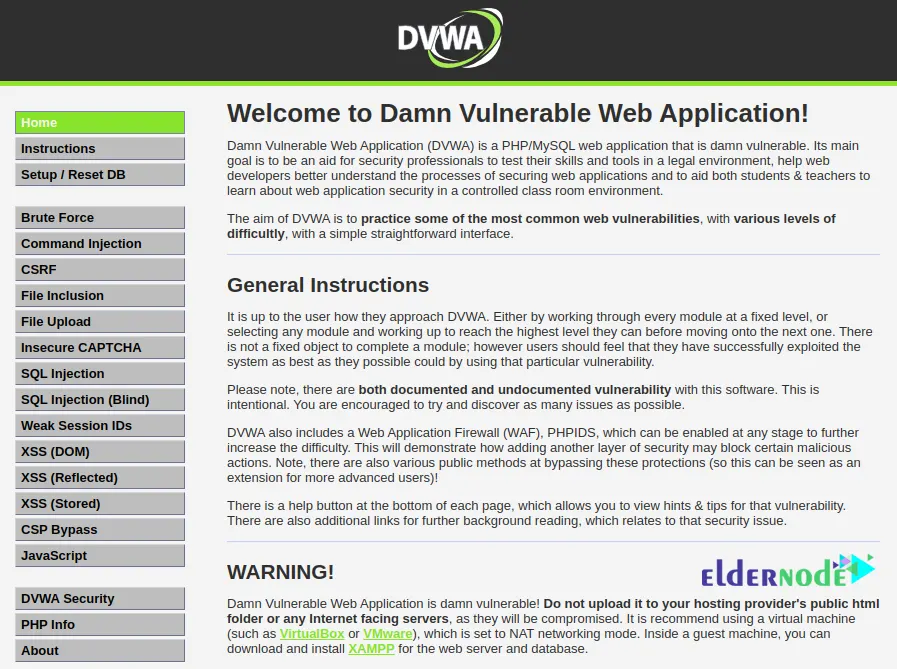
Now, you will enter the DVWA environment:
Conclusion
DVWA has three levels of security: low, medium and high. You should note that each level of security requires different skills. In this article, we tried to teach you how to install DVWA on AlmaLinux. If you have any question, you can share it with us in the comments section.