While bandwidth is limited and expensive, limiting internet bandwidth to users can be a cost-effective solution. On the other hand, this limitation can also make the bandwidth fair.
The Queue feature performs bandwidth control in the MikroTik.
In this tutorial, we will look at the Simple Queue feature, although the Queue tree feature is much more complete in MikroTik but not part of the MTCNA headings. However, the Simple Queue can meet most of the needs of a small network.
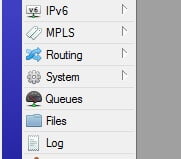
To create a Queue command from the left menu of the winbox, select Queue to open a window like the one below. Then go to the Simple Queue tab and add a new command via the Add option.
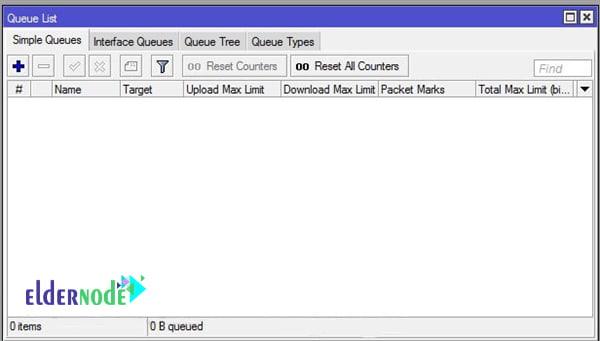
Enter a custom name in the General tab for Queue.
In the Target section, we need to enter the source IP address (actually the IP of the device we want to set the speed limit on). Note that this section does not accept IP range and you must enter one or more IPs.
Bandwidth control in MikroTik
Enter the destination address in the DST field. For example, you want bandwidth limitation to apply only when the user is connected to a specific IP. By omitting this section, the bandwidth limitation applies to all purposes.
In the MAX limit section, you can also send and receive the maximum amount of bandwidth for the destination address.
The Burst feature makes the web browsing speed to be high but decreases when the user downloads a high volume.
In the Time field, you can specify the time the Queue command is valid.
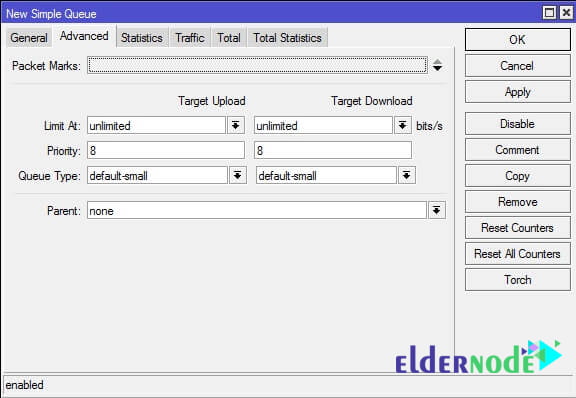
In the Advanced tab, you can give the packets you have checked to the MikroTik VPS. Plus you can prioritize the rolls. Priority can be selected from 1 to 8. One is the highest priority and eight the least priority. In fact, the first bandwidth is dedicated to high priority Queue.
An example of bandwidth control in MikroTik:
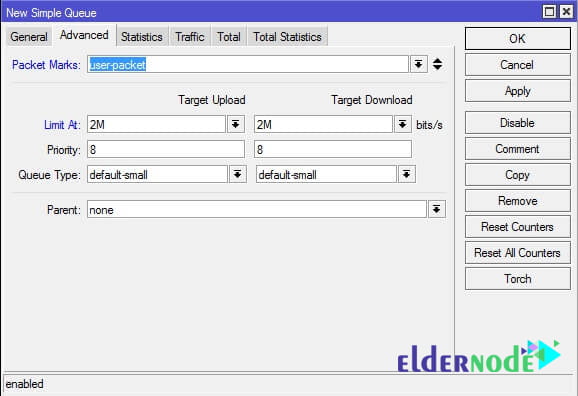
To control bandwidth, just go to the Advanced tab in the simple queue. Select the packet marks section of your markup name and apply the download and upload restrictions.
By adhering to these stages, you can easily configure bandwidth control on routers from MikroTik which is a cheap way to appropriately control network traffic. After putting bandwidth control in place, all users on your network can be guaranteed a reliable internet connection.


