Web Disk on Cpanel; Web Disk is one of the good features that can be seen in the Control Panel of the Cpanel. Control Panel of the Cpanel is very popular and provides a good user interface.
With Web Disk, you can easily transfer information between local and host environments without having to log in to the control panel environment. By Web Disk, you can add, delete or edit new files without having to log in to the control panel and save the changes.
Keep up with us to teach you how to work with Web Disk.
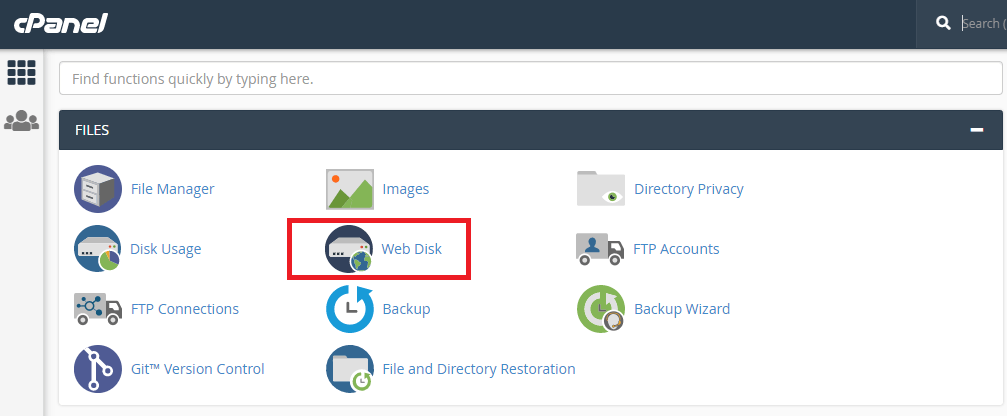
First, go to the Control Panel Host and click on the Web Disk option.
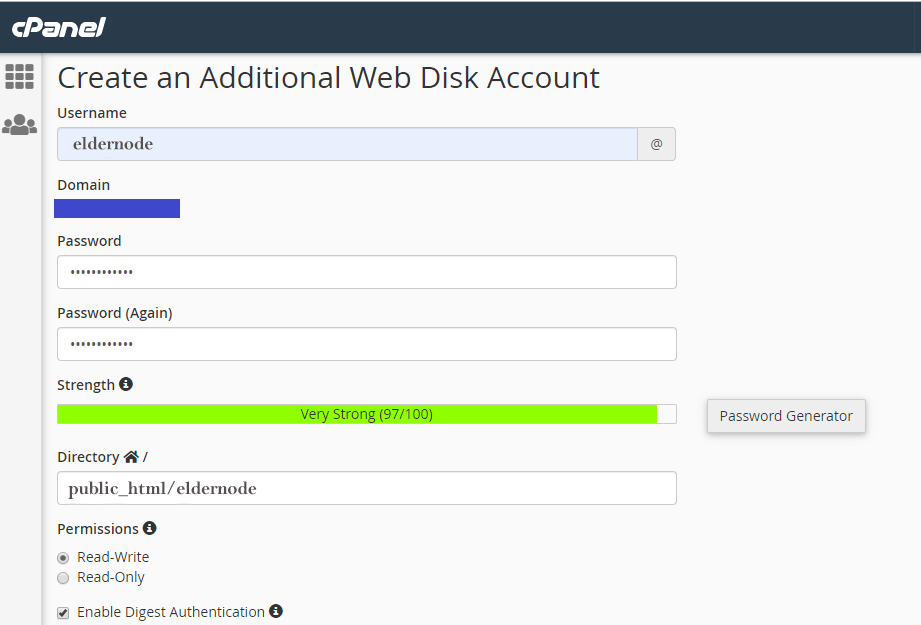
Then create a username and password that you can use for your login. Next, you can specify the permission or access level of users, which allows users to edit and view files by clicking on Read-Write. Even if you use the Read-Only option, you will not give users access to change information.
Then click “Enable Digest Authentication“. However, if SSL is enabled on your server, you do not need to enable this option.
Finally, click on create.
After create, on the screen that appears, click on the “access web disk” option.

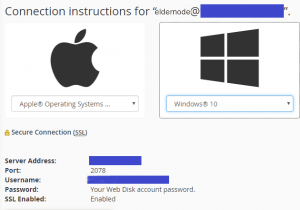
On the next page, you should specify the type and version of your operating system.
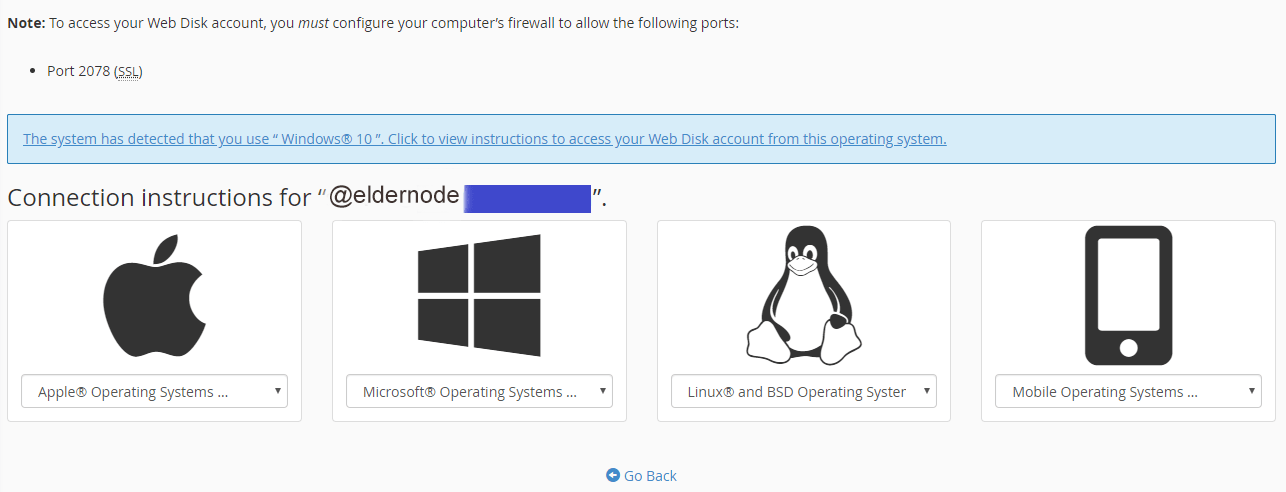
Then click on the “Download Quickstart script” option. After downloading the script, You will receive the following message: “connecting to your Web Disk now, this may take a minute“. you will receive a page to enter the username and password that is equivalent to the username and password you created.
After importing information you can log in and upload, delete and edit new files.
