How to install WordPress on IIS web server. In this tutorial, we are going to teach you how to install WordPress on Windows and on the IIS web server using the Microsoft Web Platform Installer software.
As you know, to set up a website, it is better to run it locally on your computer first and check the script, template and plugins. Of course, xampp or wamp is mostly used for this purpose. You can also set up this on a virtual server and host your website professionally.
Step 1: Install IIS
You must first configure the web server. You can install IIS on your system using the following tutorials:
Step 2: Download and install Web Platform Installer on Windows/server
1. First, download and install Web Platform Installer (Web PI) software from the link below.
Download Web PI software
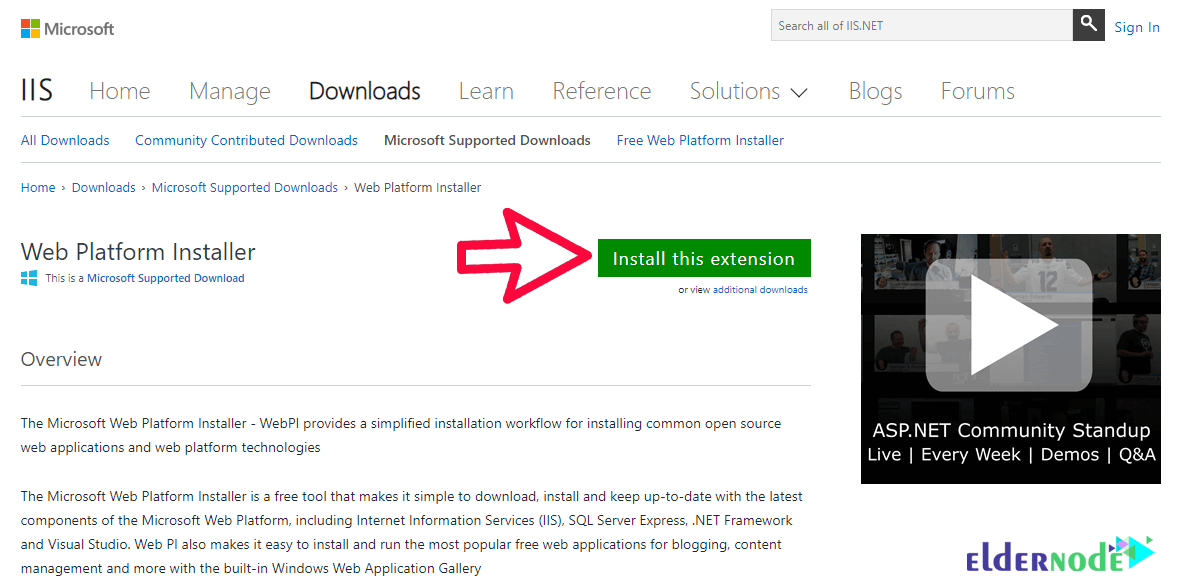
2. Run the software.
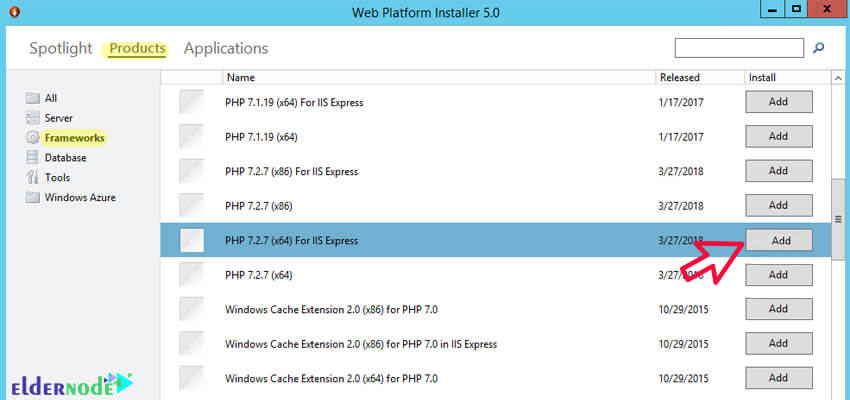
From the Products tab and the Frameworks section, add the latest version of PHP to the installation items depending on the operating system (x64 / x86).
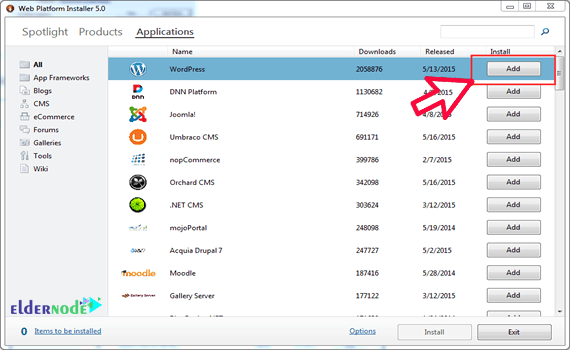
3. Find WordPress from the Applications section and add it to the list.
Then click install.
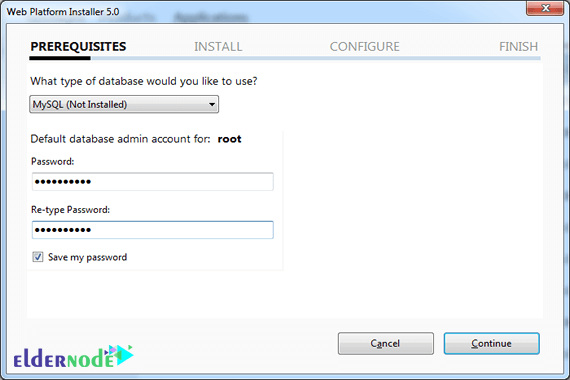
4. By adding WordPress, a database (MySQL 5.1) is automatically added to the list.
Enter a password for the database admin user here.
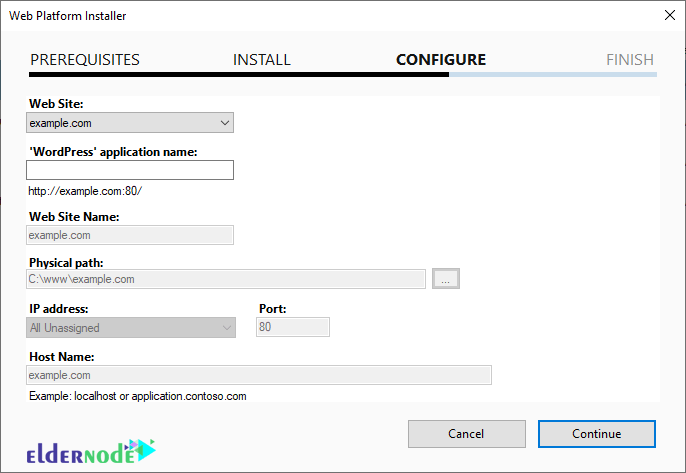
5. In this step, specify the name of the website, the path of the files and the ports/IPs allowed to access the website as shown below:
6. In this step, you must create and configure WordPress Security Keys. You do not need to write down these codes, you just need to create complex and long codes.
Note: You should not use the symbols (‘), ($) and (\) in these codes.
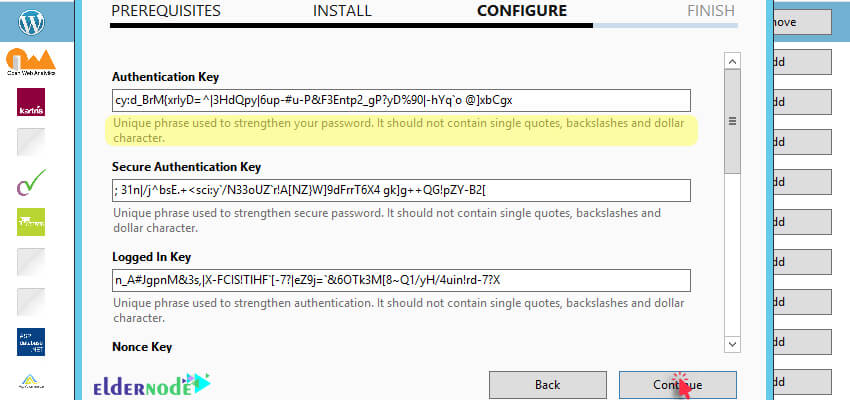
You can use Online Key Generator to generate this code.
Note: In these codes, there is also a $ sign that you must replace with another character!
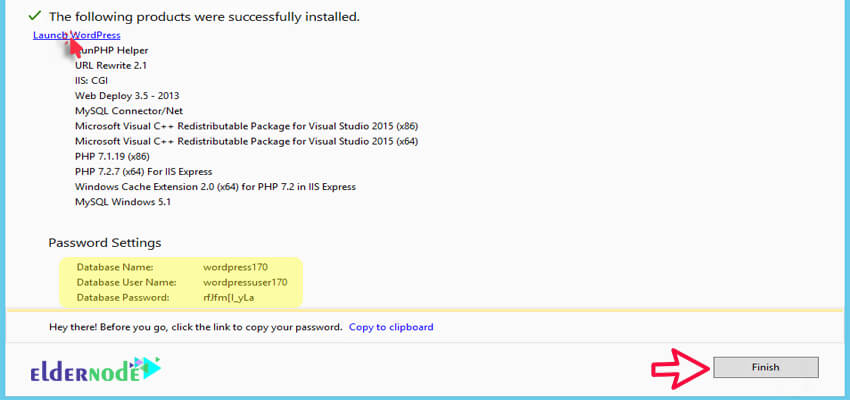
7. Installation of items was done!
Copy and save the database information and click on Launch WordPress or the link below to continue the WordPress installation process:
http://localhost/wordpress/wp-admin/install.php
Step 3: Install WordPress
1. After selecting the WordPress language, enter your information and be sure to copy and save the password and username.
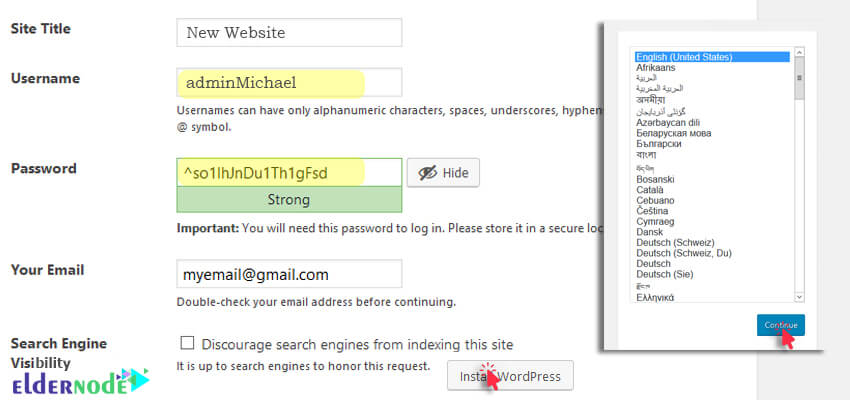
2. The installation is complete.
Now you should be able to access the WordPress admin page and the main page of the website from the following links, respectively:
http://localhost/wordpress/wp-login.php
http://localhost/wordpress
Note: If you performed this operation on a virtual server, you can replace the localhost with an IP server (or domain, if you already have an IP record) and access this page from the Internet.
Goodluck.




WordPress web installer always gives this error –
the specified password for the user account “root” is not valid or failed to connect to the database server.
Any ideas?
Here is how to fix it:
– In the Windows registry, delete the mysql_pwd reg key under HKCU\Software\Microsoft\WebPlatformInstaller
– Download and install the latest MySql .NET Connector.