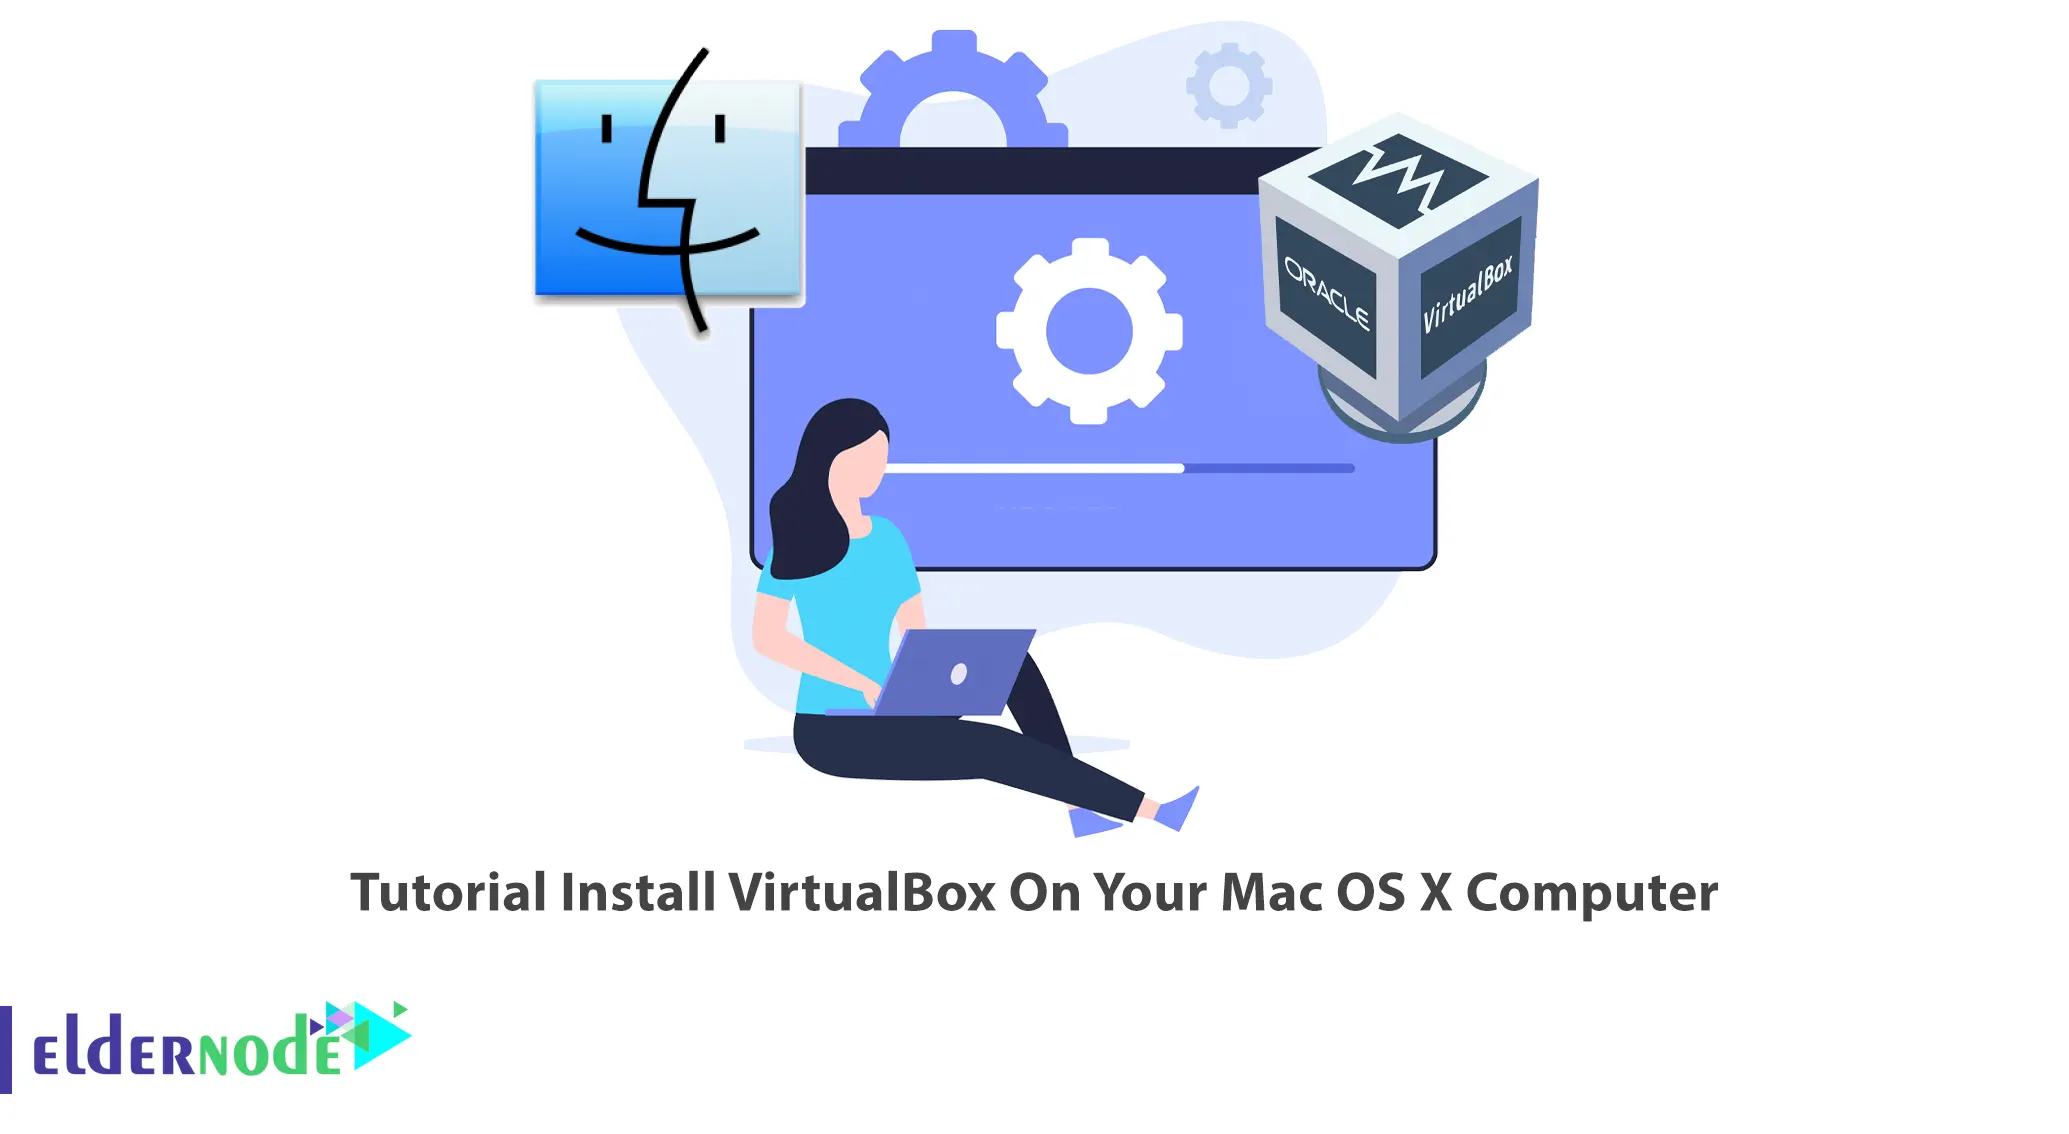
VirtualBox is a free and powerful program with many capabilities in the field of installing guest virtual operating systems on Windows, Linux, Mac operating systems. VirtualBox is a software released by Oracle. This software allows you to simulate an operating system inside the operating system that is installing on the computer and runs that simulated operating system as if it is really running on a real hardware. In this article, we are going to teach you How to Install VirtualBox On Your Mac OS X Computer. If you want to VPS server, you can visit the packages offered on the Eldernode website.
Table of Contents
How to Install VirtualBox On Your Mac OS X Computer
Features and capabilities of VirtualBox
– Light, compact, fast execution
– User-friendly and beautiful environment
– Compatible with various operating systems
– The ability to virtualize existing hardware for the guest operating system
– ISO support for mounting or using an optical drive on a guest system
– Cd-DVD-USB-floppy-com port support
– The possibility of file sharing between host and guest operating systems
– Open source and free
– You have a portable version
– Support for 32-bit and 64-bit operating systems
– Support for 2D and 3D graphics card mode
– The ability to run multiple operating systems at the same time and switch between them
Installing VirtualBox On Mac OS X Computer
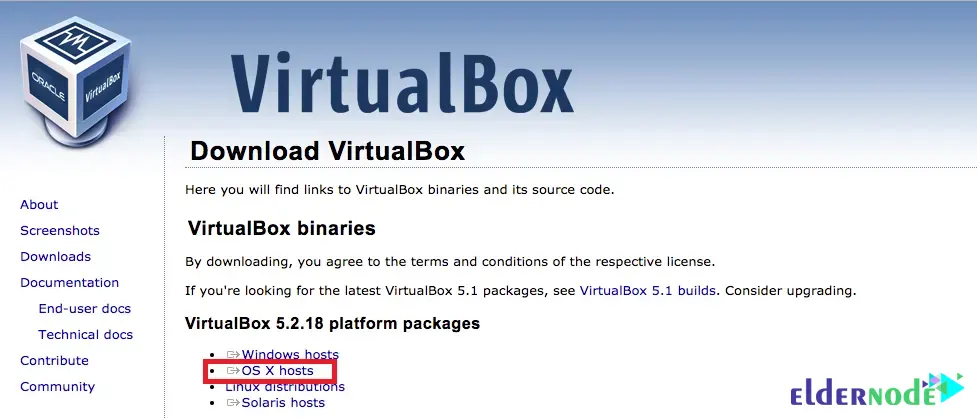
After getting acquainted with the features of VirtualBox in the previous section, we will teach you how to install VirtualBox on Mac OS X. To do this, just follow the steps below. The first step is to download VirtualBox.
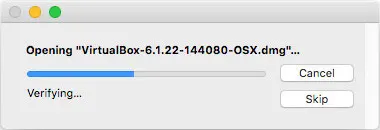
Go to the location where you downloaded the VirtualBox installation file and start the installation process by double-clicking on it:
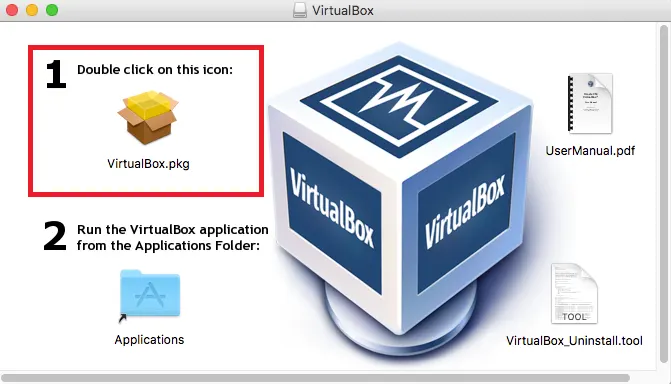
Click on VirtualBox.pkg in the opened window as shown in the image below:
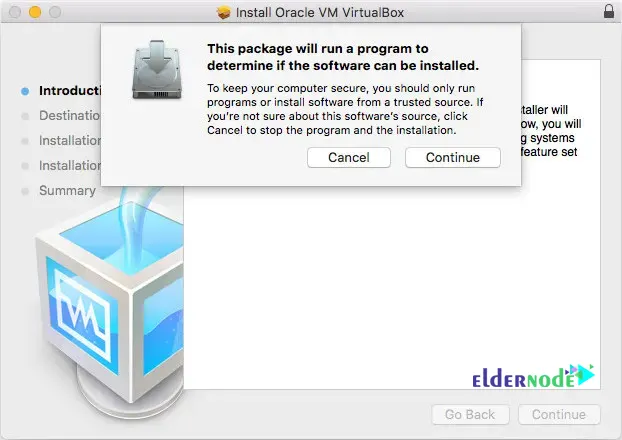
In the next step, by viewing the image below, click on Continue:
On the Welcome screen, click Continue again:
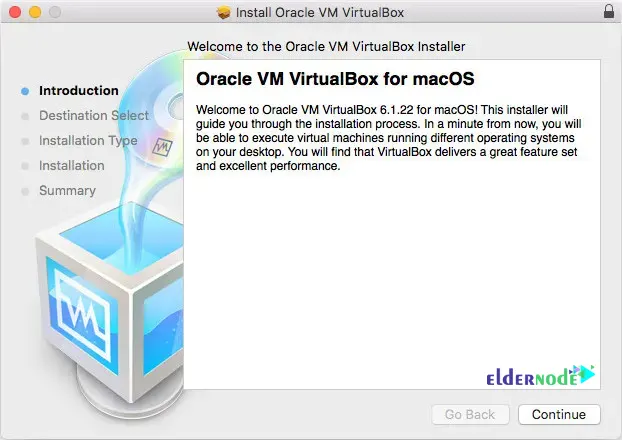
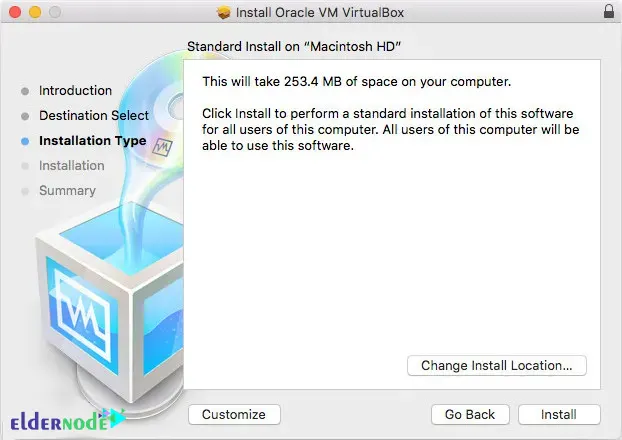
Click on Install in the Installation Type section:
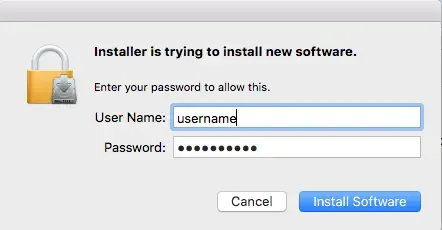
On the authentication page, enter your username and password and then click on Install Software:
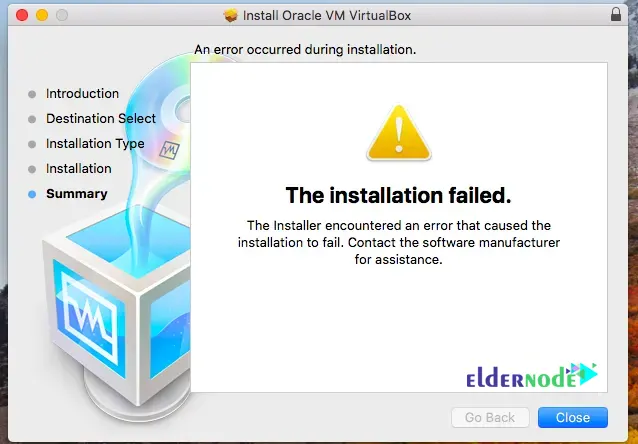
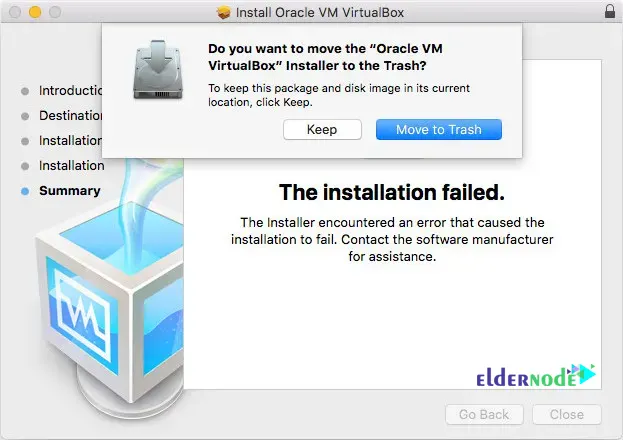
After starting the installation process, you may see the following image. In this case, you must click on Close:
If you are asked if you want to move the installer to the trash, click the Keep button:
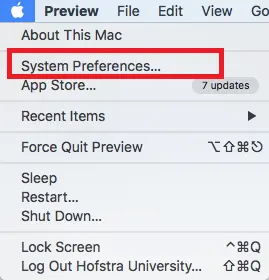
Then click on the apple logo in the top left and click System Preferences:
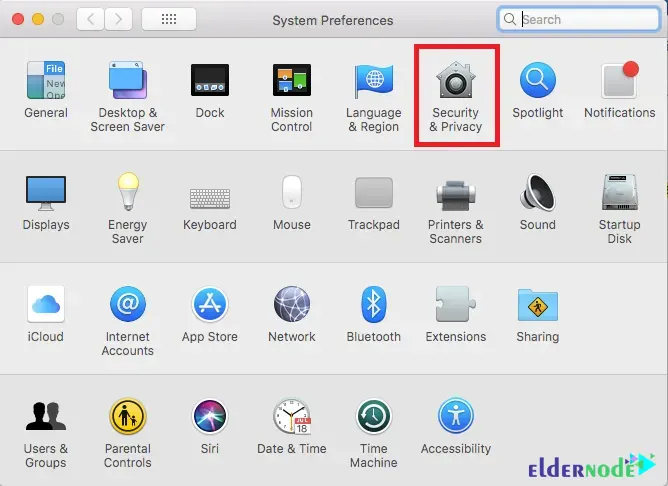
Now you need to click on Security & Privacy:
Click Allow as shown in the image below. To do this, click on the lock icon:
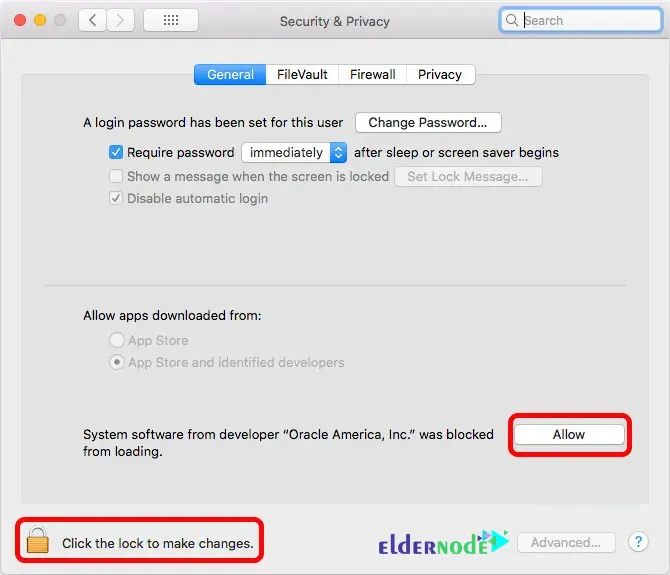
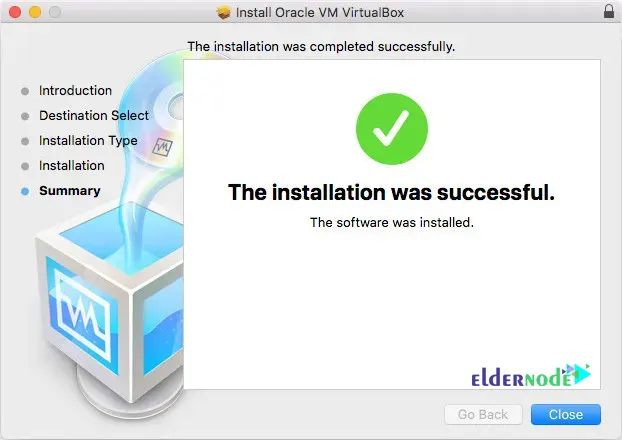
If you have followed all the steps mentioned in this article correctly, you will see that VirtualBox is successfully installed on your Mac OS X:
Conclusion
VirtualBox is a virtual machine creation software that helps you create a virtual server on your own operating system without having to buy new hardware. You can also install any other operating system you want on it, so that they do not interfere with each other. In this article, we tried to teach you how to Install VirtualBox On Your Mac OS X Computer. If you have any question, you can share it with us in the comments section.
