[Updated] Jenkins is a tool to automate some processes and get the output from automating them. The tool is from the Hudson project, which its developers released after a disagreement with Oracle. Jenkins is Java-based and an automation server. Also, it is installed from Ubuntu packages or by downloading and running its web application archive file, a collection of files that make up a complete web application to run on a server. You would be able to use it easily to setup continuous integration and continuous delivery (CI/CD) pipelines. In this article, we are going to teach you about Tutorial Install Jenkins on Ubuntu 20.04. You can visit the packages available in Eldernode if you wish to purchase an Ubuntu VPS server.
Table of Contents
How to Install Jenkins on Ubuntu 20.04
Join us with this tutorial to verify how to install Jenkins on Ubuntu 20.04 and why you need to install it. In the following, you will start the development server and create an administrative user to get you started in exploring what Jenkins can do.
Prerequisites to Install Jenkins on Ubuntu 20.04
To let this tutorial work better, please consider the below Prerequisites:
_ One Ubuntu 20.04 server configured with root or a non-root user with Sudo privileges.
_ To setup, follow our Initial server setup on Ubuntu 20.04.
_ At least 1 GB of RAM
_ Oracle JDK 11 installed, following our guidelines on installing specific versions of OpenJDK on Ubuntu 20.04.
Install Jenkins on Ubuntu 20.04
While you will find the default Ubuntu packages in the version of Jenkins. It is behind the latest available version from the project itself. However to make sure that you have the latest fixes and features, use the project-maintained packages to install Jenkins.
To start, use the following command and add the repository key to the system:
wget -q -O - https://pkg.origin.jenkins.io/debian-stable/ jenkins.io.key | sudo apt-key add -Once you add the key, the system will return with OK.
Now, let’s append the Debian package repository address to the server’s sources.list:
sudo sh -c 'echo deb https://pkg.origin.jenkins.io/debian-stable/ binary/ > /etc/apt/sources.list.d/jenkins.list'After both commands have been entered, we’ll run Update so that apt will use the new repository:
sudo apt updateAnd finally, run the command below to install Jenkins and its dependencies:
sudo apt install jenkinsHow to start Jenkins on Ubuntu
First, use the following command to start Jenkins:
sudo systemctl start jenkins You may receive no status output from systemctl. So use the status command to verify that Jenkins started successfully:
sudo systemctl status jenkinsHow to Open the Firewall for using Jenkins
Again, use the Initial server setup on Ubuntu 20.04 to setup a UFW firewall. Since the Jenkins runs on port 8080 you should open that port using ufw:
sudo ufw allow 8080Also, you can use the following commands to allow OpenSSH and enable the firewall, if you found the firewall inactive:
sudo ufw allow OpenSSH sudo ufw enableNow, to confirm the new rules check UFW’s status using the following command:
sudo ufw status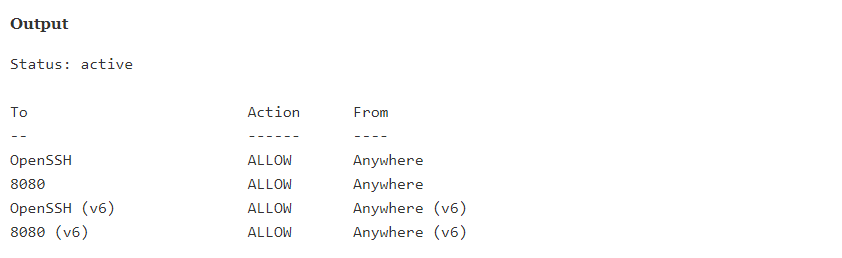
Note: Watch the notice which says traffic is allowed to port 8080 from anywhere.
How to Setup Jenkins on Ubuntu 20.04
In the final step, you will visit Jenkins on its default port, 8080 to setup your installation.
To do this, use your server domain name or IP address:
http://your_server_ip_or_domain:8080
When you receive the Unlock Jenkins screen, it means that you can see the location of the initial password:
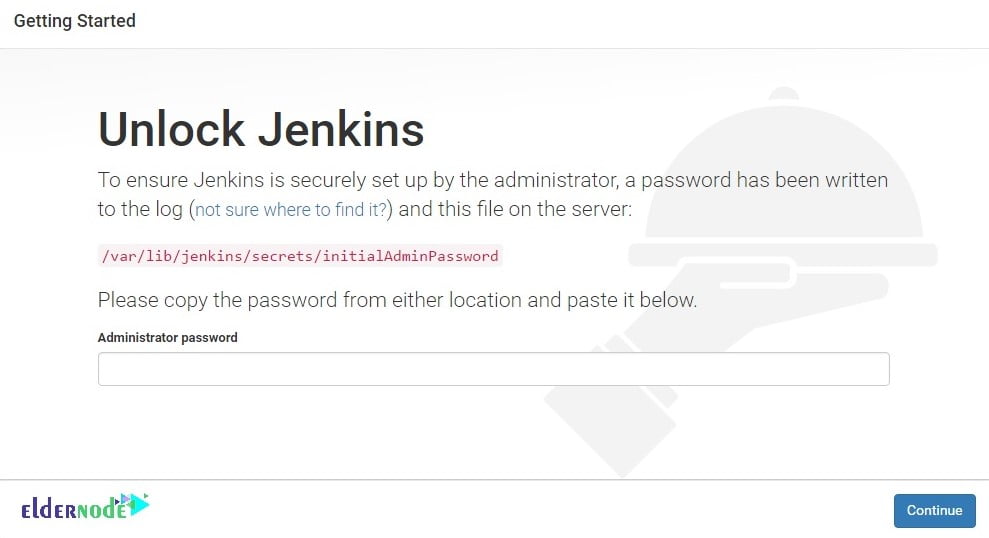
Also, you can use the cat command in the terminal window to see the password:
sudo cat /var/lib/jenkins/secrets/initialAdminPasswordAt this point, Copy the 32-character alphanumeric password from the terminal and paste it into the Administrator password field, then click Continue.
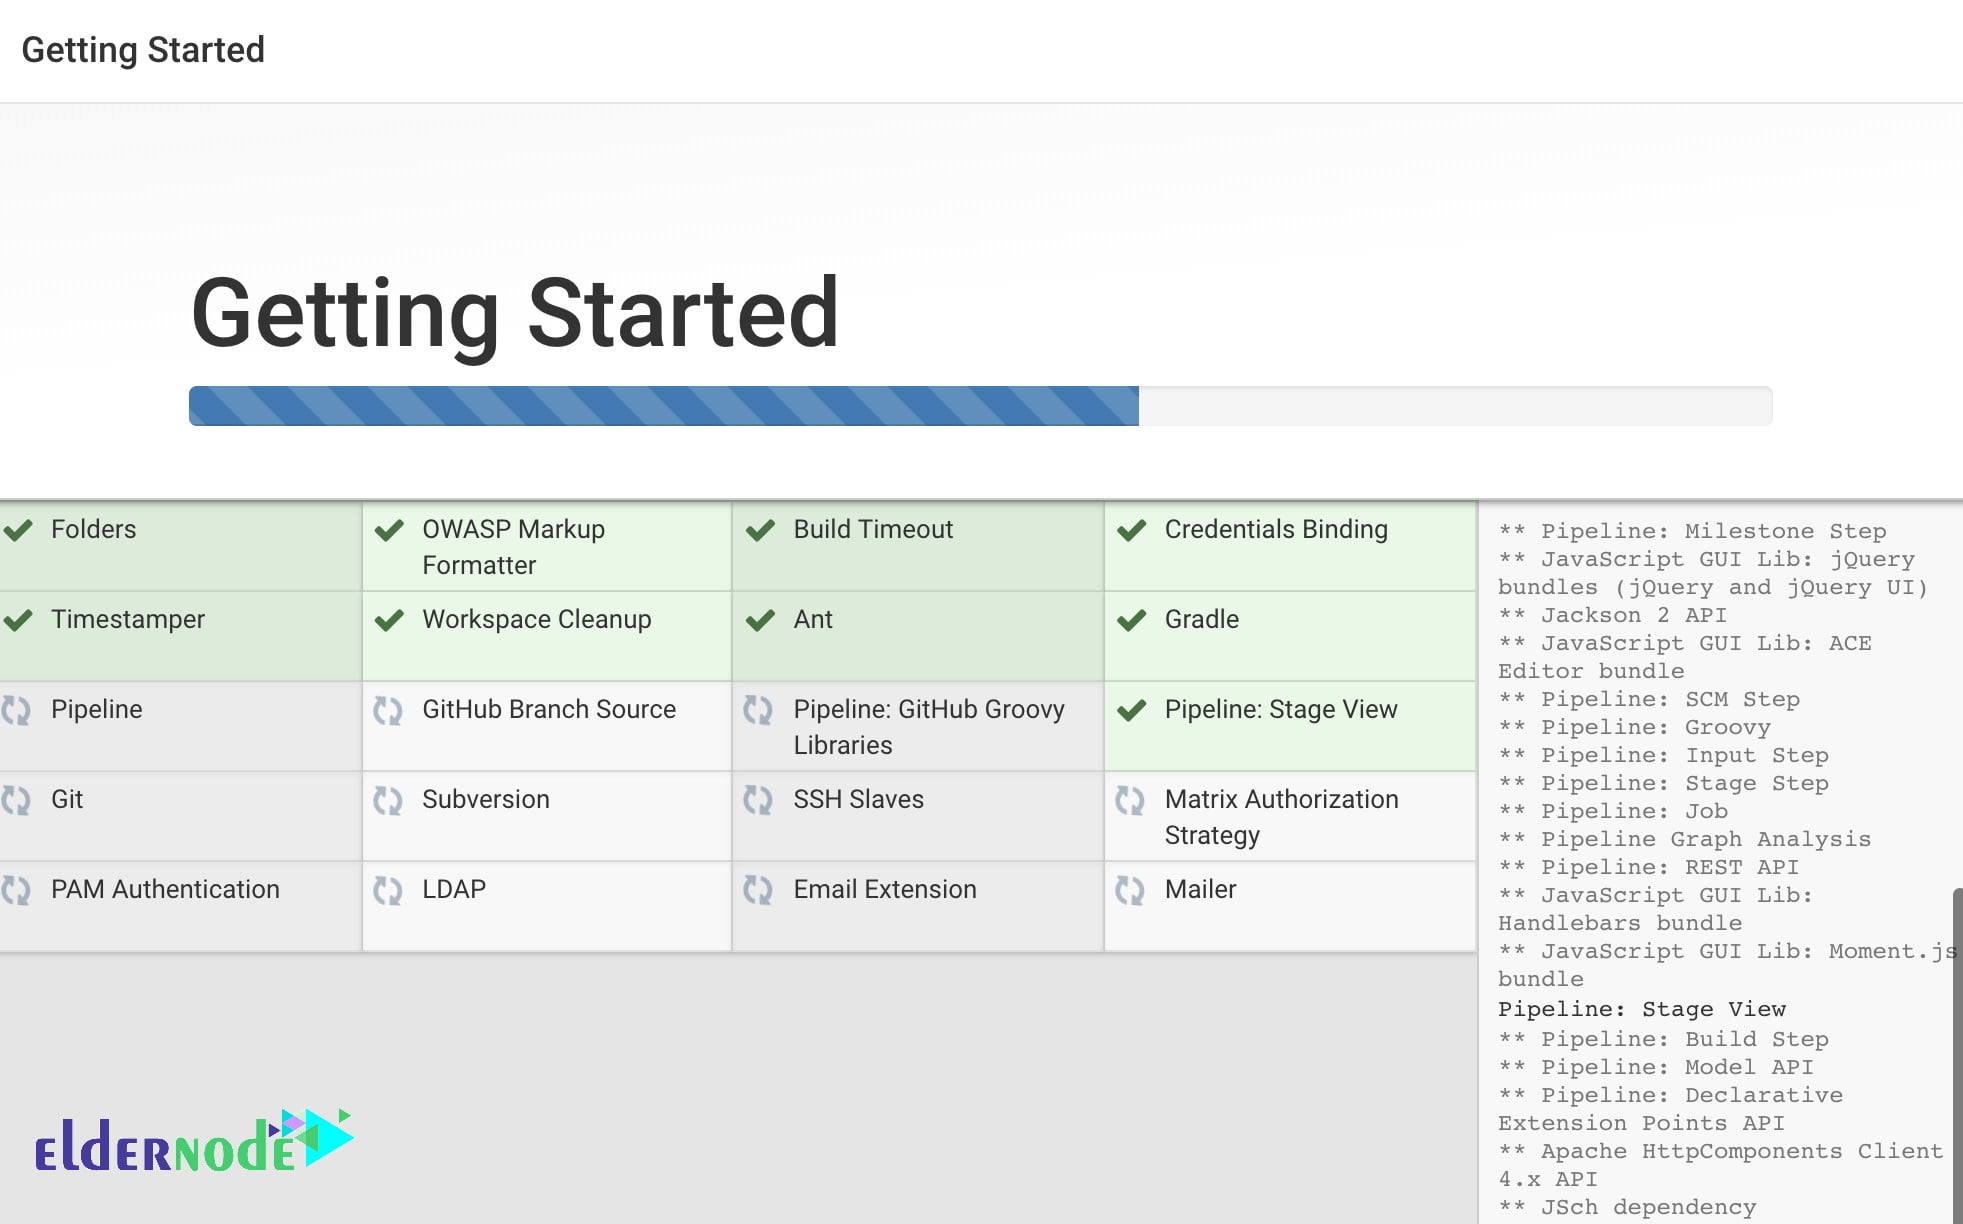
By receiving the screen below, you can see the option of installing suggested plugins or selecting specific plugins:

Once, you click the Install suggested plugins option, the installation process would begin immediately.
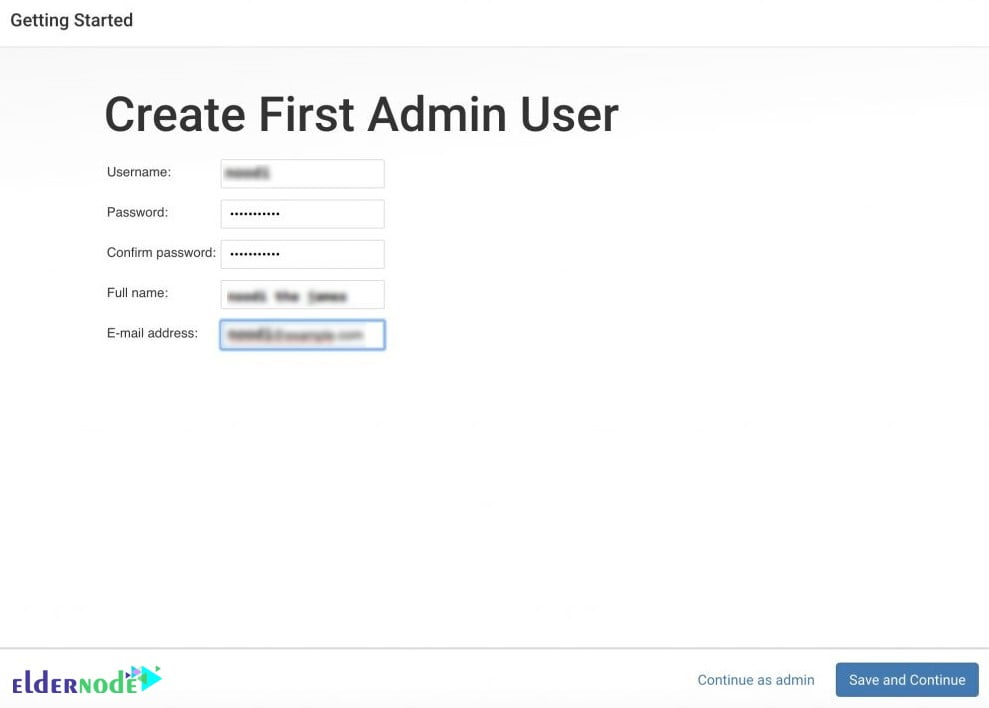
When you finish the installation, you need to setup the first administrative user. You will face two choices, skip it or continue as admin using the initial password you used above, but you will take a moment to create the user.
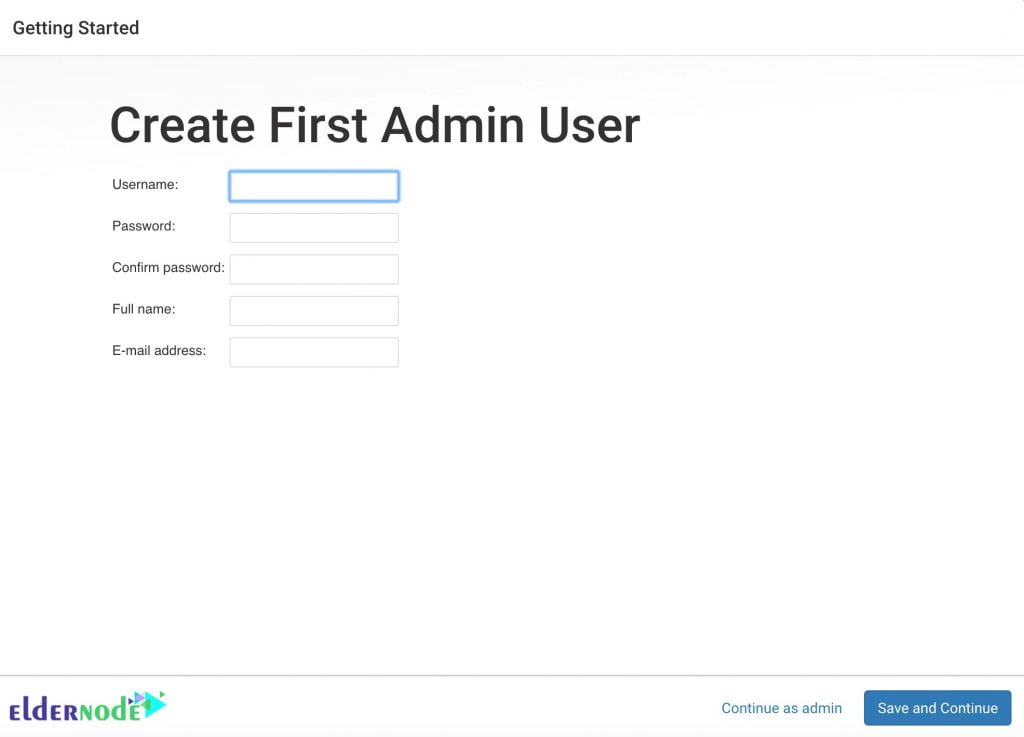
So, you should enter the username and password for your user:
After all, you should receive an Instance Configuration page that will ask you to confirm the preferred URL for your Jenkins instance. Confirm either the domain name for your server or your server’s IP address:
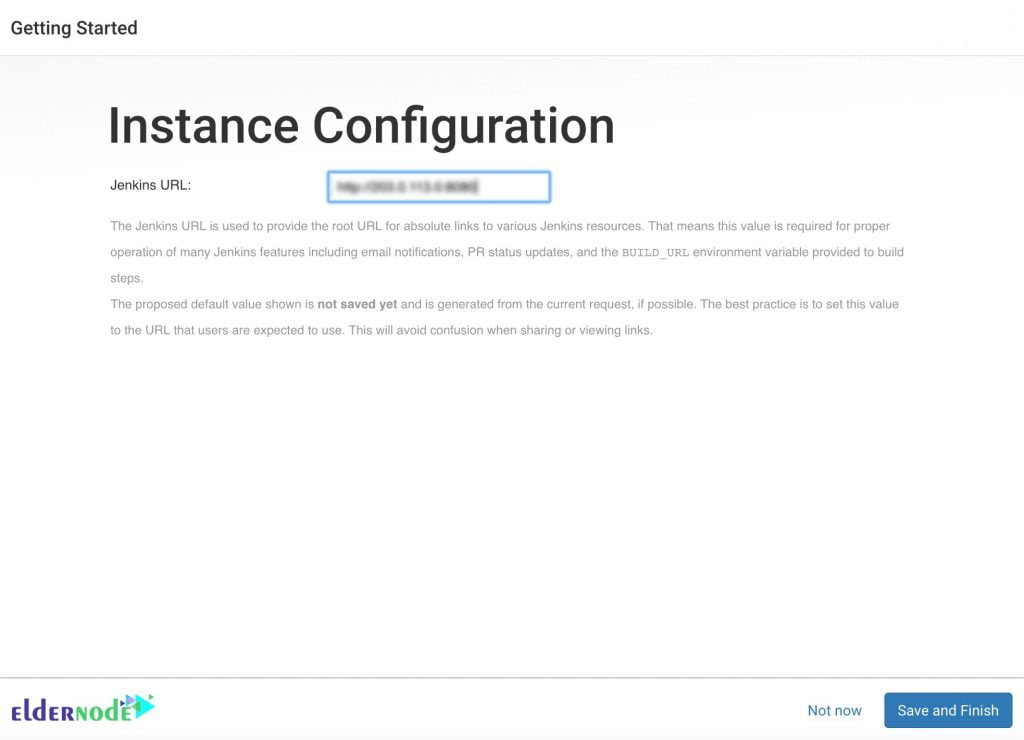
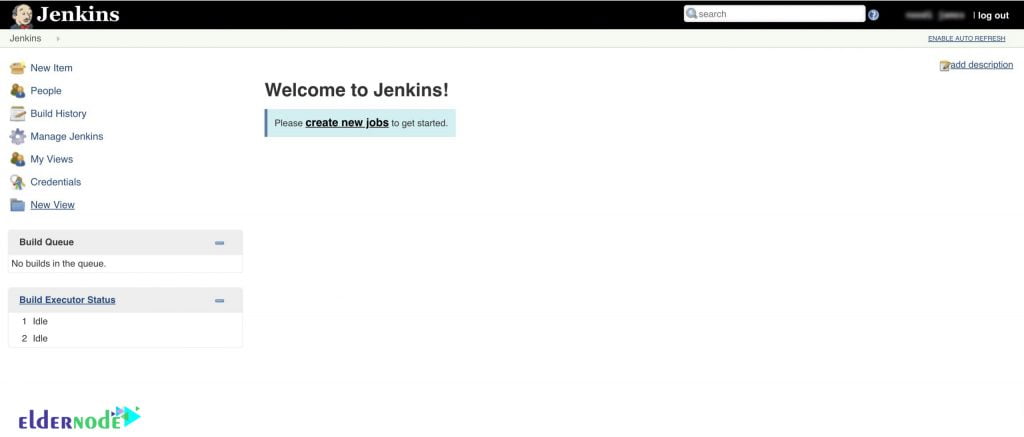
Click Save and Finish when you confirmed the appropriate information. Then wait for receiving a confirmation page confirming that “Jenkins is Ready!”:
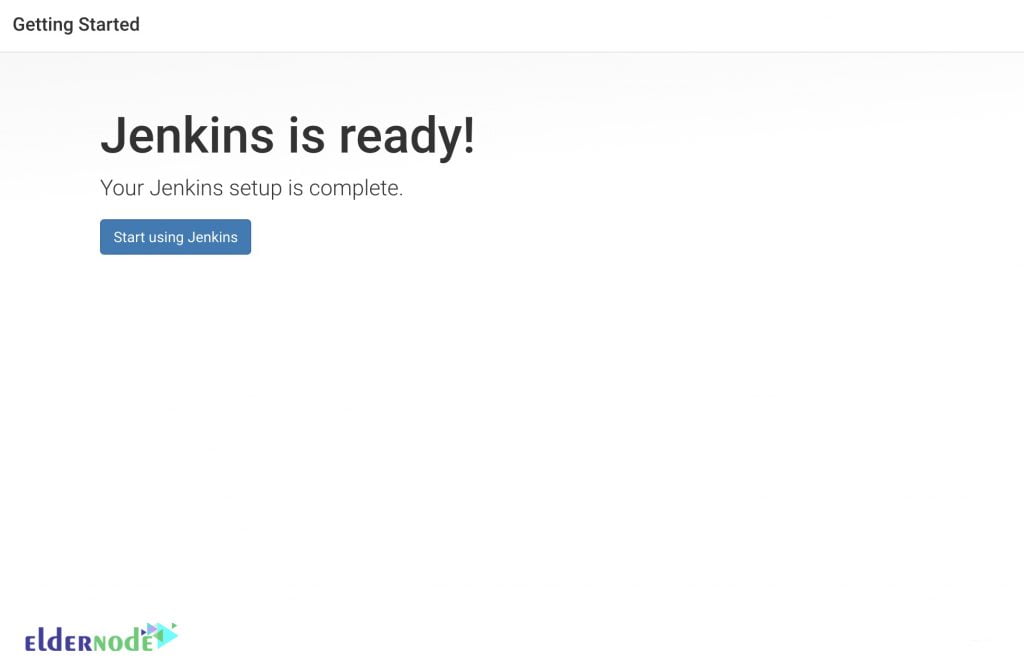
Now, to visit the main Jenkins dashboard click Start using Jenkins.
Conclusion
In this article, we will try to teach you how to install Jenkins on Ubuntu 20.04. Also, you learned how to use the project-provided packages, started the server, opened the firewall, and created an administrative user.


Very good. How can I install java?
As you see in the prerequisites, you can follow the guide and review the steps. But you should run the below commands to install OpenJDK
sudo apt update
sudo apt install openjdk-8-jdk
how if i need to add Jenkins repositories?
Jenkins has its own repositories for Linux, but you can use the following commands to install it.
wget -q -O – https://pkg.jenkins.io/debian/jenkins.io.key | sudo apt-key add –
many thanks. How can I enable Jenkins to start after reboot and start the service?
Type the following command to do this:
sudo systemctl enable –now jenkins
I have received this:
Error: W: GPG error: https://pkg.jenkins.io/debian-stable binary/ Release: The following signatures couldn’t be verified because the public key is not available: NO_PUBKEY 9B7D32F2D50582E6″
Solve it by importing the key with:
sudo apt-key adv –keyserver keyserver.ubuntu.com –recv-keys 9B7D32F2D50582E6
where will Jenkins be installed?
If you are installing through the routine way, for default installation location to C:\Program Files (x86)\Jenkins, a file called initialAdminPassword can be found under C:\Program Files (x86)\Jenkins\secrets.
Thank you. Is it possible to start Jenkins manually?
When you are in the Jenkins installation, open the cmd and run:
To stop it: jenkins.exe stop.
To start it: jenkins.exe start.
To restart: jenkins.exe restart.
Is it possible to schedule a Jenkins job?
Yes sure. Follow the below path:
1.click on “Configure” of the job requirement.
2.scroll down to “Build Triggers” – subtitle.
3.Click on the checkBox of Build periodically.
4.Add time schedule in the Schedule field, for example, @midnight.
I do not find the location of source code that Jenkins has built.
In case you are using the .deb package, you can find its stores configurations and job information in /var/lib/jenkins
Is Jenkins a deployment tool?
Yes, it provides good support for providing continuous deployment and deliver
Is Jenkins safe?
Yes, it is. Its security is depends on 2 factors. Access control and protection from external threats.