Learn how to Install Bitwarden on Windows RDP. Nowadays In cyberspace, password theft has become a serious problem. So that the websites and applications that you use are attacked every day. Following such attacks, a security breach may occur and your password may be stolen. Now if you use the same passwords for your different accounts, hackers will easily be able to easily access your email, bank accounts, and other important accounts. In this article, we try to introduce you to Bitwarden and teach you how to Install Bitwarden on Windows RDP. You can also see the packages available in Eldernode if you need to purchase the RDP Admin server.
Table of Contents
Tutorial Install Bitwarden on Windows RDP
Introduction to Bitwarden and its features
Nowadays, with the increase of attacks on Internet user accounts, security experts advise users to use different and random passwords for their online accounts. But the question is, how can these different passwords be remembered? BitWarden is a free and open source tool used to fix such problems. In other words, Bitwarden helps you to generate and manage strong and secure passwords. In the following, we will introduce you to some of the most important features of BitWarden software.
1. Sync all devices
With secure tools called Cloud Syncing, Bitwarden allows users to access their data from any device, such as a laptop, mobile phone, or tablet. In fact, all user information is encrypted before being sent from the user’s device, and only the user can access the information. For this reason, even if the Bitwarden team wants, they will not be able to view user information. In Bitwarden, users’ information is encrypted with powerful algorithms.
2. Access and use of Bitwarden
A password management software will not be useful if it is not readily available. Hence, Bitwarden provides users with various ways to access their software. The first step in starting to use Bitwarden is to create an account. To use Bitwarden on Windows, Mac, and Linux operating systems, you can use the desktop application for each operating system. Bitwarden has a special plugin for almost all browsers that users can install and use in their browser to make their browsing more secure.
Note: When a user does not have access to any of their personal devices and is using other people’s personal computers, they can access their Bitwarden via the web without the need for any applications or plugins.
3. Open source and free
The Bitwarden team believes that one of the most important features of Bitwarden is that it is open source. So source code transparency is absolutely essential for software like Bitwarden. Therefore, BitWarden is completely open source software and its source code is on GitHub and everyone can review, modify and participate in its development.
The main Bitwarden features listed below are available to users for free:
– Access and install all Bitwarden applications
– Sync without restrictions on all users’ devices
– Unlimited storage of items
– Add items for logins, confidential notes, and bank cards
– Two-step authentication
– Generator of secure and strong passwords at random
– Customize your personal server to use Bitwarden features
How to Install and Configure Bitwarden on Windows RDP
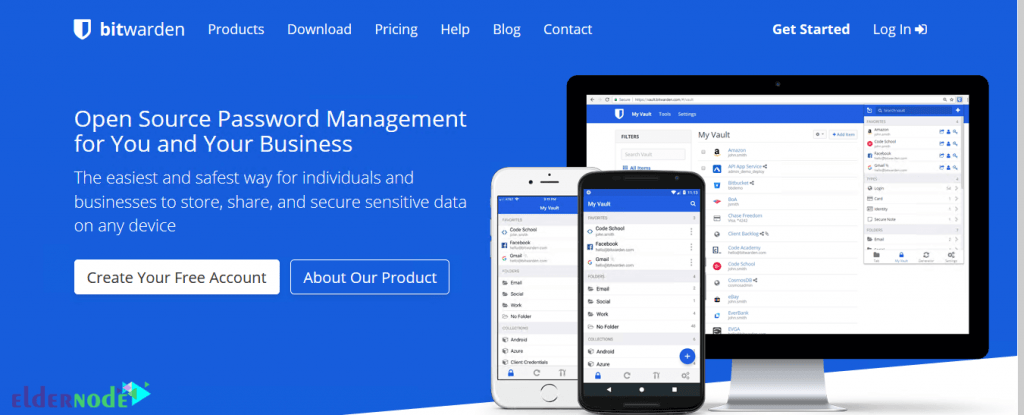
In this section, we will teach you how to Install Bitwarden on Windows RDP. To install Bitwarden, you first need to go to the Bitwarden website and create an account. In the first step click on Create Your Free Account.
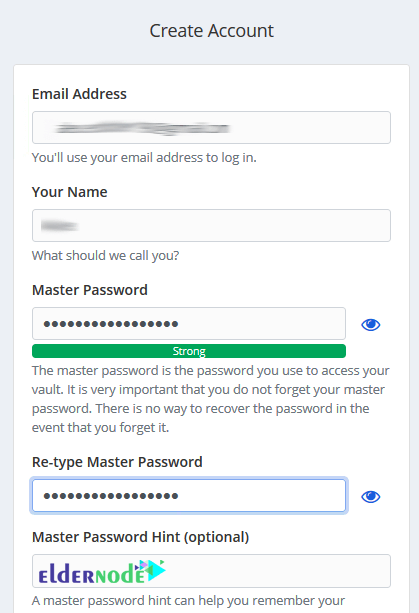
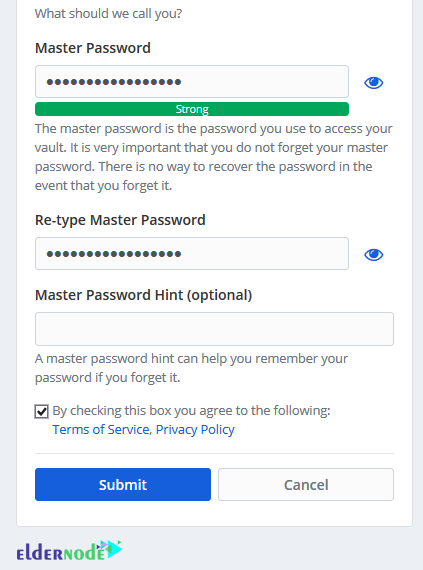
In the page that opens, fill in the requested fields. Then check the By checking this box… option and click on Submit to create your account.
*
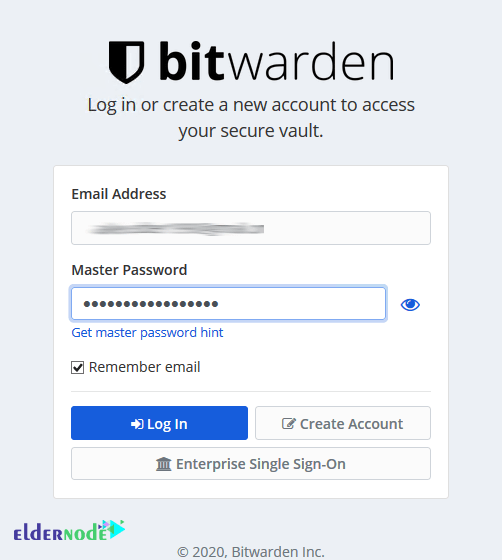
In the next step, you will enter the following page. After entering the email and Master Password, click on the Log In to enter your dashboard.
*
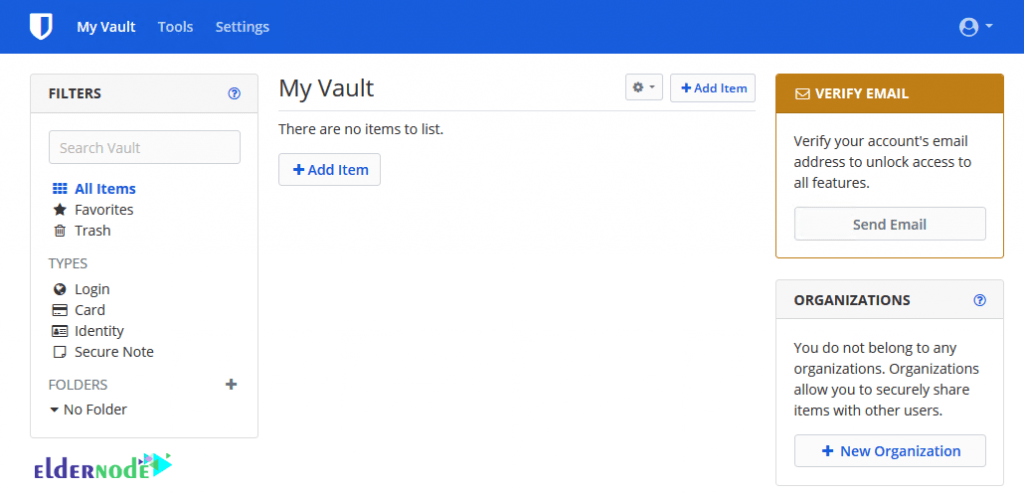
Now that you have created your user account, you can install Bitwarden on Windows, macOS, and Linux. You can also install the Bitwarden extension on your favorite browser. To do this, go to the Bitwarden site and select the download tab.
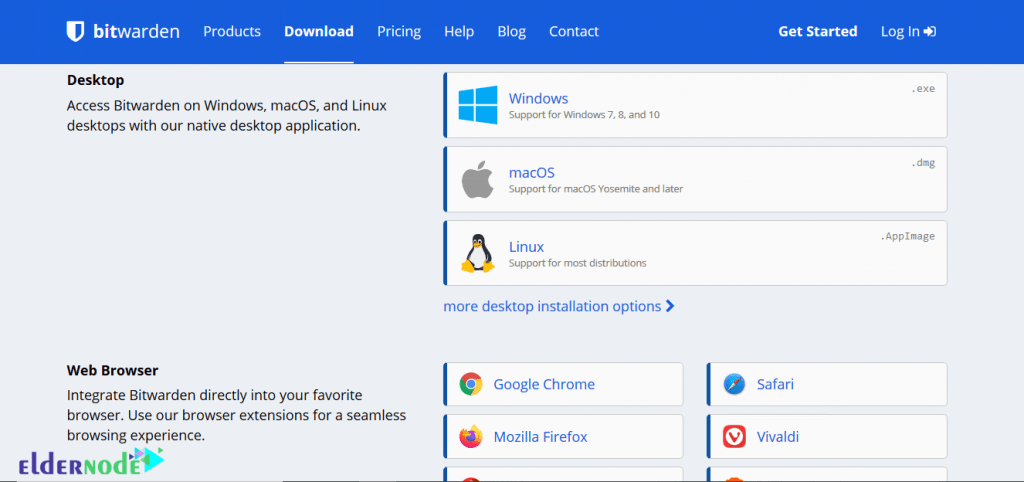
In the following, we are going to teach you how to install the Bitwarden extension in the Google Chrome browser. To do this, click on Google Chrome from the Web Browser section.

On the next screen, click Add to Chrome.

Then click on Add extension.

You will see the Bitwarden icon appear in the upper right corner. But it is off for now.

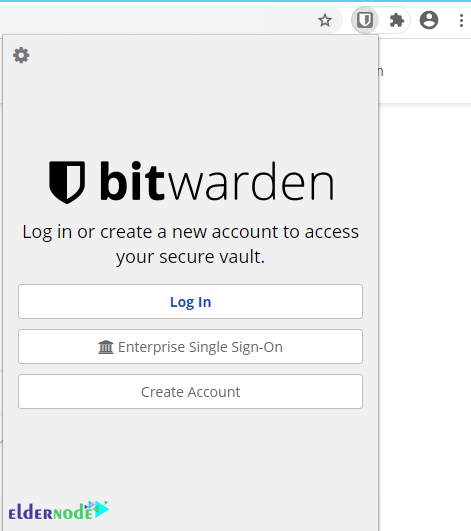
To activate it, you must log in to your account. Click on the Bitwarden icon to log in to your account. In the window that opens, click on Log In.
To enter, type the email and Master Password and click on Log In.
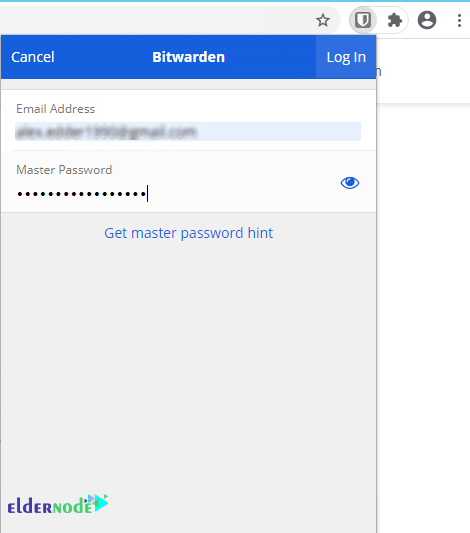
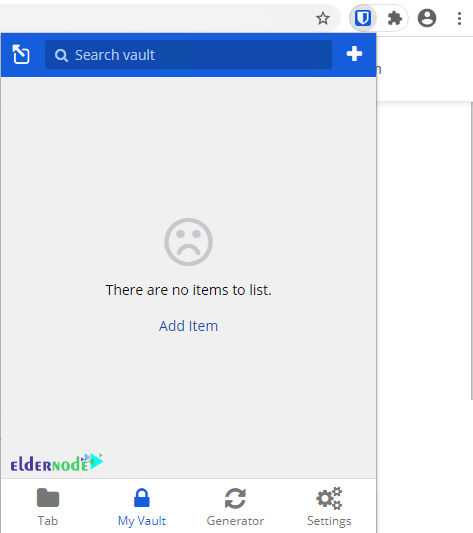
As the icon turns blue, you can see that the Bitwarden extension has been successfully installed.
Conclusion
Bitwarden is one of the simplest password management applications. This app is free and a good choice for password management. Advanced users like to read code and can even host the application on their server. In this article, we first tried to introduce you to the Bitwarden password management program. Also taught how to Install Bitwarden on Windows RDP and install its extension on Chrome browser.
