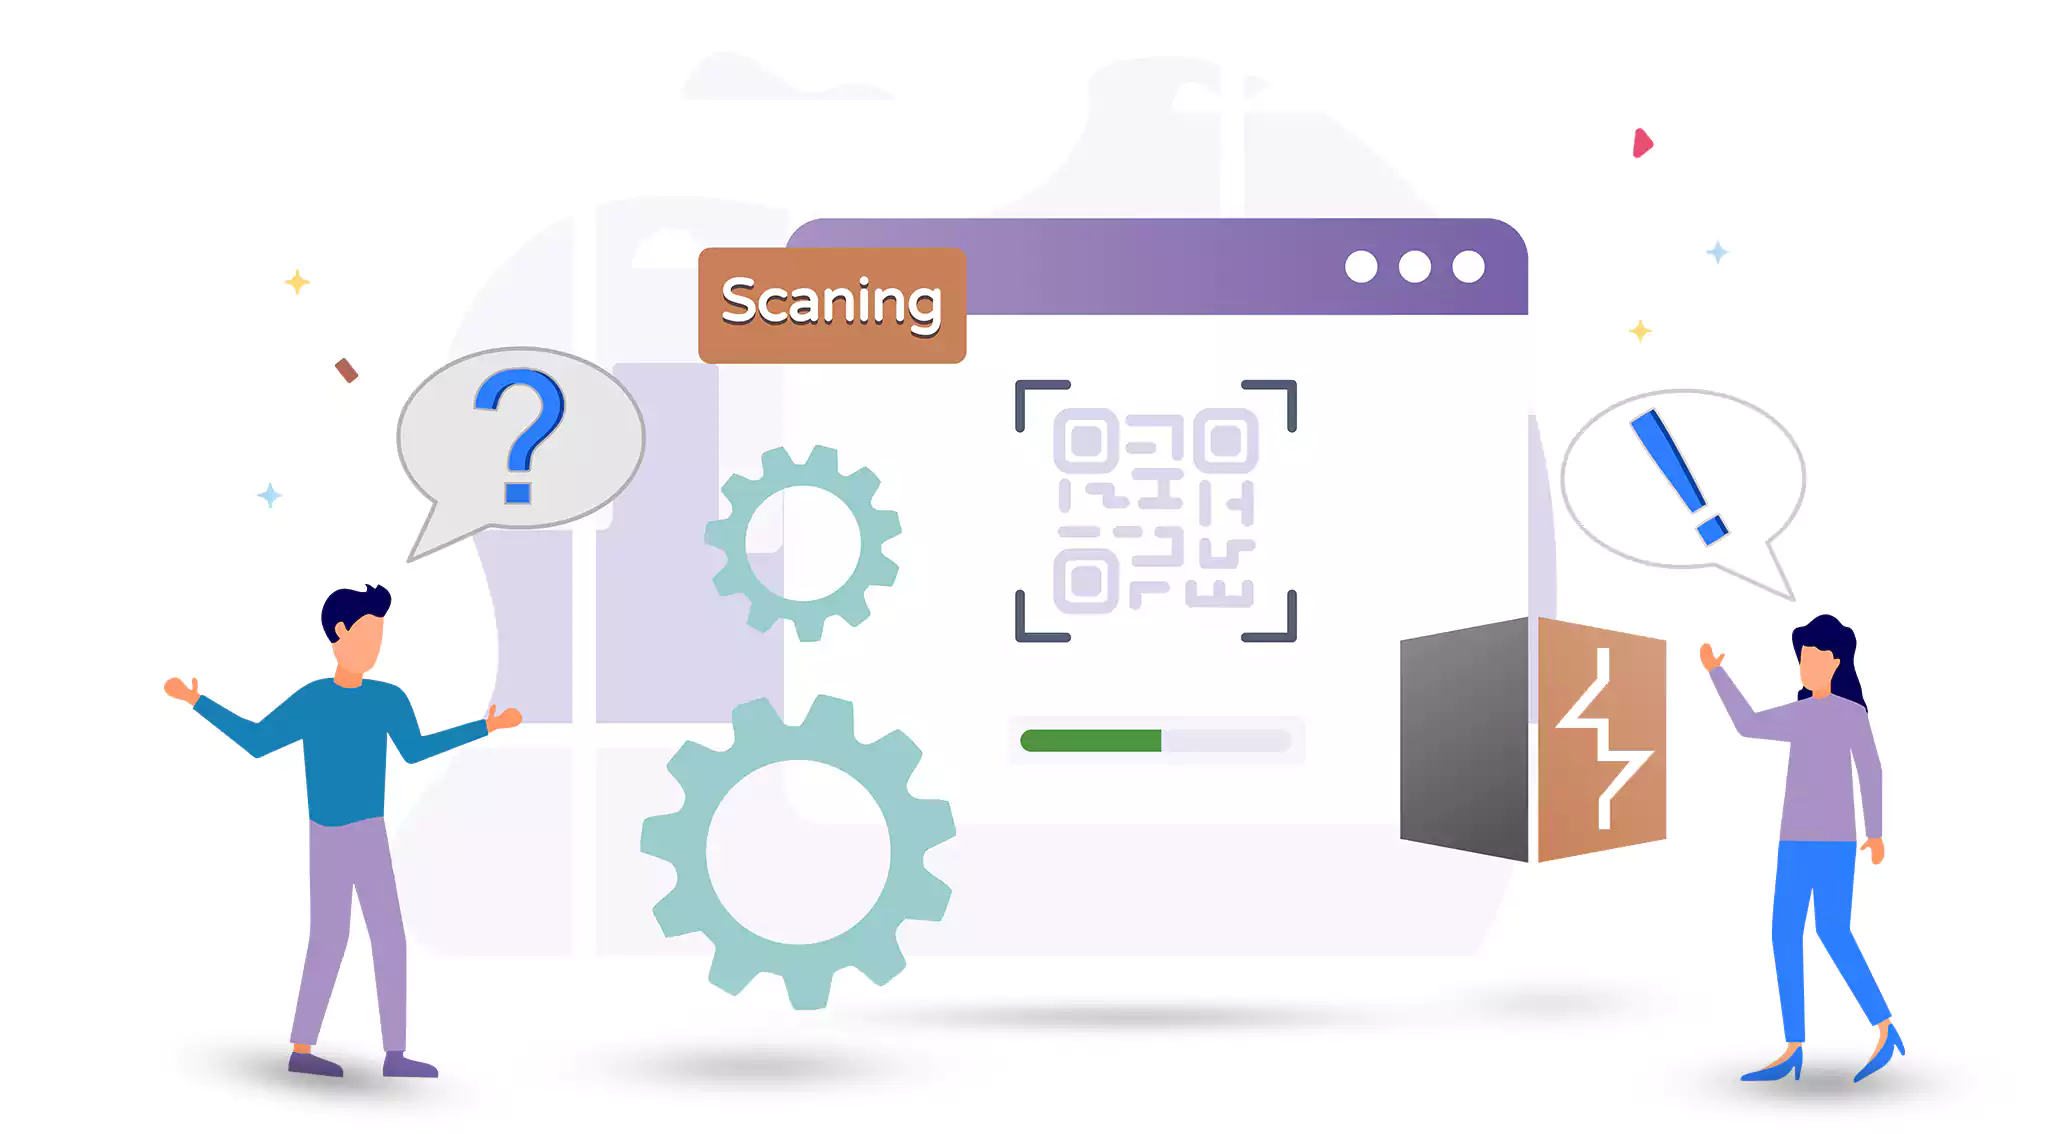
Welcome to the ultimate guide on harnessing the potential of CMS Scan within Burp Suite, one of the most popular web application security testing tools available. In this tutorial, we’ll walk you through the step-by-step process of utilizing CMS Scan to identify content management systems and their vulnerabilities. Let’s get started with demystifying CMS Scan! Choosing a budget-friendly Linux VPS package could be the most advantageous option.
Table of Contents
Section 1: Installing and Setting Up CMS Scan on Burp Suite
1.1 Checking Compatibility: Ensure your Burp Suite version is compatible with the CMS Scan extension.
1.2 Installation: Download the CMS Scan extension and integrate it into Burp Suite.
1.3 Configuration: Set up the necessary parameters in CMS Scan for effective scanning.
Section 2: Preparing for CMS Scanning
2.1 Target Selection: Define the target website or application that you want to scan.
2.2 Scoping: Identify the specific parts of the target to include or exclude from the scan.
2.3 Proxy Setup: Configure the necessary proxy settings for successful scanning.
Section 3: Conducting CMS Scan
3.1 Initiating the Scan: Launch the CMS Scan within Burp Suite.
3.2 Choosing Scan Options: Select the appropriate scan options (e.g., aggressive mode, deep crawling) as per your requirements.
3.3 Scanning Process: Understand the different stages of the scanning process and how to monitor the progress.
3.4 Interpreting Results: Decode the scan results generated by CMS Scan and identify potential vulnerabilities.
Section 4: Advanced Techniques and Customization
4.1 Handling False Positives: Learn techniques to minimize false positive results and improve efficiency.
4.2 Customizing Plugins: Extend the capabilities of CMS Scan by creating or customizing your own detection plugins.
4.3 Integrating with Other Tools: Explore how to integrate CMS Scan with other Burp Suite extensions for a more comprehensive security assessment.
Section 5: Testing and Verification
5.1 Re-scanning: Leverage the power of CMS Scan to periodically re-scan your target for any changes or new vulnerabilities.
5.2 Manual Verification: Verify the identified vulnerabilities manually to eliminate false positives and ensure accuracy.
Section 6: Reporting and Collaboration
6.1 Creating Detailed Reports: Generate comprehensive reports summarizing the scan results along with supporting evidence.
6.2 Collaboration and Remediation: Share the reports with the relevant stakeholders and collaborate on fixing the identified vulnerabilities.
Conclusion
Congratulations! You have now become proficient in utilizing content management system Scan on Burp Suite to perform thorough content management system scanning. By following this comprehensive guide, you’ll be able to identify potential vulnerabilities, assess risks, and fortify the security of your web applications effectively. Remember to stay updated with the latest CMS Scan and Burp Suite versions to leverage new features and enhancements. Happy scanning and stay secure!


