Timeshift, a backup program that gives us the same power as Acronis or Time Capsule with the simplicity of Ubuntu. There are currently many options for using backup tools, however, few are shown to be an ideal solution for beginners. In this article, we are going to teach you to step by step How to Backup on with Timeshift on Ubuntu 20.04. You can visit the packages available in Eldernode if you wish to purchase an Ubuntu VPS server.
Table of Contents
Tutorial Backup on with Timeshift on Ubuntu 20.04
Given the importance of operating system backups, we’re trying to do that using Timeshift on Ubuntu 20.04. In the next section, we will introduce you to Timeshift. Then we will explain how to install Timeshift. Finally, we will teach you to step by step how to backup using Timeshift. Please join us.
What is Timeshift?
The timeshift program is very useful for backing up the system. TimeShift software, in addition to having a simple graphical interface, can also be used through the terminal. This program does not provide snapshots of the user’s personal files by default, but you can add personal folders and URLs if needed.
TimeShift builds a Snapshot based on a regular schedule. You can also manually create snapshots whenever you want. You can set hourly, daily, weekly and monthly schedules for it, as well as tell it to delete old snapshots from time to time. It even has a “Boot Snapshots” option that takes a snapshot of it after each system reboot.
In the continuation of this article, join us to teach you how to Backup on with Timeshift on Ubuntu 20.04.
How to Install Timeshift on Ubuntu 20.04
Before we get into how to Backup on with Timeshift, you need to install Timeshift. Since TimeShift is not officially hosted on Ubuntu repositories, you should use the following command to add a PPA:
add-apt-repository -y ppa:teejee2008/ppaThen you need to update the system packages using the following commands:
apt updateYou can now easily install Timeshift on Ubuntu 20.04 using the following command:
apt install timeshiftBackup on with Timeshift on Ubuntu 20.04
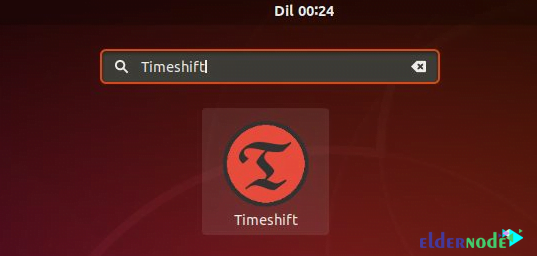
After successfully installing Timeshift on Ubuntu 20.04 in the previous section, we now want to Create a Backup by using the Timeshift GUI. The first step is to use the application menu to search for the Timeshift application and launch it.
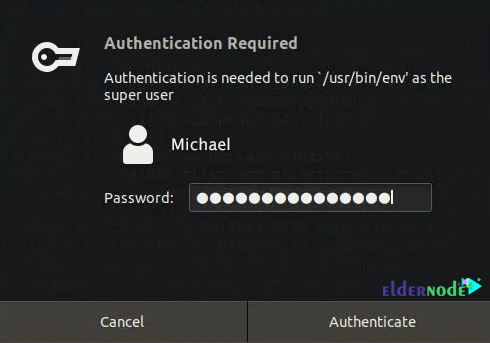
You will see that the system asks you for the administrator password. After entering the password, you must click on Authenticate.
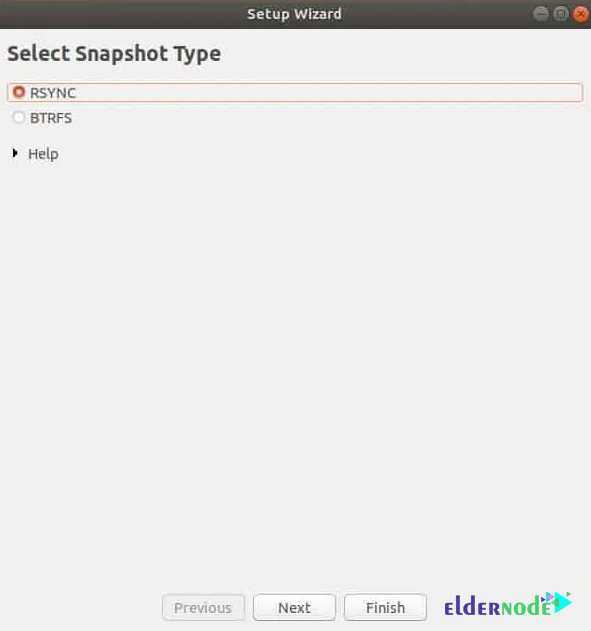
In the next step, you must select the snapshot type from the available options and click on Next.
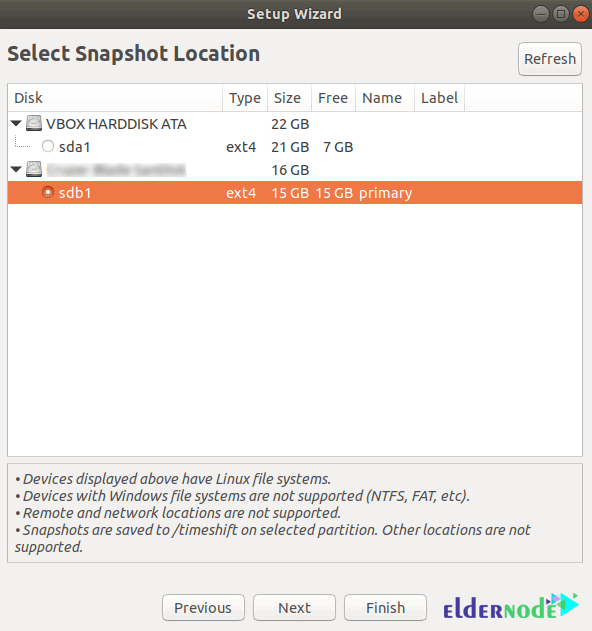
Then you need to select the destination drive for the backup and then click on Next.
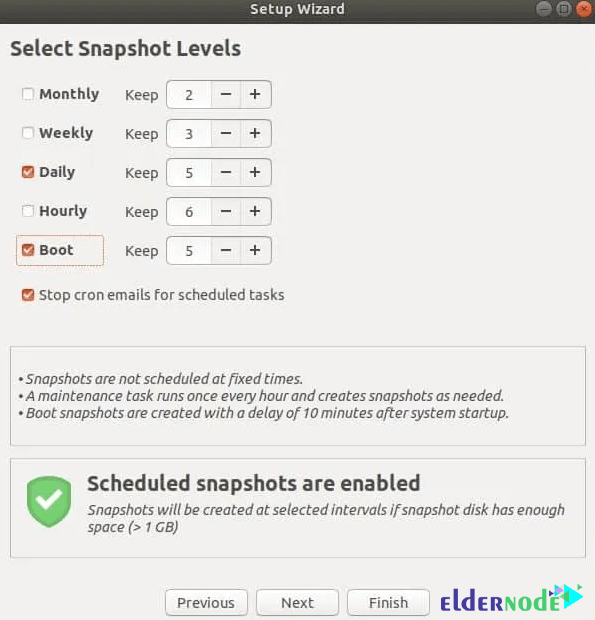
In the next step, which is to determine the level of the snapshot, you can select the option you want. You can select these levels on a monthly, weekly, daily, or hourly basis. Finally, click on Finish.
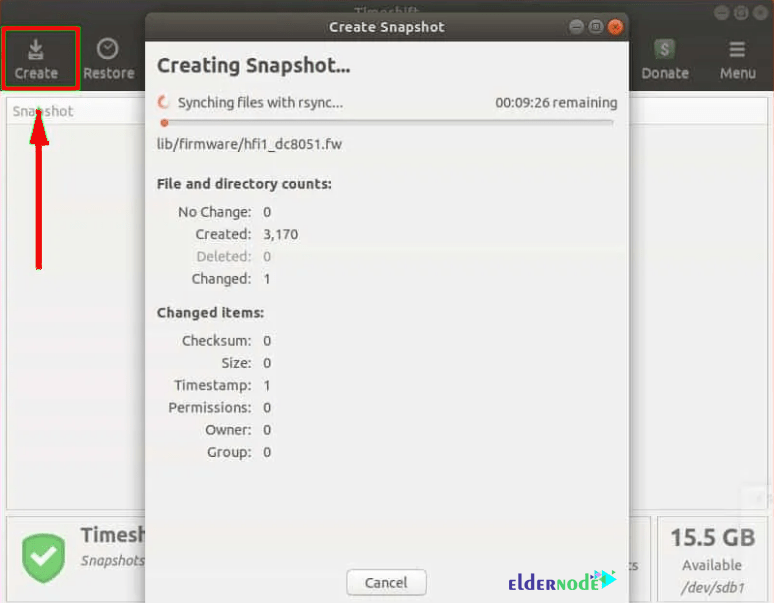
After successfully completing the above steps, you should now click on the ‘Create’ button to begin creating the snapshot on the next Window. It should be noted that by doing this, the system starts creating snapshots.
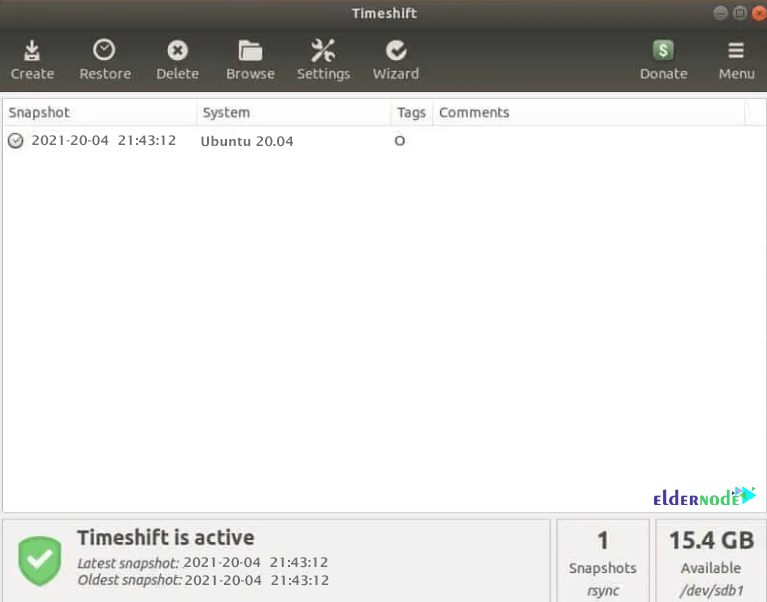
As you can see in the image below, a snapshot is displayed:
Conclusion
Timeshift is very useful for backing up the system. Timeshift also has the automatic backup capability. In this article, we tried to teach you how to Backup on with Timeshift on Ubuntu 20.04 after defining Timeshift and installing it. You can refer to the article Introducing Acronis Backup And Recovery For Linux if you wish.
