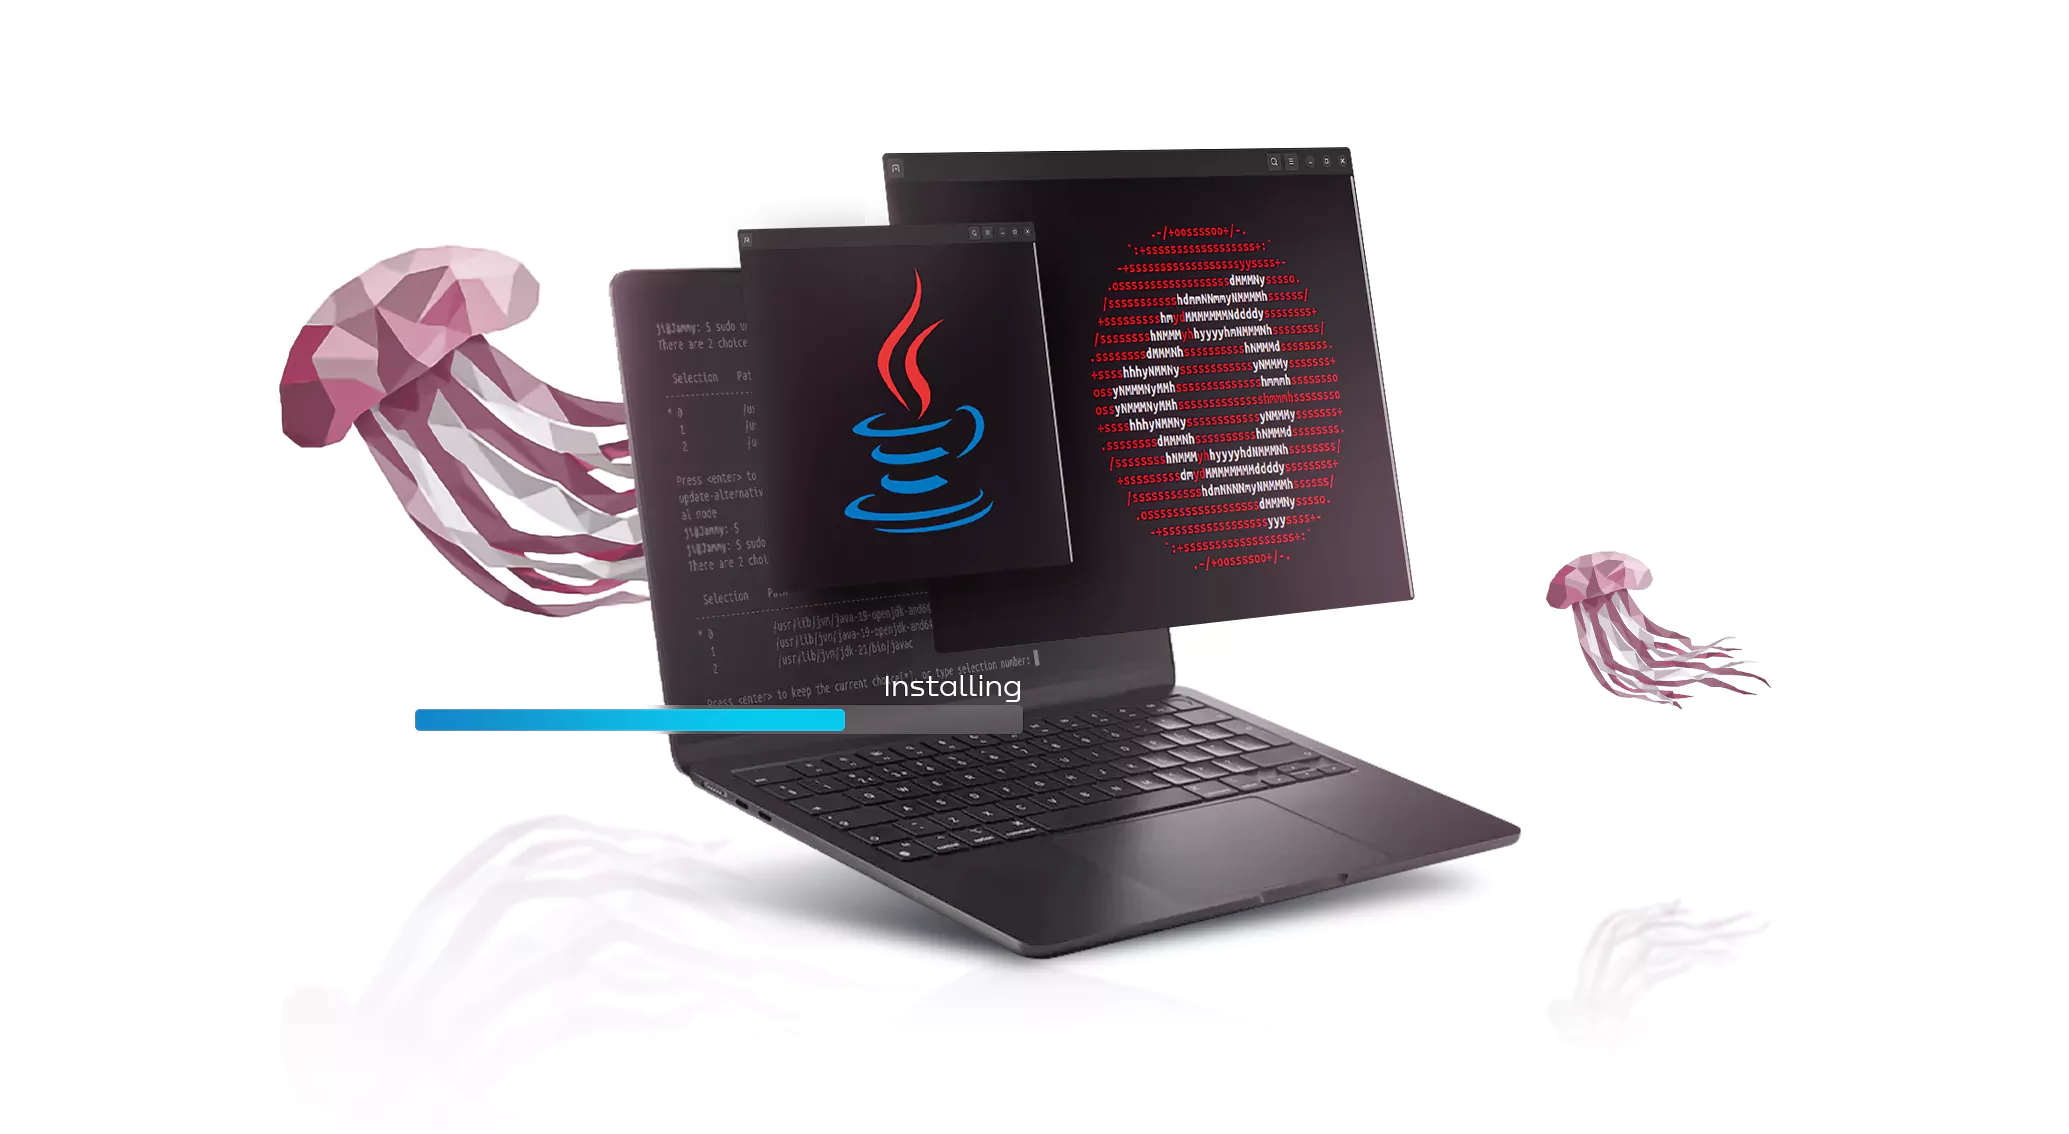
This article will provide the complete details about installing java on Ubuntu 22.04, and basically talk about different options for Java versions and their pros and cons. Next, we shall go directly to the installation providing directions which are clear and to the point such that even a beginner cannot fail to understand.
So let’s begin this journey of Java installation with your Ubuntu Server!
Table of Contents
Prerequisites
To take this tutorial, there are several things that are required. They include;
-An Ubuntu VPS 22.04 server has been created by viewing the plans and purchasing from the Ubuntu 22.04 virtual server page, including a non-root sudo user as well as a firewall.
Step 1 — How to Installing Java on Ubuntu 22.04
Java installation is characterized by two main portions. The JDK contains fundamental software tools for programming in Java, e.g., compiler and debugger. On the other hand, JRE is mainly used to execute the programmed Java codes. In addition, there are two alternative modes of installing Java. OpenJDK refers to open-source version of Java that comes bundled with Ubuntu. Oracle JDK is an initial version of Java that is fully supported by Oracle – the creators of this language.
Installation of JRE/JDK
To install Java, you can opt for the one that comes with Ubuntu. Open JDK 11 is included in the default installation of Ubuntu 22.04, that is an open source version of JRE and JDK.
For you to install OpenJDK Java on ubuntu, first, you must update your apt package index with following command:
sudo apt updateAfter the update, check if Java is already installed:
java -versionYou will be able to see this output if Java is not installed.
Output
Command ‘java’ not found on your server, but can be installed with:
sudo apt install default-jre # version 2:1.11-72build1, or
sudo apt install openjdk-11-jre-headless # version 11.0.14+9-0ubuntu2
sudo apt install openjdk-17-jre-headless # version 17.0.2+8-1
sudo apt install openjdk-18-jre-headless # version 18~36ea-1
sudo apt install openjdk-8-jre-headless # version 8u312-b07-0ubuntu1
Type the following command to install OpenJDK 11 JRE:
sudo apt install default-jreThe Java Runtime Environment (JRE) will enable you to execute almost every Java program.
To check if the installation is successful, run following like:
java -versionYou will get output similar to the following:
Output
openjdk version “11.0.14” 2022-01-18
OpenJDK Runtime Environment (build 11.0.14+9-Ubuntu-0ubuntu2)
OpenJDK 64-Bit Server VM (build 11.0.14+9-Ubuntu-0ubuntu2, mixed mode, sharing)
To have some particular Java programs compiled and run, the JDK may be required in addition to the JRE. To install the JDK, please execute this following command and the JRE will be installed as well.
sudo apt install default-jdkTo check for the JDK installation, verify the javac version, which is equivalent to Java compiler:
javac -versionYou will see:
Output
javac 11.0.14
Step 2 — Java Management
It is possible to have multiple Java installations on one server. You can set the default version for use in command line by using the update-alternatives command.
sudo update-alternatives --config javaPress the number of the Java version you want to use as the default, or hit ENTER if you want to retain the current settings.
The same can be done for other Java commands like compiler (javac):
sudo update-alternatives --config javacStep 3 — SET JAVA_HOME
A lot of Java-based applications depend on JAVA_HOME environment variable to know where exactly Java is installed.
At the moment when you need to set up this variable, you have to determine the place where Java has been installed. So use the following command update-alternatives.
sudo update-alternatives --config javaThe installation paths in this case are:
/usr/lib/jvm/java-11-openjdk-amd64/bin/java is where OpenJDK 11 is.
/usr/lib/jvm/java-11-oracle/jre/bin/java is where Oracle Java is.
Take the path from your most preferred installation. Thereafter open nano or any other text editor that you feel comfortable with and then move on to “/etc/environment.”
sudo nano /etc/environmentAfter completing this document, paste the path below into your terminal ensuring that you replace the part in yellow with your copied path and that you leave out the bin/ section of the path.
/etc/environmentJAVA_HOME="/usr/lib/jvm/java-11-openjdk-amd64"Modifying so will cause the JAVA_HOME path to be set for all users on your system.
Then save the file and exit the nano or vi editor.
You can refresh this file again in order to apply the changes in your session.
source /etc/environmentVerify:
echo $JAVA_HOMEYou will see the route you just set:
Output /usr/lib/jvm/java-11-openjdk-amd64In order to apply this setting, the other users will be required to either execute the command source /etc/environment or log out and log back in.
Conclusion
Therefore, we have learned to Installing Java on Ubuntu 22.04 through this step-by-step guide which will enable you set up the working environment and run various applications within the Java sphere.
It is important to note that choice of the Java version to be installed, if it’s been used by any software before. Please, make sure that installation is correct, and you’ve adjusted all required environmental variables for better development/deployment experience with Java.
With this tutorial you are a step closer to becoming an Ubuntu 22.04 powered by java!


