You have recently learned about Joomla. Again in this article, you will learn How to install Joomla on CentOS 8. Joomla is a popular free and open-source Content Management System (CMS) written in PHP. Although it’s not as popular as its counterpart WordPress, it’s still used for creating blogs/websites with limited or no web programming knowledge.
It is useful for you to know that it comes with a neat and intuitive web interface that is easy to use and packed with numerous add-ons that you can use to enhance the appearance and functionality of your website.
Table of Contents
Prerequisites
Since Joomla is a PHP platform that will be administered on the front-end and store data, you need to have a LAMP stack installed on CentOS 8.
How to install Joomla on CentOS 8
Join us to finish the steps of this guide to be an expert at How to install Joomla on CentOS 8.
1- Install PHP Modules in CentOS 8
Once you have a LAMP setup in place, you can begin installing a few additional PHP modules, which are crucial for the Joomla installation.
sudo dnf install php-curl php-xml php-zip php-mysqlnd php-intl php-gd php-json php-ldap php-mbstring php-opcache
2- Create a Joomla Database
You need to create a database for Joomla to hold files during and after the installation when the PHP modules are installed.
To start MariaDB server and confirm the status of the MariaDB server:
sudo systemctl start mariadb sudo systemctl status mariadbYou succeded to run the server. Now log in to the MariaDB database engine:
mysql -u root -p Then, let’s create a database and a database user for Joomla by executing the commands below in the MariaDB database engine.
MariaDB [(none)]> CREATE DATABASE joomla_db; MariaDB [(none)]> GRANT ALL ON joomla_db.* TO ‘joomla_user’@’localhost’ IDENTIFIED BY ‘StrongP@ssword’; MariaDB [(none)]> FLUSH PRIVILEGES; MariaDB [(none)]> EXIT;
3- Download Joomla Installation Package
In this step, proceed to Joomla’s official website and download the latest installation package.
Run the following command to download the zipped package:
sudo wget https://downloads.joomla.org/cms/joomla3/3-9-16/Joomla_3-9-16-Stable-Full_Package.zip?format=zip Next, unzip the file to the /var/www/html directory.
sudo unzip Joomla_3-9-16-Stable-Full_Package.zip -d /var/www/html Now, assign the appropriate file permissions and ownership.
sudo chown -R apache:apache /var/www/html/joomla sudo chmod 755 /var/www/html/joomla 4- Configure Apache for Joomla
Let’s configure your Apache webserver to serve Joomla’s webpages. For this to be successful, you must create a virtual host file.
sudo /etc/httpd/conf.d/joomla.conf And then append the lines below.
<VirtualHost *:80> ServerAdmin [email protected] DocumentRoot "/var/www/html/joomla" ServerName joomla.example.com ErrorLog "/var/log/httpd/example.com-error_log" CustomLog "/var/log/httpd/example.com-access_log" combined <Directory "/var/www/html/joomla"> DirectoryIndex index.html index.php Options FollowSymLinks AllowOverride All Require all granted </Directory> </VirtualHost> Now you can save the changes and exit the file.
To apply the changes, restart the Apache webserver.
sudo systemctl restart httpd At this point, you are almost done with the configurations. However, you need to allow access to external users to access Joomla from our server. To achieve this, open ports 80 and 443 which are the HTTP and HTTPS ports.
sudo firewall-cmd --permanent --add-service=http sudo firewall-cmd --permanent --add-service=httpsReload the firewall to apply the changes.
sudo firewall-cmd --reload
5- Finalizing the Joomla Installation
The last and the only remaining step is to complete the installation via a web browser. To do this, type your server’s IP address in the URL bar.
http://server-IPThen you will see the screen below.
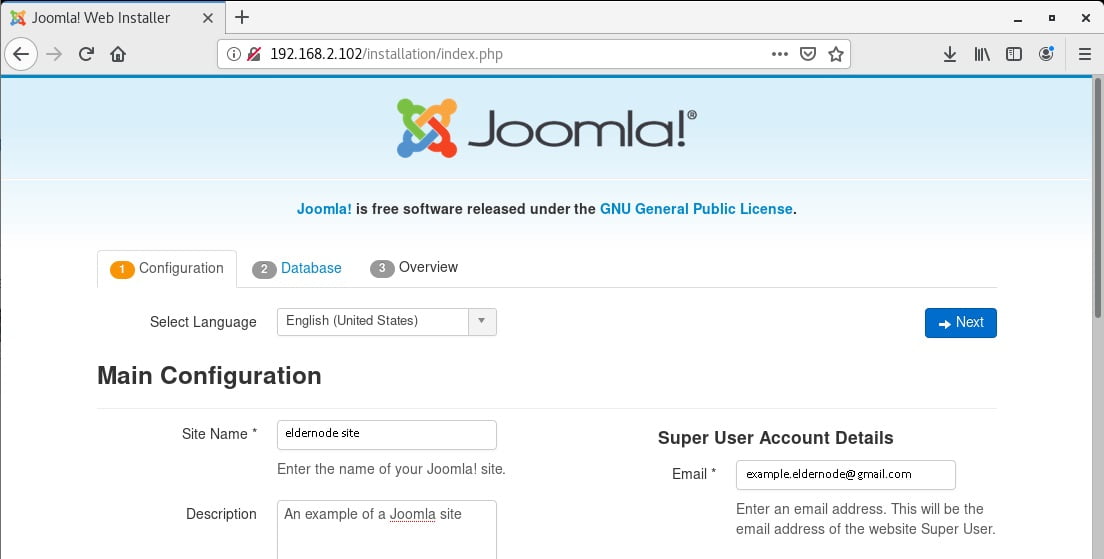
As you are aware, you should fill in all the necessary details such as the site name, site information, admin username & password, email address, and click on the ‘Next’ button.
Then you see this webpage will prompt for your database details. So, supply the Database type as MySQL, and key in the rest of the details such as database name, username, and password.
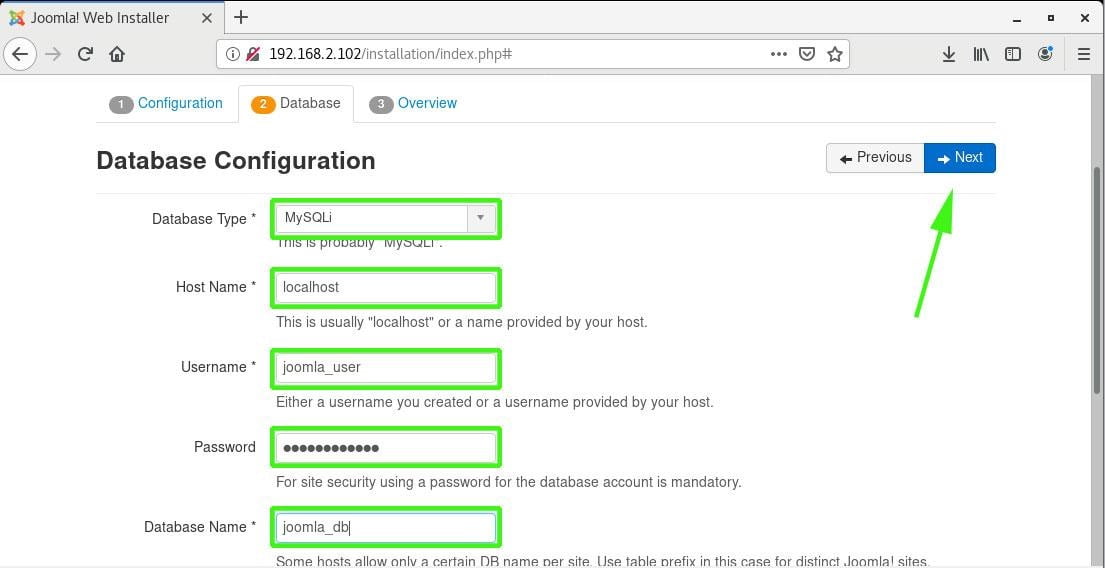
Then click on the ‘Next’ button to let it brings you to this page where you will be required to review all the settings. If all looks Ok. click on the ‘Install’ button.

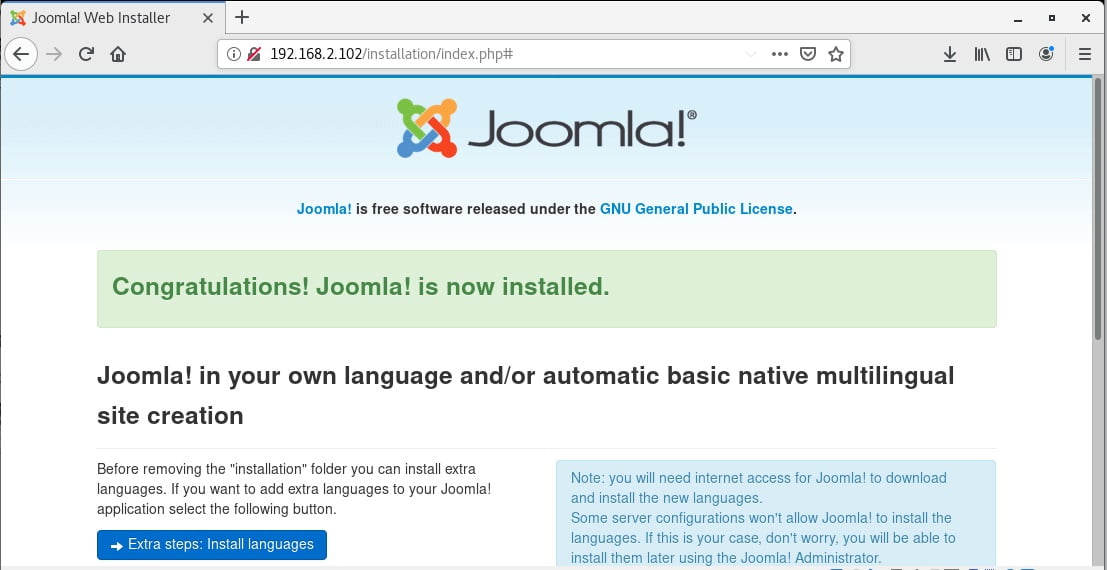
Next, you will get a notification that Joomla has been installed.
You are recommended to delete the installation folder to complete the installation. Therefore click on the “Remove installation folder” button to completely purge the installation directory.
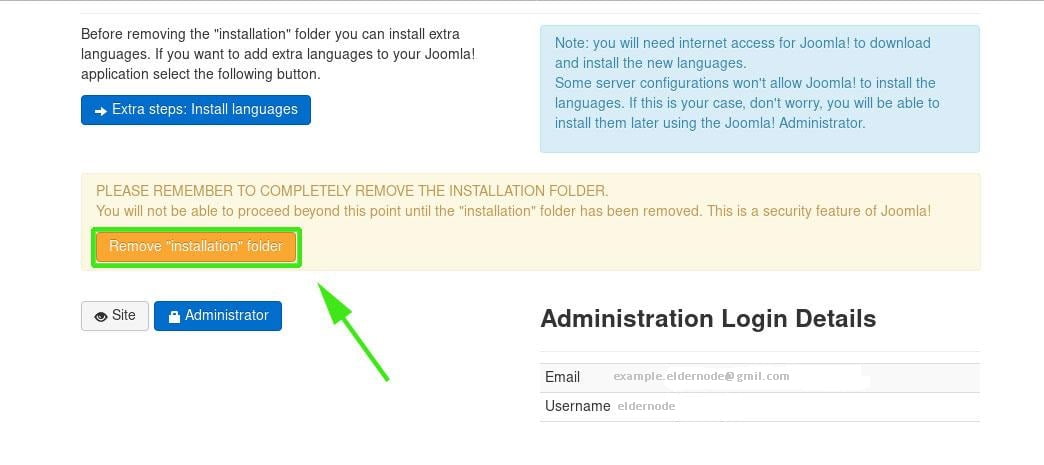
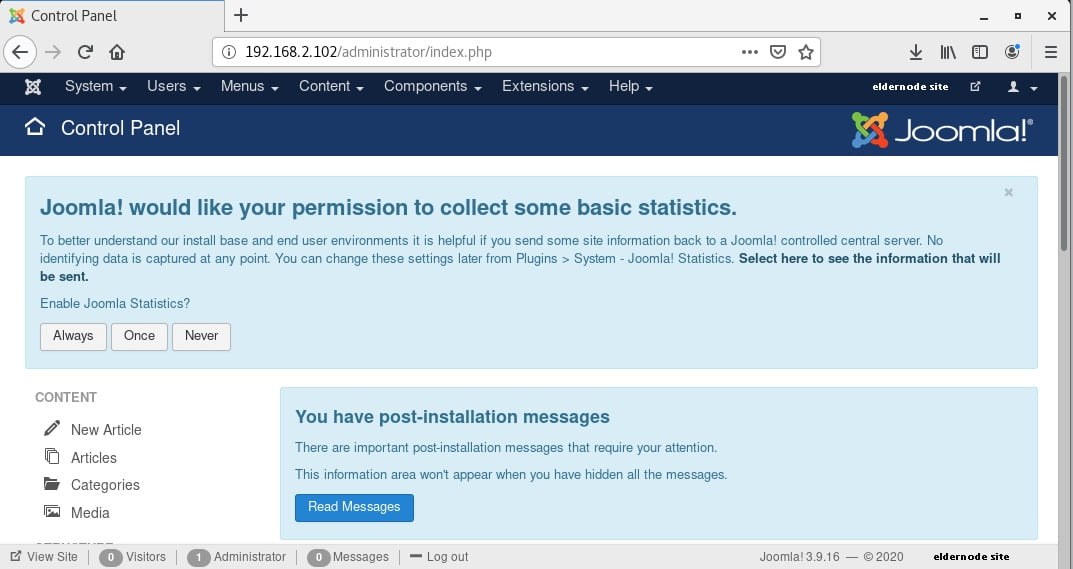
Now, type the following in the URL bar to access the Joomla control panel.
http://server-IP/administratorProvide the username and password and hit the ‘Login’ button. And there goes Joomla’s dashboard! You can now start creating stunning blogs and websites.
Good Job! By reaching here, you succeded to finish this tutorial.
Dear user, we wish this tutorial How to install Joomla on CentOS 8 would be helpful for you, to ask any question or review the conversation of our users about this article, please visit Ask page. Also to improve your knowledge, there are so many useful tutorials ready for Eldernode training.