XAMPP is software for creating a local web server. This software is used for all people who somehow deal with website design. Whether those who want to learn a content management system like WordPress and eventually start a website using it or web programmers who want to develop a web application. This article will teach you How to Install XAMPP on Mac. If you intend to get VPS server, check out the packages offered on our website.
Table of Contents
Tutorial Install XAMPP on Mac
XAMPP is an abbreviation where X stands for Cross-Platform, A stands for Apache, M stands for MYSQL, and the Ps stand for PHP and Perl and is a free and open-source web server. It was developed by Apache Friends, and is available in 11 languages and supported by different platforms such as the IA-32 package of Windows & x64 package of macOS and Linux. In fact, this software is officially designed as a development tool to allow website designers and programmers to test their work on their own computers without needing to access the Internet.
Download XAMPP for Mac
The first step is to download XAMPP for Mac. To do this, visit the XAMPP official website, choose your desired version from XAMPP for OS X section, and click on Download (64-bit):
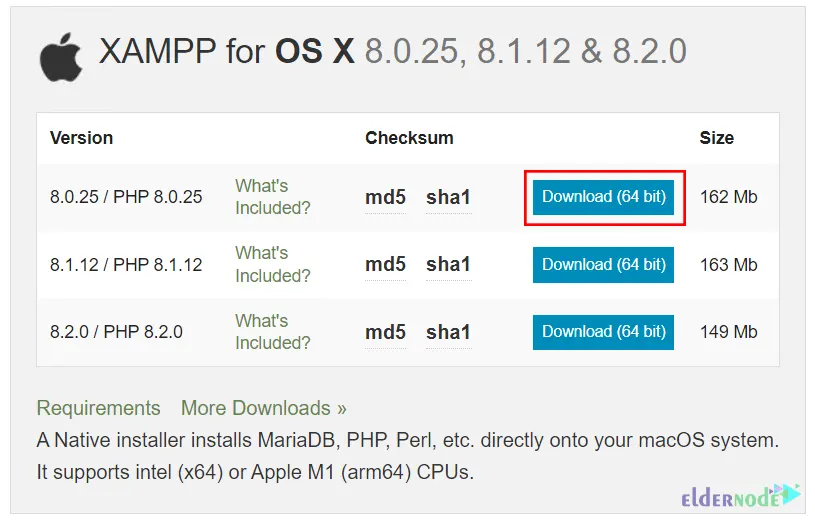
Or open the following link to start the download:
https://www.apachefriends.org/xampp-files/7.2.0/xampp-osx-7.2.0-0-installer.dmgintoInstall the XAMPP File to Begin the Installation Process
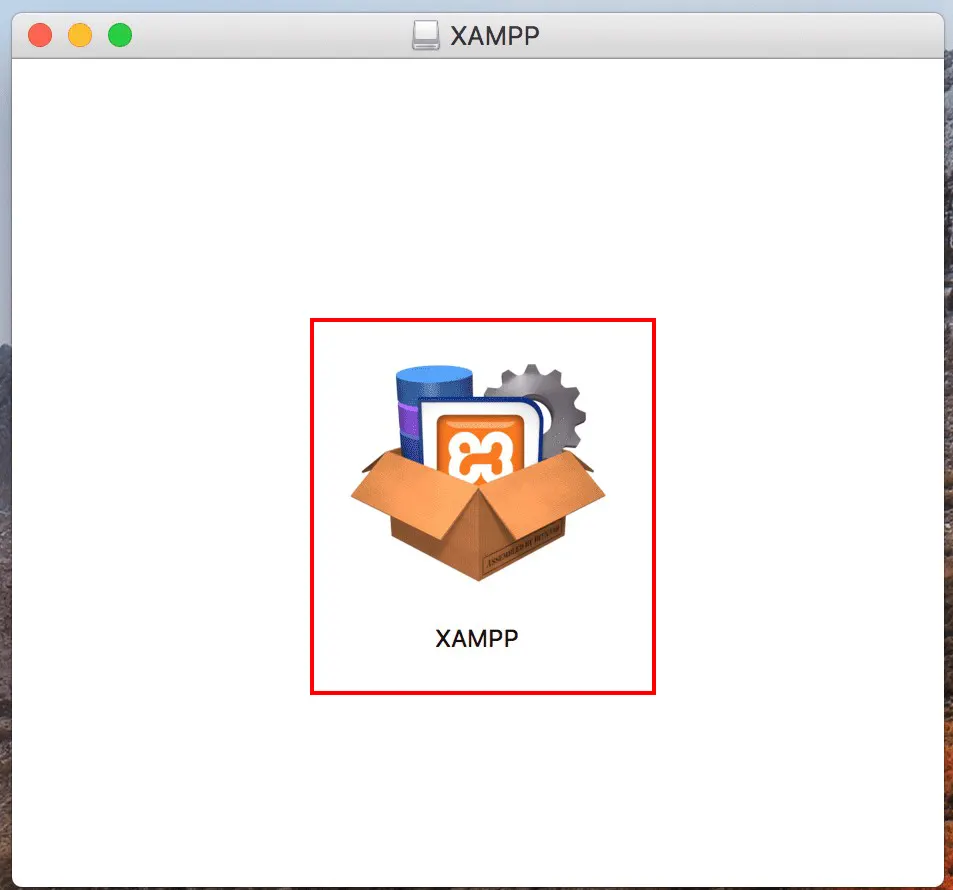
Once the download is finished, double-click the downloaded file.
After the XAMPP application is opened, double-click on XAMPP:
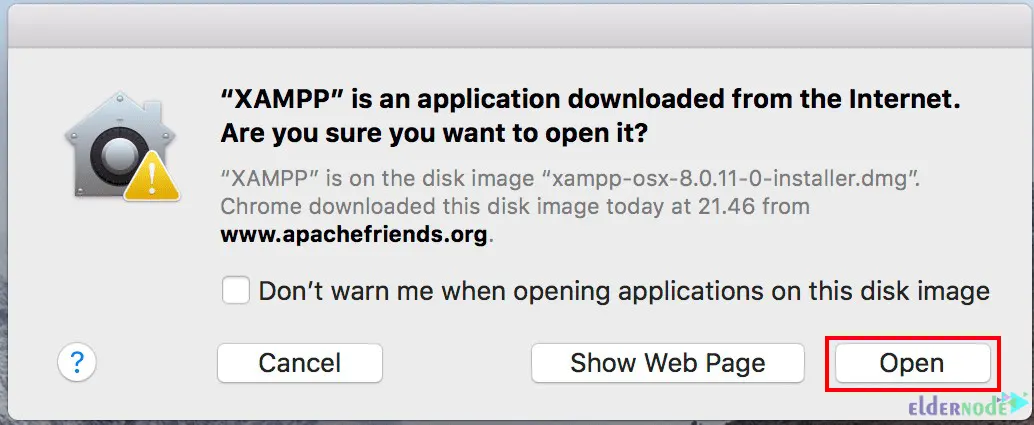
You will then be asked to allow XAMPP to open. To do this, click Open:
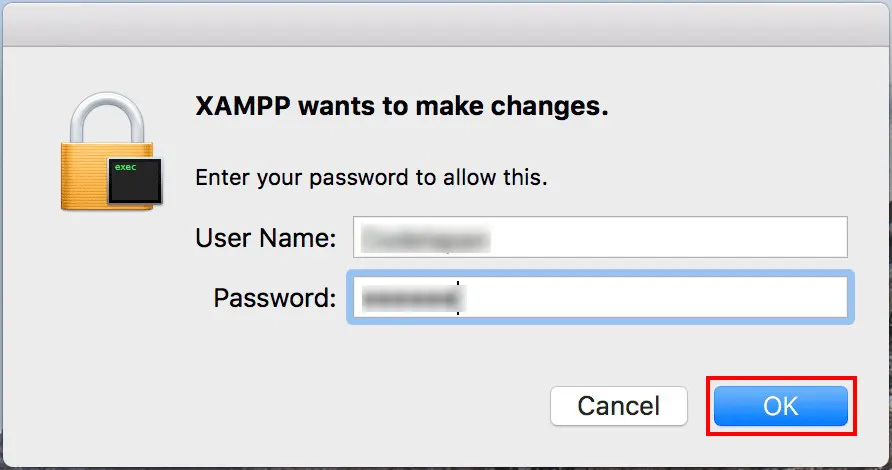
Now enter your username and password:
Select Which Components are Installed or Updated
In this step, the XAMP setup will begin. Just click on Next to proceed:

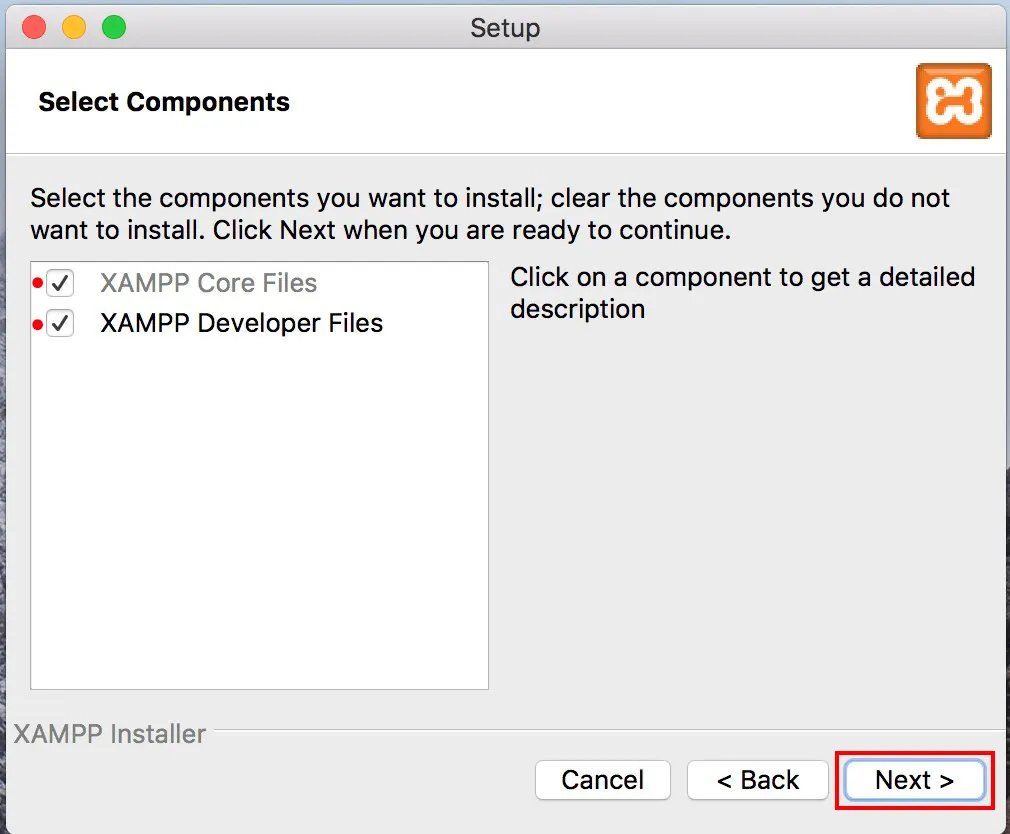
Now it’s time to choose your desired components to install. If you want to install all the components, click the two-component checkboxes which are XAMPP Core Files and XAMPP Developer Files. Once you choose, click on Next:
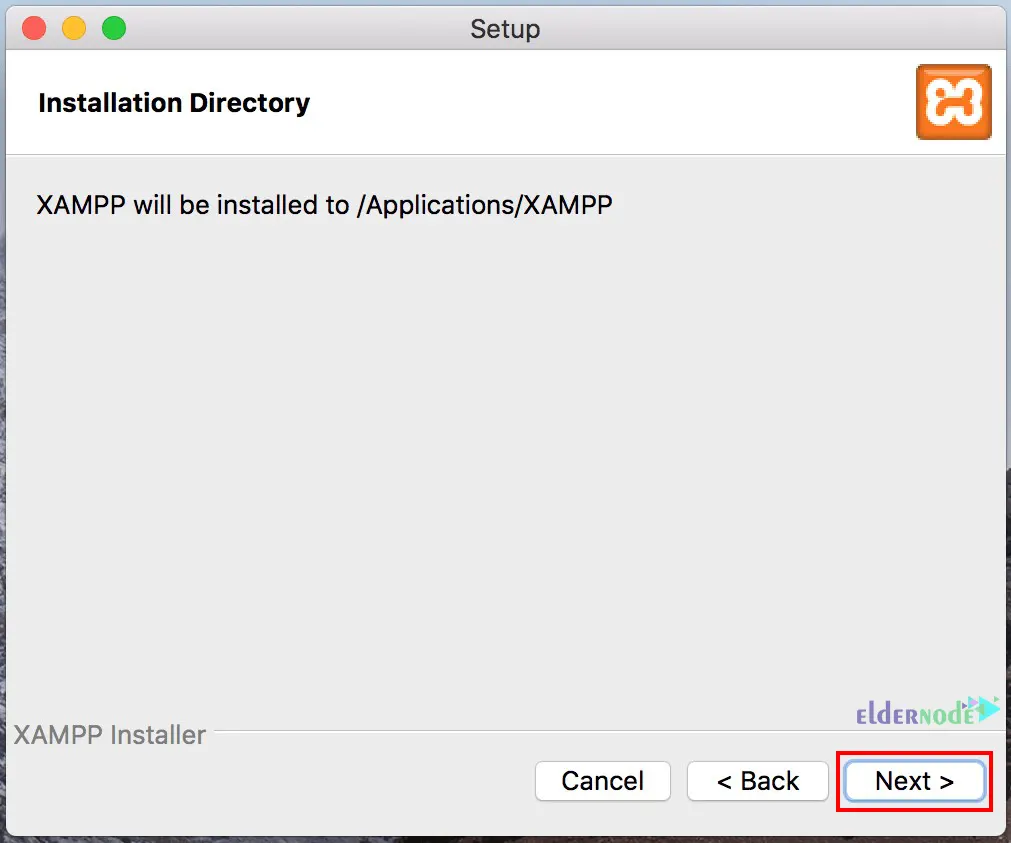
XAMPP application will install on your Applications directory and you cannot change the destination folder. So click on Next:
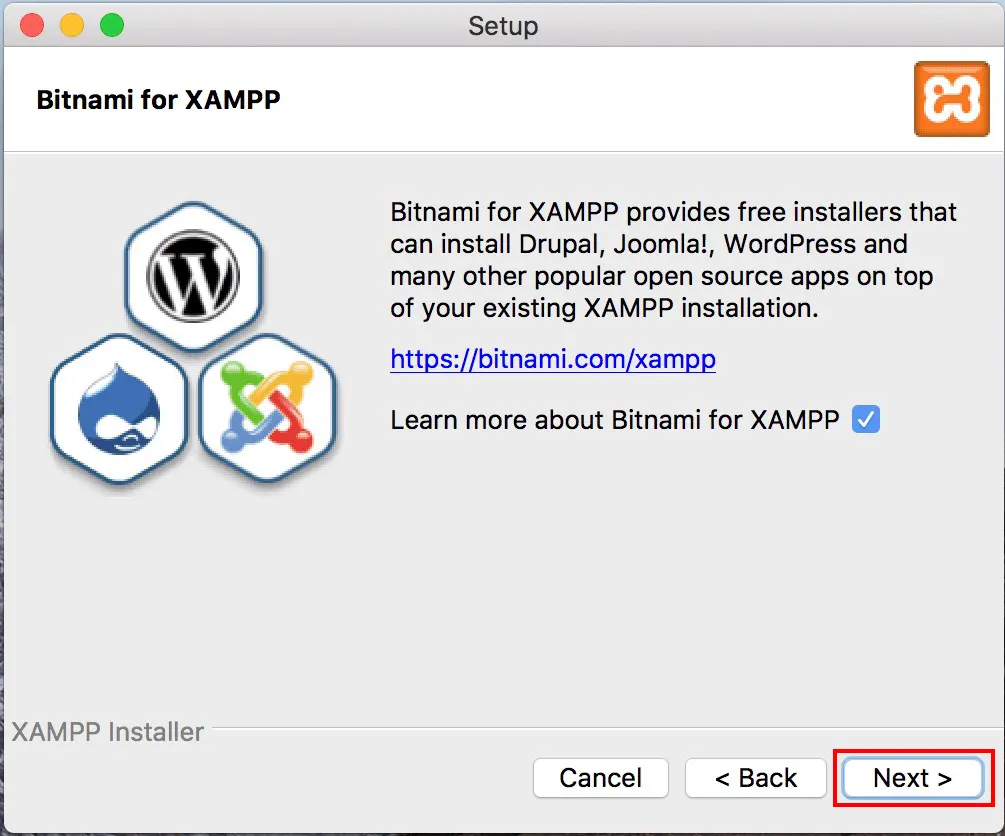
Click on Next again:
Click Finish to Finalize Installation and Setup XAMPP on Mac
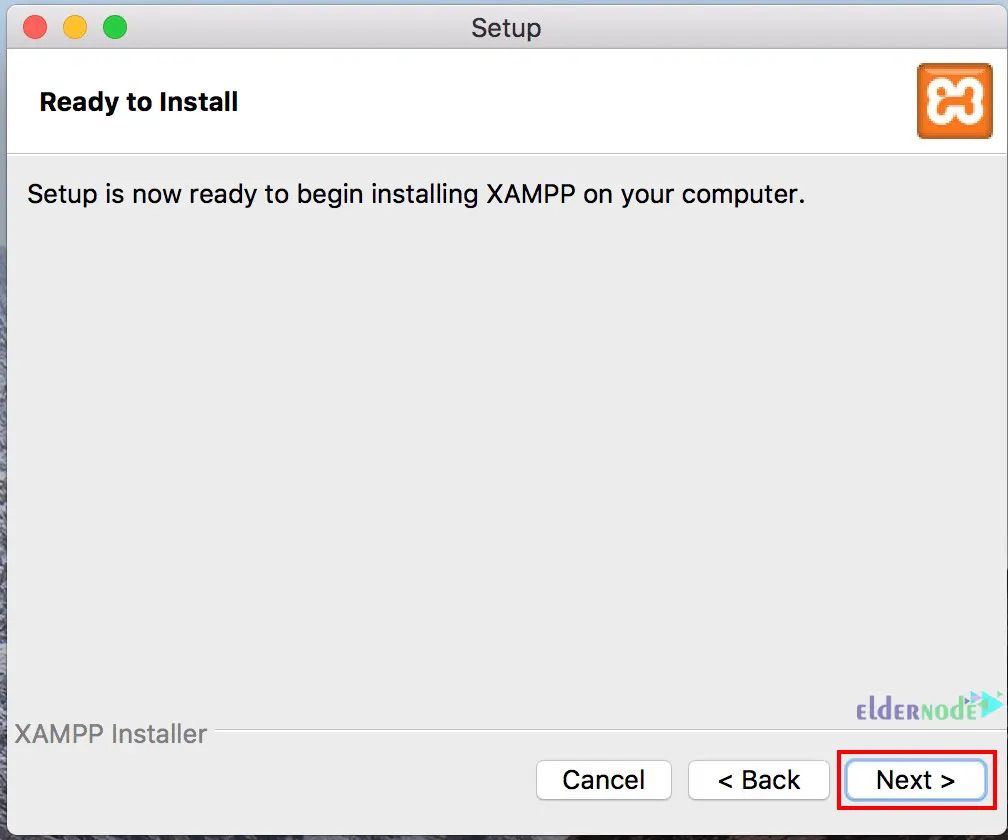
Now XAMPP is ready to install. Click on Next to begin the installation:
Wait for the installation to finish.
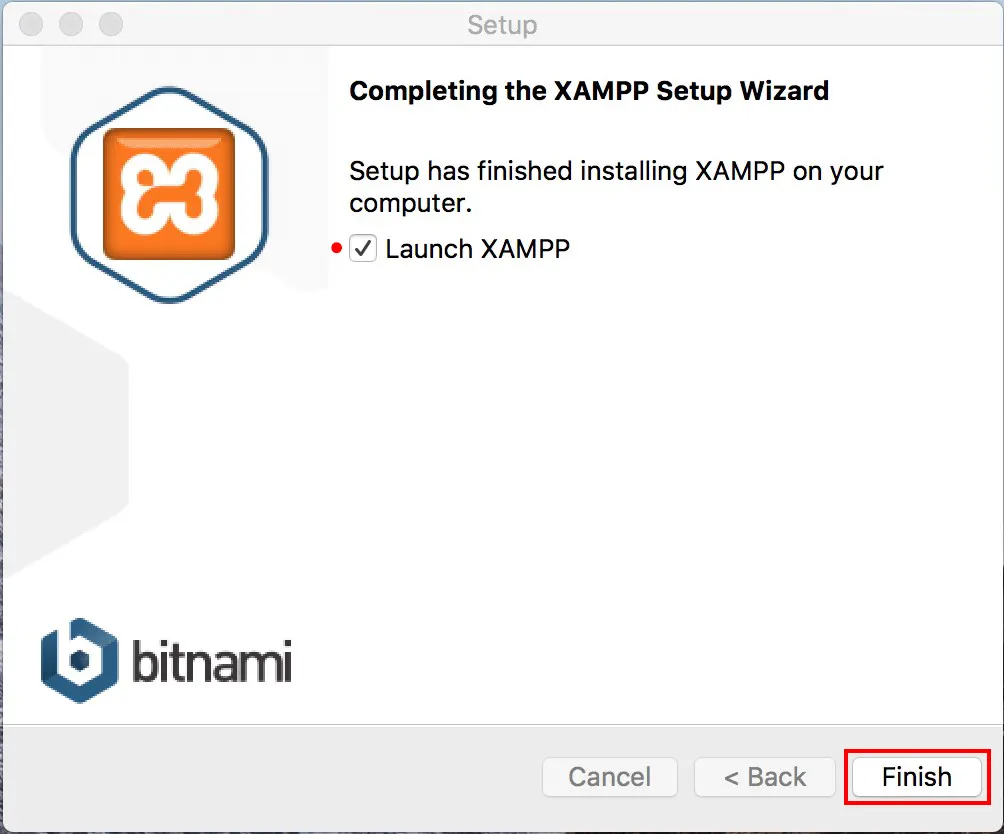
After your installation is complete, click on Finish. Remember to check the Launch XAMPP checkbox to open the XAMPP application automatically after clicking the Finish button:
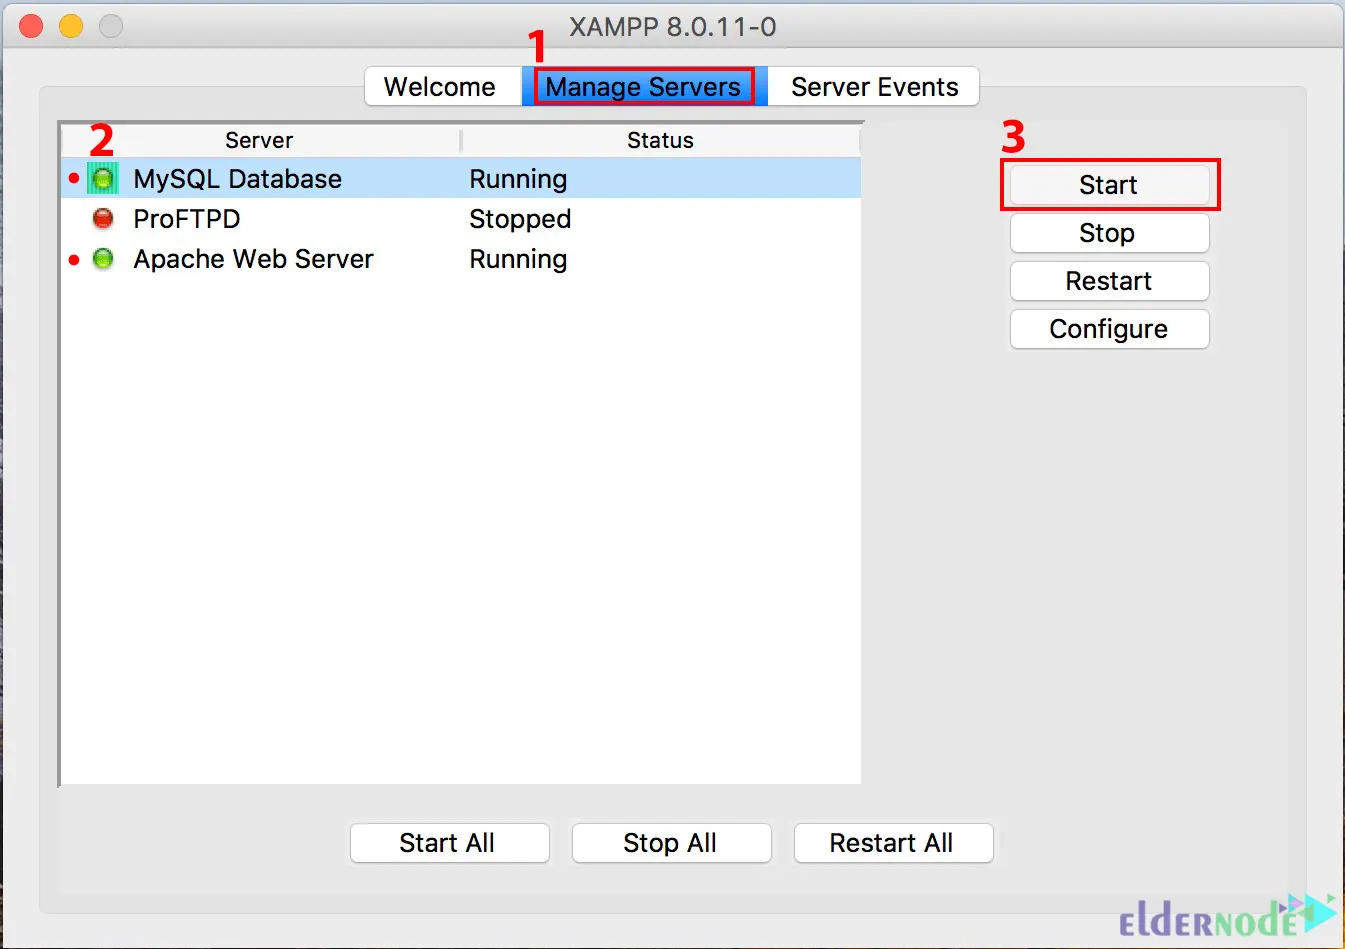
Now you will see the XAMPP application will automatically open. Click on Manage Servers >> MySQL Database >> Start to run MySQL. Also, click on Apache Web Server >> Start to run Apache:
Update PHP on Mac
You should install Homebrew to update PHP xampp on Mac. So if you are not installed Homebrew previously, run the command below to do this:
/bin/bash -c "$(curl -fsSL https://raw.githubusercontent.com/Homebrew/install/HEAD/install.sh)"Then add it to the PATH using the command below:
echo "export PATH=/opt/homebrew/bin:$PATH" >> ~/.bash_profile source ~/.bash_profileNow you can update PHP by running the following command:
brew upgrade phpThat’s it! You have installed XAMPP on Mac successfully.
Conclusion
In this article, we taught you how to install XAMPP on Mac. I hope you found this tutorial useful and that it helps you to install XAMPP on your Mac operating system. If you face any problems during the installation process, you can contact us in the Comments section.