Moodle is one of the first software companies that has done an amazing job of recreating an online environment for its users. This company has played a big role in this field by providing software with the ability to adjust and enhance global online education. Moodle was able to show other companies that education does not rely only on a traditional method of intellectual education. This article will teach you 5 Steps to Install Moodle on AlmaLinux. Check out the packages offered on the Eldernode website, if you intend to buy a Linux VPS server.
Table of Contents
What is Moodle?
Moodle stands for Modular Object-Oriented Dynamic Learning Environment and is an open-source and free learning management system. It provides a platform for e-learning and is distributed under the GNU General Public License. You can use it for blended learning, distance education, flipped classrooms, and other online learning projects in schools, universities, workplaces, and other sectors. In fact, Moodle is the most popular learning management system that caters to all organization types.
Requirements to Install Moodle on AlmaLinux
Before doing anything, you need to install the following requirements:
1–> Install PHP 7.4 and PHP 8 on AlmaLinux
2–> Install SQL Server on AlmaLinux
3–> Install basic utility packages if they are not already installed:
sudo dnf install wget curl nano unzip yum-utils -y1- Configuring Firewall on AlmaLinux
In the first step, you should configure the Firewall. To do this, check the status of the Firewall using the command below:
sudo firewall-cmd --stateYou can list the active services and ports on the Firewall as shown below:
sudo firewall-cmd --permanent --list-servicesNow you need to open HTTP and HTTPS ports by running the following command. Because Moodle needs them to function:
sudo firewall-cmd --add-service=http --permanentsudo firewall-cmd --add-service=https --permanentLastly, reload the Firewall to apply the changes as shown below:
sudo firewall-cmd --reload2- Installing Nginx on AlmaLinux
In this step, you can install the latest Nginx version by downloading the official Nginx repository.
Now you should create the official Nginx repository. To do this, create an open the /etc/yum.repos.d/nginx.repo file with your desired text editor:
sudo nano /etc/yum.repos.d/nginx.repoOnce you have opened the file, add the following code in it:
[nginx-stable] name=nginx stable repo baseurl=http://nginx.org/packages/centos/$releasever/$basearch/ gpgcheck=1 enabled=1 gpgkey=https://nginx.org/keys/nginx_signing.key module_hotfixes=true [nginx-mainline] name=nginx mainline repo baseurl=http://nginx.org/packages/mainline/centos/$releasever/$basearch/ gpgcheck=1 enabled=0 gpgkey=https://nginx.org/keys/nginx_signing.key module_hotfixes=truePress Ctrl+X to save the file.
It’s time to install the Nginx server as shown below:
sudo dnf install nginxIf you want to verify the installation, the following command can help you:
nginx -v3- Installing and Configuring Moodle on AlmaLinux
First of all, you need to create the public directory for Moodle:
sudo mkdir /var/www/html/moodleIn order for the logged-in user to have access to the directory, you must allow as follows:
sudo chown -R $USER:$USER /var/www/html/moodleAnd switch to the public directory:
cd /var/www/html/moodleMoodle needs Git to grab the application files. To install Git, run the command below:
sudo dnf install gitNow you should clone the Moodle Github repository as shown below:
git clone https://github.com/moodle/moodle.gitIf you want to check the available branches list, run the command below:
git branch -aThen make a local branch called MOODLE_400_STABLE and set it to track the remote branch as shown below:
git branch --track MOODLE_400_STABLE origin/MOODLE_400_STABLERun the command below to switch to the newly created local branch:
git checkout MOODLE_400_STABLENow you should create a data directory for Moodle using the following command:
sudo mkdir /var/moodledataNext, give proper permissions to the Moodle data directory as shown below:
sudo chown -R nginx /var/moodledatasudo chmod -R 775 /var/moodledataAnd give write permissions to the Moodle directory:
sudo chmod -R 755 /var/www/html/moodleIt’s time to configure Moodle. To do this, navigate to the Moodle directory:
cd /var/www/html/moodleNow you should create the Moodle configuration file. To do this, copy the sample configuration file:
cp config-dist.php config.phpOpen the configuration file to edit it:
nano config.phpFind the database configuration section and configure the database that all Moodle data will be stored as follows:
CFG->dbtype = 'mysqli'; // 'pgsql', 'mariadb', 'mysqli', 'auroramysql', 'sqlsrv' or 'oci' CFG->dblibrary = 'native'; // 'native' only at the moment CFG->dbhost = 'localhost'; // eg 'localhost' or 'db.isp.com' or IP CFG->dbname = 'moodledb'; // database name, eg moodle CFG->dbuser = 'moodleuser'; // your database username CFG->dbpass = 'YourPassword23!'; // your database password CFG->prefix = 'mdl_'; // prefix to use for all table namesNow you need to configure the location of the Moodle domain name and the data directory:
CFG->wwwroot = 'https://moodle.sample.com';CFG->dataroot = '/var/moodledata';Lastly, save the file and close it.
4- Installing SSL and Configuring Nginx on AlmaLinux
Firstly, install the Certbot tool to generate SSL certificates using Let’s Encrypt API using the command below:
sudo dnf install certbotNow generate the SSL certificate as shown below. Note that the following code will download a certificate to the /etc/letsencrypt/live/moodle.example.com directory on your server:
sudo certbot certonly --standalone --agree-tos --no-eff-email --staple-ocsp --preferred-challenges http -m [email protected] -d moodle.sample.comRun the following command to generate a Diffie-Hellman group certificate:
sudo openssl dhparam -out /etc/ssl/certs/dhparam.pem 4096Then you should make a challenge web root directory for Let’s Encrypt auto-renewal as shown below:
sudo mkdir -p /var/lib/letsencryptNow the Cron Job is needed to be created to renew the SSL. To do this, create the /etc/cron.daily/certbot-renew file and open it with your desired text editor:
sudo nano /etc/cron.daily/certbot-renewAdd the following code to it:
#!/bin/sh certbot renew --cert-name moodle.sample.com --webroot -w /var/lib/letsencrypt/ --post-hook "systemctl reload nginx"Save the file and close it.
Then make the task file executable by changing the permissions on it as shown below:
sudo chmod +x /etc/cron.daily/certbot-renewIt’s time to configure Nginx. To do this create the /etc/nginx/conf.d/moodle.conf and open it with your desired text editor:
sudo nano /etc/nginx/conf.d/moodle.confAnd add the following code to it:
# Redirect all non-encrypted to encrypted server { listen 80; listen [::]:80; server_name moodle.example.com; return 301 https://$host$request_uri; } server { listen 443 ssl http2; listen [::]:443 ssl http2; server_name moodle.example.com; root /var/www/html/moodle; index index.php; ssl_certificate /etc/letsencrypt/live/moodle.example.com/fullchain.pem; ssl_certificate_key /etc/letsencrypt/live/moodle.example.com/privkey.pem; ssl_trusted_certificate /etc/letsencrypt/live/moodle.example.com/chain.pem; ssl_session_timeout 1d; ssl_session_cache shared:MozSSL:10m; ssl_session_tickets off; ssl_stapling on; ssl_stapling_verify on; ssl_dhparam /etc/ssl/certs/dhparam.pem; ssl_protocols TLSv1.2 TLSv1.3; ssl_ciphers ECDHE-ECDSA-AES128-GCM-SHA256:ECDHE-RSA-AES128-GCM-SHA256:ECDHE-ECDSA-AES256-GCM-SHA384:ECDHE-RSA-AES256-GCM-SHA384:ECDHE-ECDSA-CHACHA20-POLY1305:ECDHE-RSA-CHACHA20-POLY1305:DHE-RSA-AES128-GCM-SHA256:DHE-RSA-AES256-GCM-SHA384; access_log /var/log/nginx/moodle.access.log main; error_log /var/log/nginx/moodle.error.log; client_max_body_size 25M; location / { try_files $uri $uri/ /index.php?$query_string; } location ~ ^(.+\.php)(.*)$ { fastcgi_split_path_info ^(.+\.php)(.*)$; fastcgi_index index.php; fastcgi_pass unix:/run/php-fpm/www.sock; include /etc/nginx/mime.types; include fastcgi_params; fastcgi_param PATH_INFO $fastcgi_path_info; fastcgi_param SCRIPT_FILENAME $document_root$fastcgi_script_name; } # Hide all dot files but allow "Well-Known URIs" as per RFC 5785 location ~ /\.(?!well-known).* { return 404; } # This should be after the php fpm rule and very close to the last nginx ruleset. # Don't allow direct access to various internal files. See MDL-69333 location ~ (/vendor/|/node_modules/|composer\.json|/readme|/README|readme\.txt|/upgrade\.txt|db/install\.xml|/fixtures/|/behat/|phpunit\.xml|\.lock|environment\.xml) { deny all; return 404; } }Save the file and close it.
In this case, open the /etc/nginx/nginx.conf file with your desired text editor:
sudo nano /etc/nginx/nginx.confAnd add the line below before the /etc/nginx/conf.d/*.conf; line:
server_names_hash_bucket_size 64;Remember to save the file.
You should verify the Nginx configuration file syntax as shown below:
sudo nginx -t nginx: the configuration file /etc/nginx/nginx.conf syntax is ok nginx: configuration file /etc/nginx/nginx.conf test is successfulNext, enable the new configuration by starting the Nginx service with the following command:
sudo systemctl enable nginx --nowNote: If you get the ”nginx: [emerg] open() “/var/run/nginx.pid” failed (13: Permission denied)” error, enter the following commands to fix it and start the Nginx again:
sudo ausearch -c 'nginx' --raw | audit2allow -M my-nginx sudo semodule -X 300 -i my-nginx.ppYou should change the file security context for the web and data directory of Moodle as shown below:
sudo semanage fcontext -a -t httpd_sys_rw_content_t '/var/www/html/moodle'sudo semanage fcontext -a -t httpd_sys_rw_content_t '/var/moodledata'sudo restorecon -Rv '/var/www/html/moodle'sudo restorecon -Rv '/var/moodledata'Lastly, you need to configure SELinux to allow network connections from Moodle by running the command below:
sudo setsebool -P httpd_can_network_connect on5- Accessing Moodle
First, navigate to the following URL:
https://moodle.sample.comYou should see the welcome screen. Click Continue:
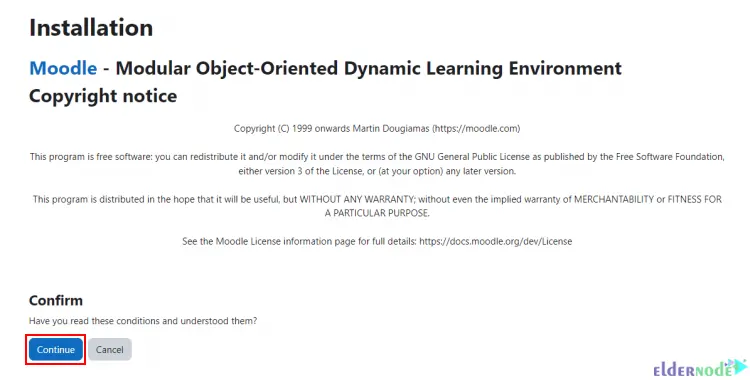
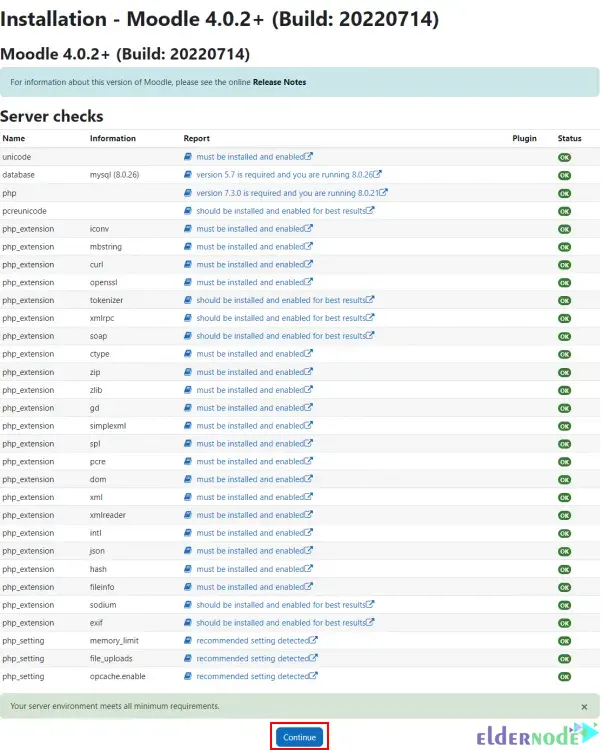
Now the installer checks for system requirements, press Continue to proceed:
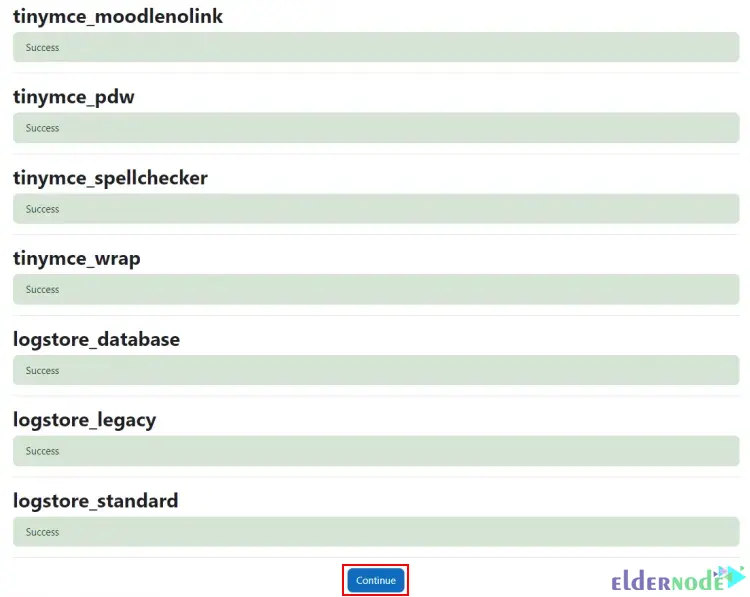
Next press Continue to install files and setup the database:
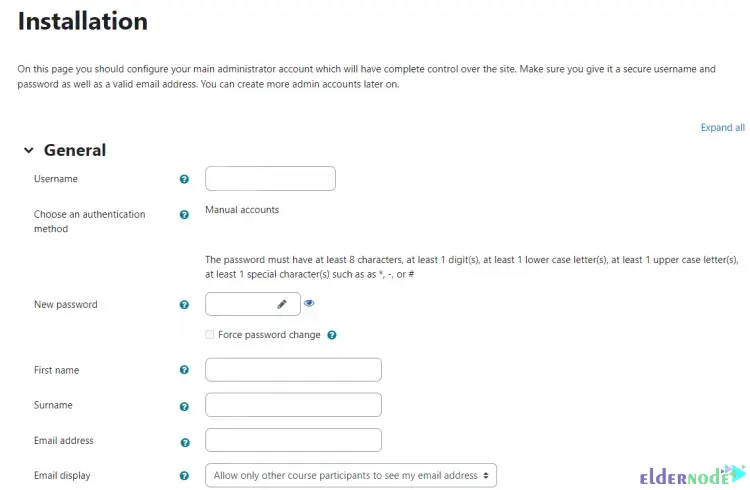
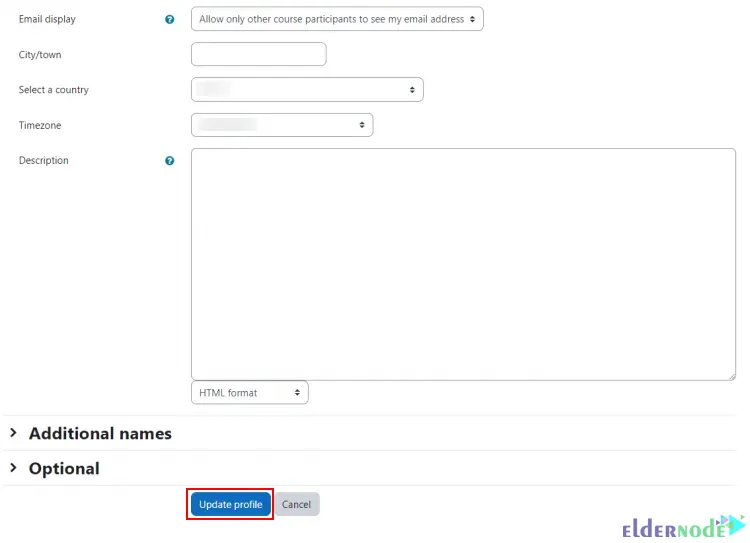
In this step, you should create an administrator account. To do this, fill in the account details and once it is finished, press Update profile:
***
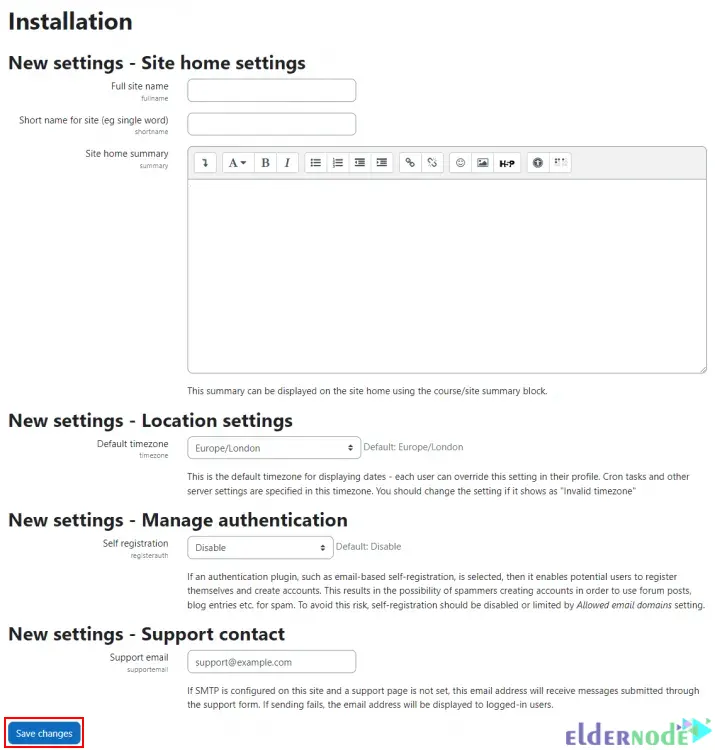
Now you should configure the front page settings of Moodle. After you configured, click on Save Changes:
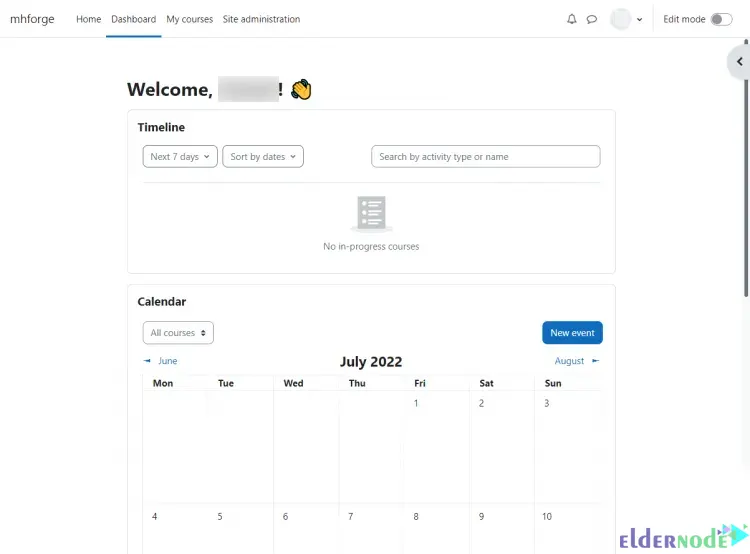
You will proceed to the Moodle dashboard which asks you to register your Moodle site with the company. You can click on Skip if you don’t want to register:
That’s it!
Conclusion
In this article, we introduced you to Moodle and taught you 5 steps to install Moodle on AlmaLinux. I hope you found this tutorial useful and that it helps you to install Moodle on your AlmaLinux. You can contact us in the Comments section if you face any problems or have any questions.