When you want to install packages from the source or compile software, you will need Development Tools & Libraries. Also, it is required for developers to build packages in a Linux system. Development tools contain include all necessary applications such as GCC, g++, make, libc6-dev, and dpkg-dev packages. Depending on your Linux distribution, these tools could be installed in different ways. Join us to review the Tutorial Install Development Tools On Ubuntu 20.04 & 21.04. Various interesting packages are available on Eldernode, have a look and order your own Ubuntu VPS Hosting.
Table of Contents
Install Development Tools On Ubuntu 20.04 & 21.04
In this article, you will learn how to install the development tools group on Ubuntu. You can install the developer tools in two ways, individually one by one, or all at once. To make it easier, we will show you how to install it all at once.
Prerequisites to Install Development Tools on Ubuntu
To let this tutorial work better, please consider the below Prerequisites:
_ A non-root user with Sudo privileges. To setup, follow our Initial server setup on Ubuntu 21.04.
How to Setup/Install Development Tools on Ubuntu
Since the development tools packages are available under default apt repositories for most of the Ubuntu-based systems, run the command below to install the development tools package on your Ubuntu system:
sudo apt-get updatesudo apt-get install build-essentialIn this way, you install the developer tools all at once and all the build-essential package is installed on your system now.
When the installation is finished, use the following command to check installed versions of important binaries:
gcc --versionInstall Make on Ubuntu 20.04 & 21.04
You can also install the latest version of developer tools and IDEs (PHPStorm, WebStorm, PyCharm, Android Studio, Eclipse, NetBeans, etc.) using Ubuntu Make. It is a command-line utility that will install all the required dependency packages in an easy way.
In this section, you will learn How to install Ubuntu Make on Ubuntu 20.04 & 21.04. Then, you will review the installation of the latest version of developer tools and IDEs using Ubuntu Make on Ubuntu 20.04 & 21.04.
Step 1:
Ubuntu Make package is available in the official universe package repository of Ubuntu.
In the first step, you will enable the official universe package repository on Ubuntu. So, run the command below to do this:
sudo apt-add-repository universeStep 2:
Now, use the following command to update the APT package repository cache:
sudo apt updateStep 3:
In this step, you are ready to install Ubuntu Make. So, use the command below and then press Y to and Enter confirm the installation:
sudo apt install ubuntu-makeStep 4:
Once the installation is finished, you can check if Ubuntu Make is working correctly or not. run the following command to do this:
umake --versionIf you can view the current version in the output, it means that Ubuntu Make is working correctly.
How to find Available Software Group Name and Package Name on Ubuntu
To install a developer tool or IDE, you need to know the group name and the developer tool or IDE package name. It is not complicated to find them. Use the following command to find out the supported groups and developer tool or IDE package name:
umake --helpThen, to find what software is available in your desired group, scroll down on the umake output. Note that each of the groups has its own set of software. However, you should see all the currently available software package names. But if you wish to find the available software programs in your desired group faster and not to scroll and search, run the following command:
umake <groupName> --helpNote: Do not forget to replace your desired group with <groupName>
Let’s see an example. If you want to see what software is available in the web group, run the command below:
umake web --helpSo, you will see ”firefox-dev and visual-studio-code”. And any more in case of existence in the time of reading this article.
Install Developer Tools and IDEs on Ubuntu
When you make sure of the group name and the developer tool or IDE package name, you are ready to install the developer tool or IDE on your Ubuntu using Ubuntu Make.
To continue this section, let’s continue with an example. As a python developer, if you need to install PyCharm Community Edition on your Ubuntu machine, you can use Ubuntu Make. So, due to the above explanation, the group name should be ide and the package name be pycharm.
Run the umake command to install pycharm from the ide group using Ubuntu Make:
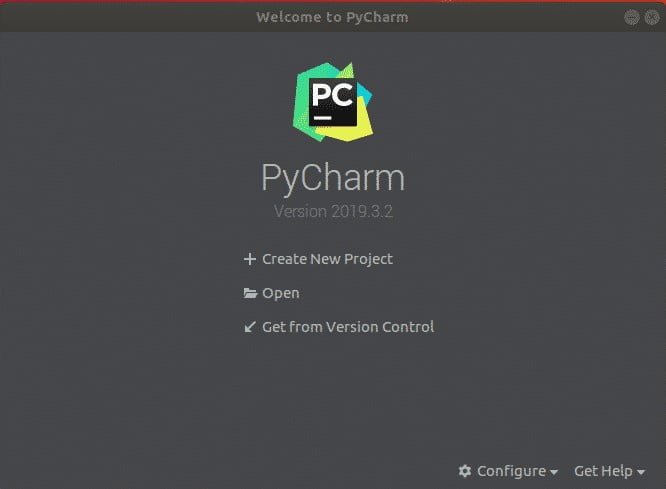
umake ide pycharmThen, you will be asked for your login password and an installation path. Type the password and press <Enter> to continue. You can also leave the default and press <Enter>.
Next, you can see the Ubuntu Make will start downloading and installing all the PyCharm dependencies and PyCharm. So, you will be able to start it from the Application Menu of Ubuntu.

*
How to Remove Developer Tools and IDEs on Ubuntu
You can also remove Developer Tools and IDEs using Ubuntu Make. To show you how easy is this, we remove PyCharm Community IDE as an example, which we installed earlier.
So, run umake with the -r flag as follows:
umake -r ide pycharmIn this way, PyCharm Community IDE will be removed.
How to Update Developer Tools and IDEs on Ubuntu
Updating the installed developer tools or IDEs is not possible using Ubuntu Make. So, you can use a trick to update the already installed developer tools and IDEs using Ubuntu Make. Follow the below path to do this;
1- Remove the installed developer tool or IDE that you want to update:
umake -r ide pycharm2- Install the developer tool or IDE again with Ubuntu Make:
umake ide pycharmThe developer tool or IDE should be updated now.
Note: While using this trick, you may lose your developer tool or IDE configuration. But the developer tool or IDE will be updated. You just need to reconfigure the developer tool or IDE.
Conclusion
In this article, you learned How to Install Development Tools On Ubuntu 20.04 & 21.04. Two different methods were explained. Also, you can install the development tools group in other Linux distributions such as RHEL, CentOS, Fedora, OpenSUSE, Debian, Mint, and Arch Linux.