Every SEO expert wants to rank well in Google and other search engines and SEO makes your website rank higher in them. All those who work on sites are looking to get the words related to their business to the top links of Google results in different ways. But the point is that you will have to spend a lot of time beating the competition. All In One SEO plugin improves the optimization of sites and is suitable for those who have just started their work. This article will teach you How To Configure All In One SEO. If you intend to VPS server, you can check out the packages offered on the Eldernode website.
Table of Contents
Why you need Configure All In One SEO?
All In One SEO is one of the best WordPress site SEO plugins that allow you to make your website rank higher in search engines. It also helps you to get more free traffic from social media platforms like Twitter and Facebook. This plugin started its work in 2007 and has been installed over 2 million times. The All In One SEO Pack plugin, also known as AIOSEO, has been translated into 56 languages and helps you create more search engine-friendly content by showing a TruSEO score for your posts.
All In One SEO comes with all the SEO features needed to rank higher in search engines including smart SEO schema markup, advanced SEO modules, powerful SEO sitemap suite, local SEO module, Google AMP SEO, WooCommerce SEO and etc.
How to make your website rank higher with Configure All In One SEo?
In the next section, we will teach you the installation process of the All In One SEO plugin in WordPress using 2 method.
Installi AIOSEO Using the WordPress Admin Plugin Upload
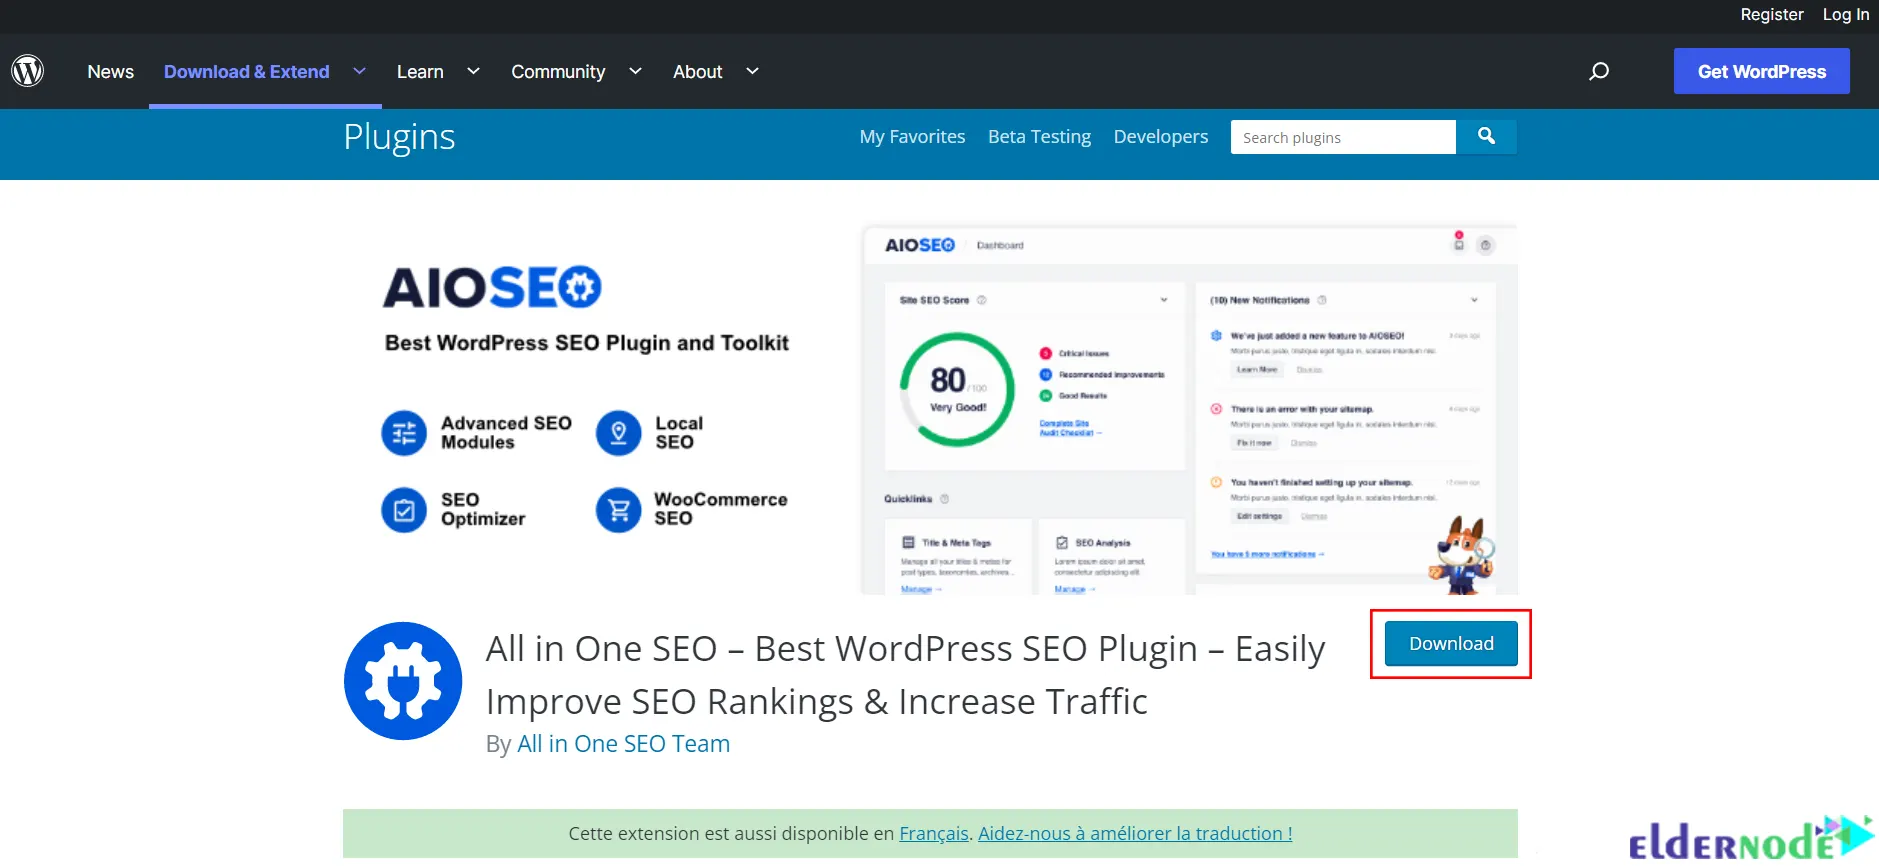
First, you should download All In One SEO Pro from the Official WordPress website for free:
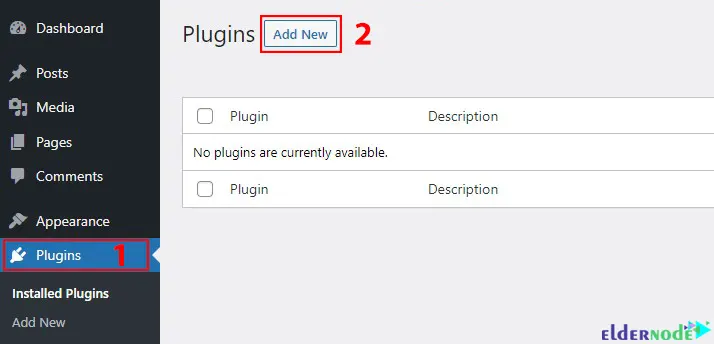
Once the download is completed, log in to your WordPress site and go to the Plugins > Add New path to upload the ZIP file to your WordPress site:
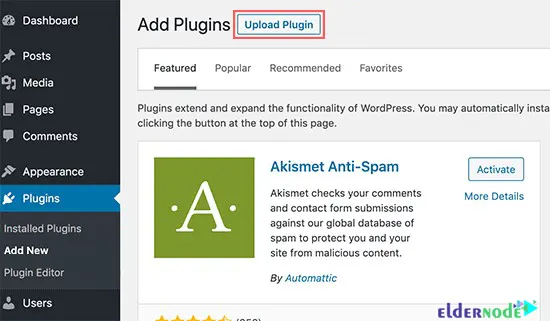
Click on the Upload Plugin button:
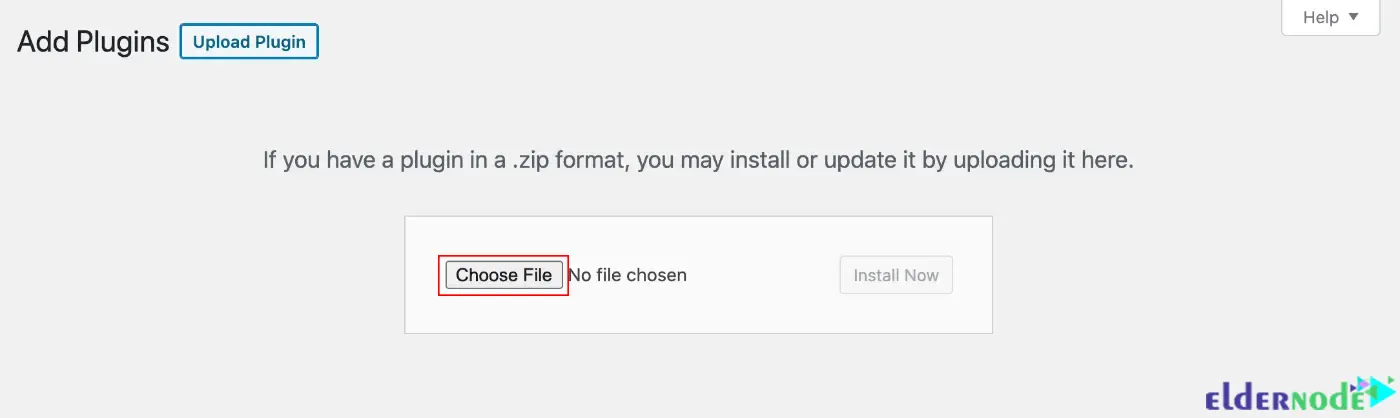
Now browse your computer to choose the downloaded All In One SEO Pro ZIP file. To do this, click on Choose File:
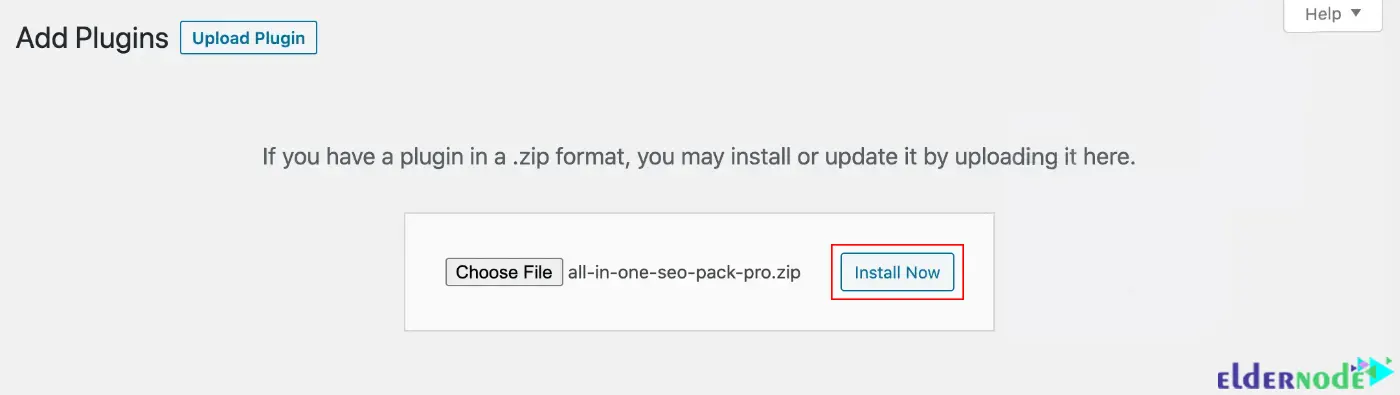
Once you have uploaded the file, click on Install Now:
Installing All In One SEO Using WordPress Plugin Search
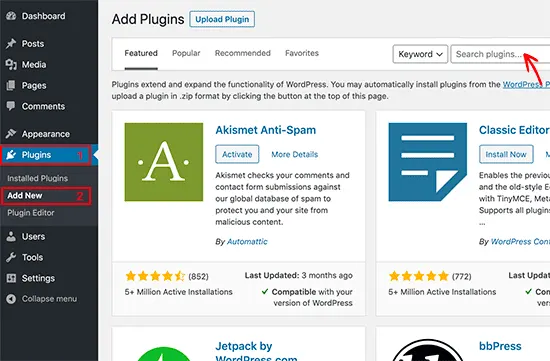
Also, you can install All In One SEO using the plugin search. To do this go to the Plugins > Add New path again and search for the All In One SEO plugin:
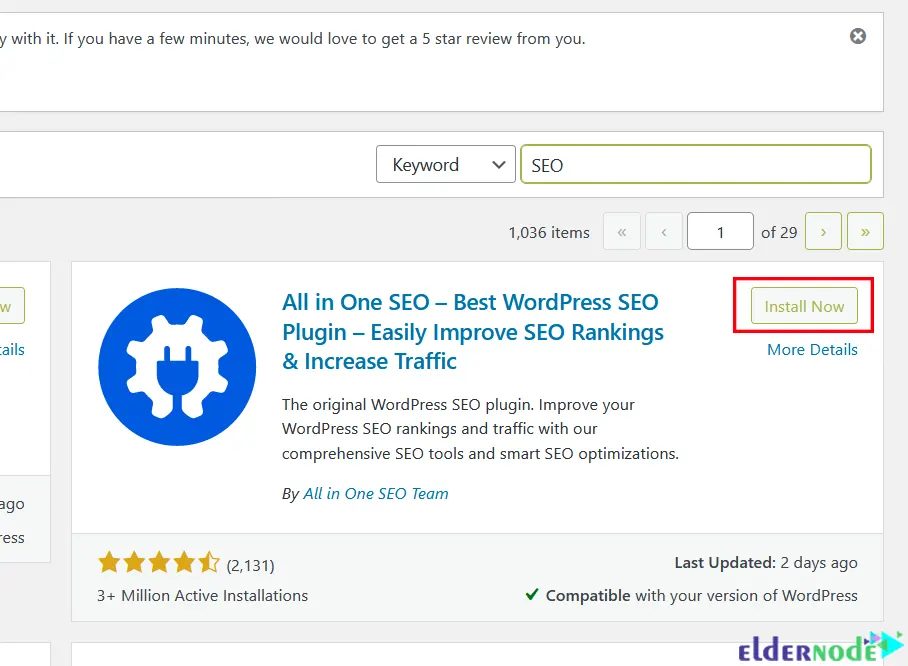
Next click on Install Now next to the All In One SEO plugin:
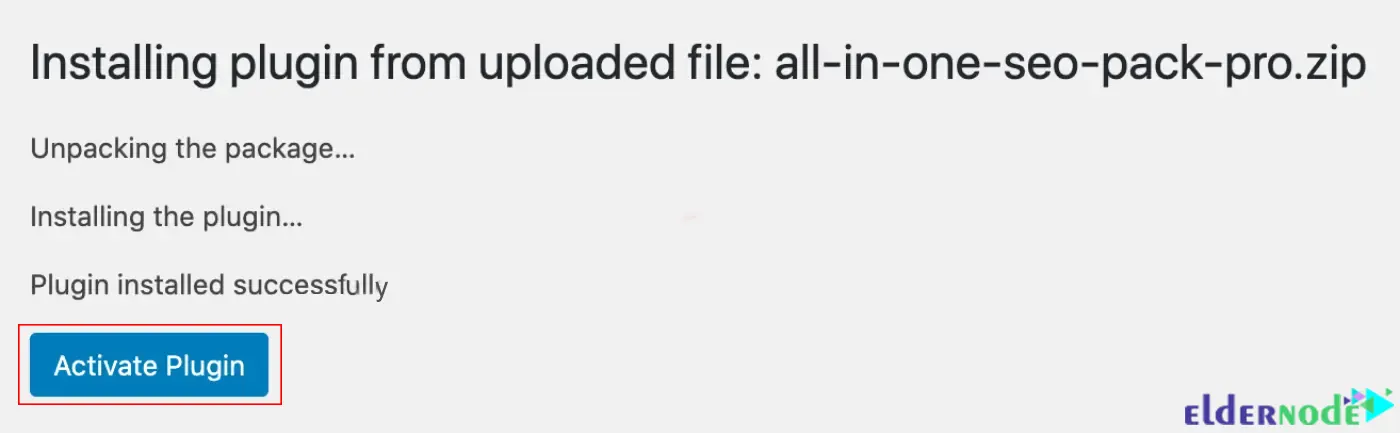
After the installation, you should click on the Activate Plugin:
Finally, you need to activate your license key by clicking on General Settings in the All In One SEO menu:
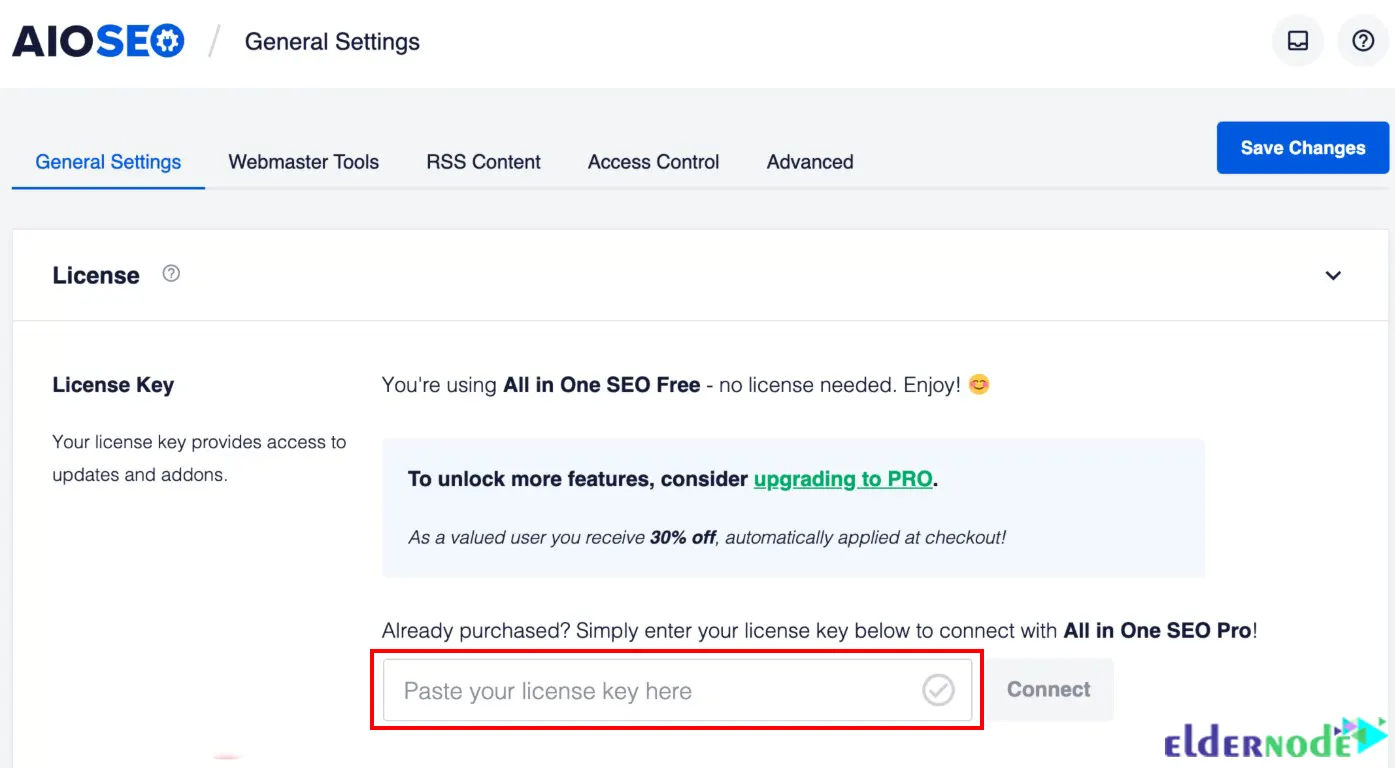
You have received a license key on your purchase receipt. You should enter it in the License Key field and click Connect.
How to Setup and Configure All In One SEO Plugin
In this step, you will learn how to configure step by step All In One SEO plugin in WordPress.
In the first step, start the configuration process by clicking on the Let’s get started:

You should choose your site category and fill in the homepage SEO title and description:
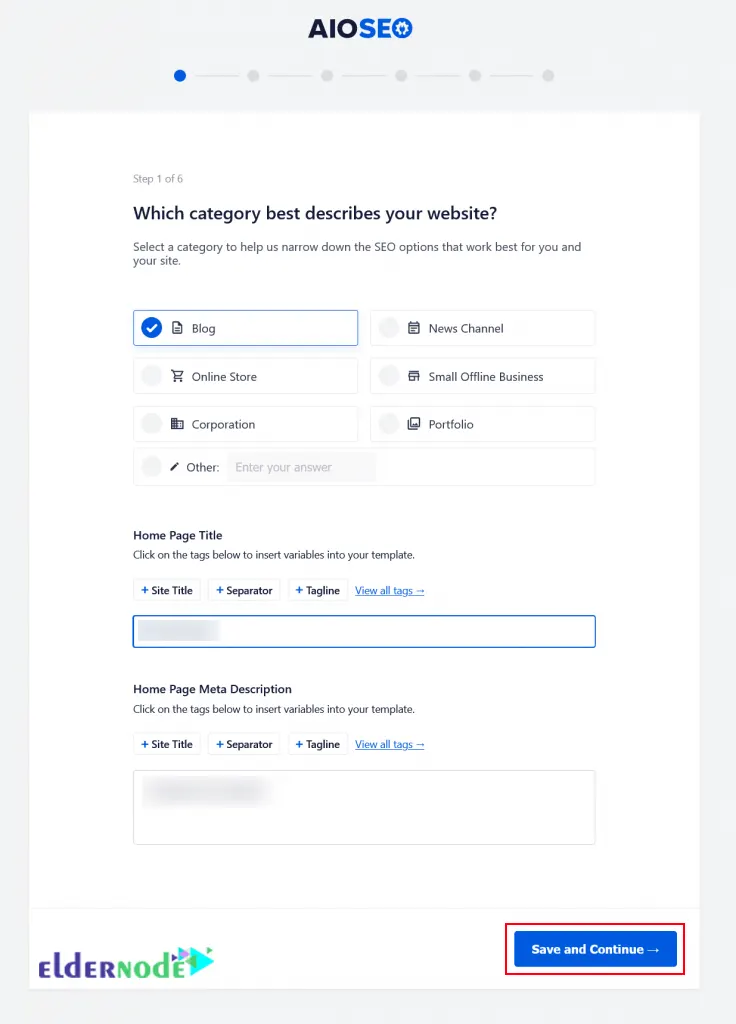
Note: Remember that the SEO meta title and description will use by search engines and you should use your main keywords.
Now you will see the Site Information page and you need to choose whether you are a person or representing an organization. Then choose the registered user:
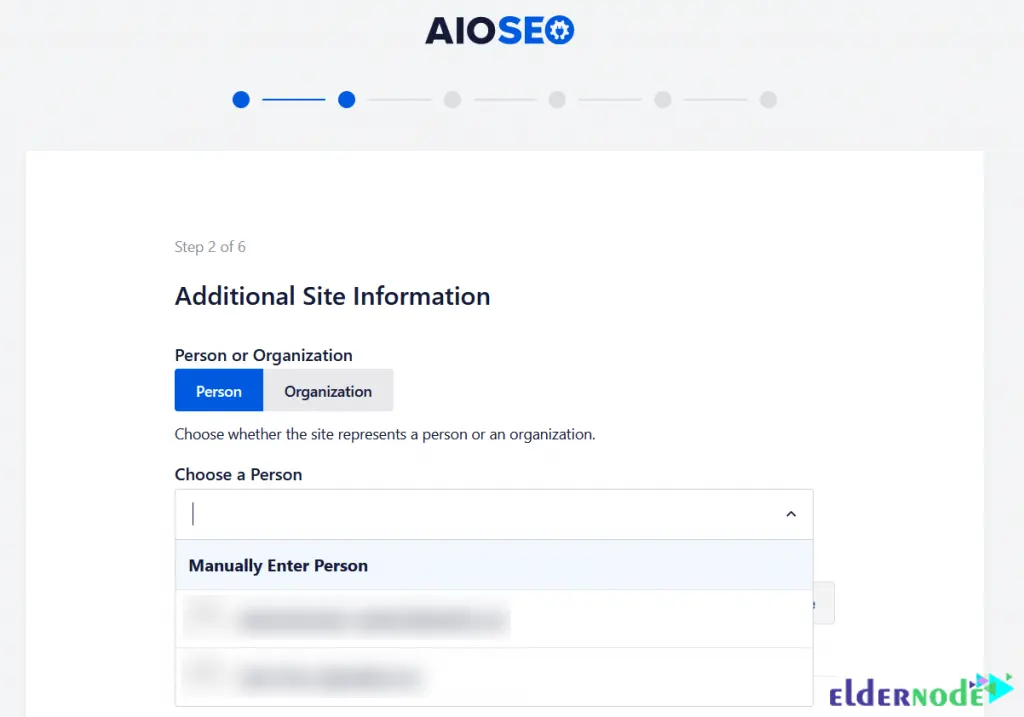
You can choose a social profile URL associated with your website as shown below and click on Save and Continue:
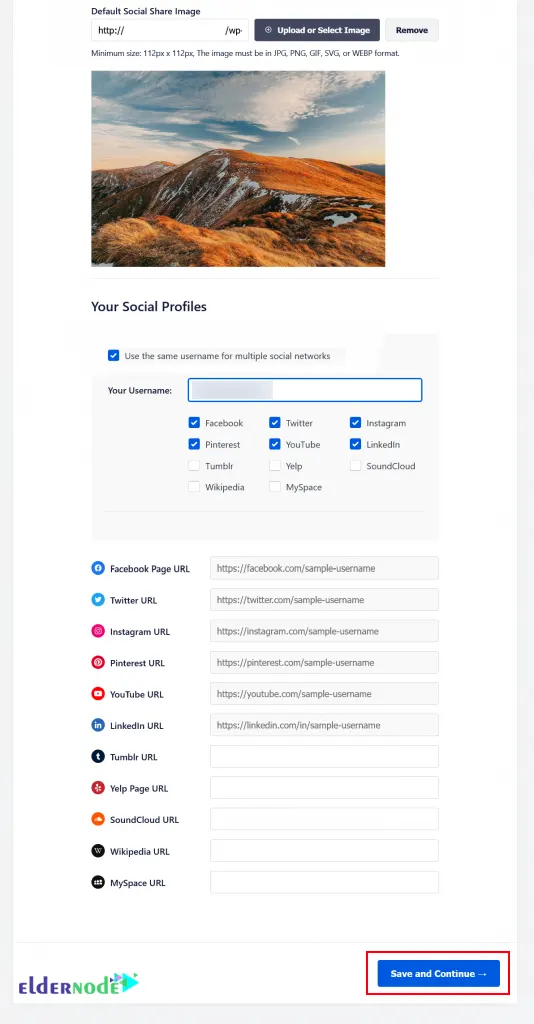
One thing to note is that your business logo and social profiles are important elements that Google and other search engines use for their knowledge panels.
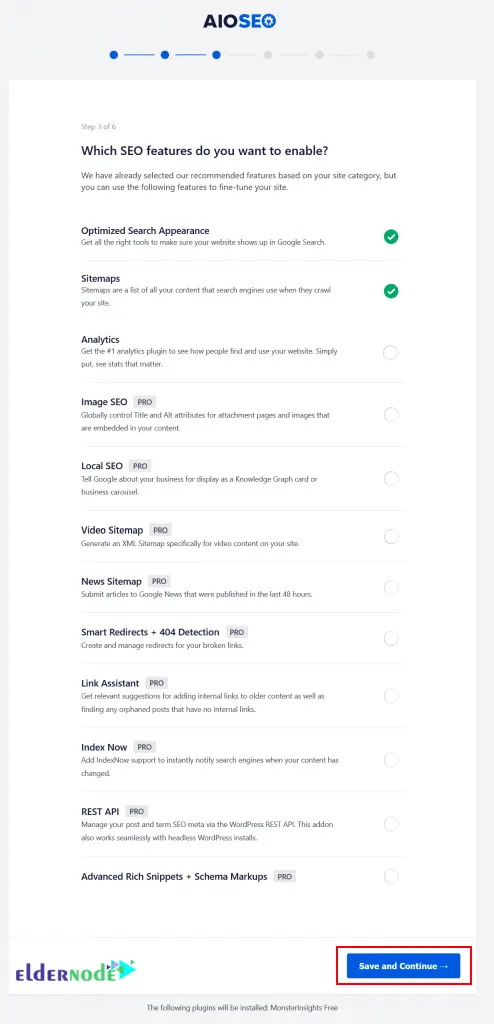
Now turn on SEO features. The Optimized Search Appearance and Sitemaps feature is selecting by default. After you have chosen your desired features click on Save and Continue:
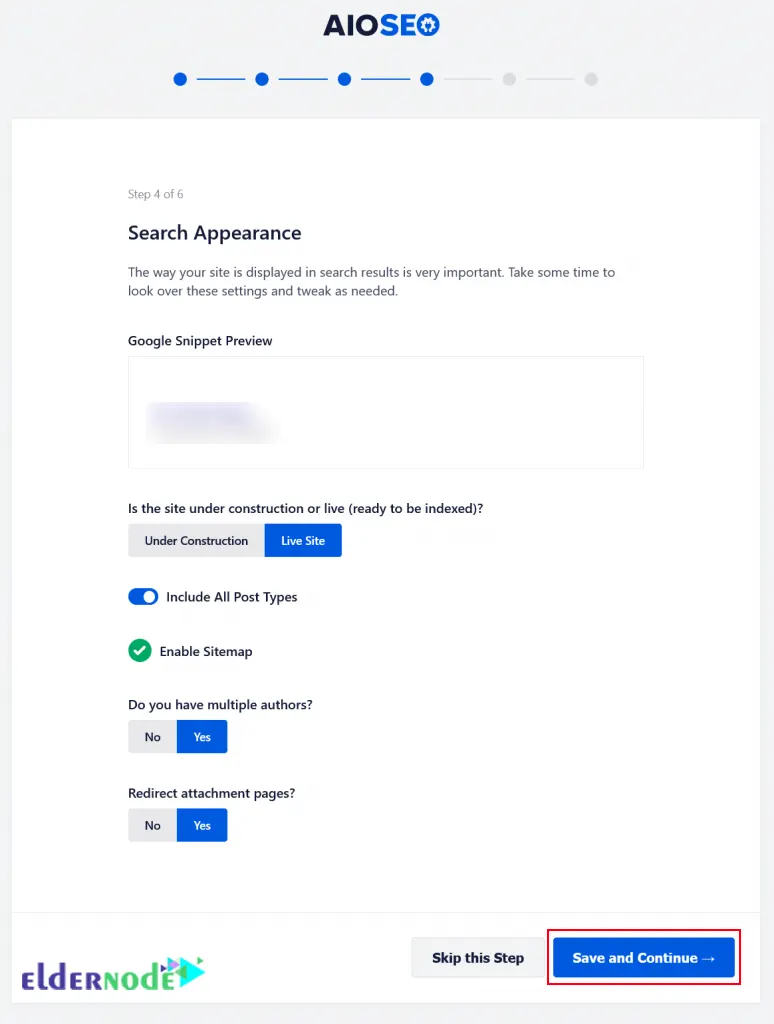
Next, you should see the following Search Appearance and check the Google Snippet review. You can change the homepage title and meta description by clicking on it. The button of the page is related to your own requirements and there are advanced options. After you have applied the changes, click on Save and Continue:
In this step, you will prompted to enter your license key:

Finally, click on the Finish Setup to exit the setup wizard and All In One SEO is ready on the WordPress site:

That’s it!
Conclusion
All In One SEO plugin is necessary for any WordPress website. It allows you to easily improve search engine rankings and provides a wide search engine optimization toolkit. In this article, we taught you how to configure All In One SEO. I hope this article was useful for you and you enjoy it. If you have any suggestions or questions, you can contact us in the Comments section.